SimpleX Chat Guide
Learn how to get started with SimpleX Chat

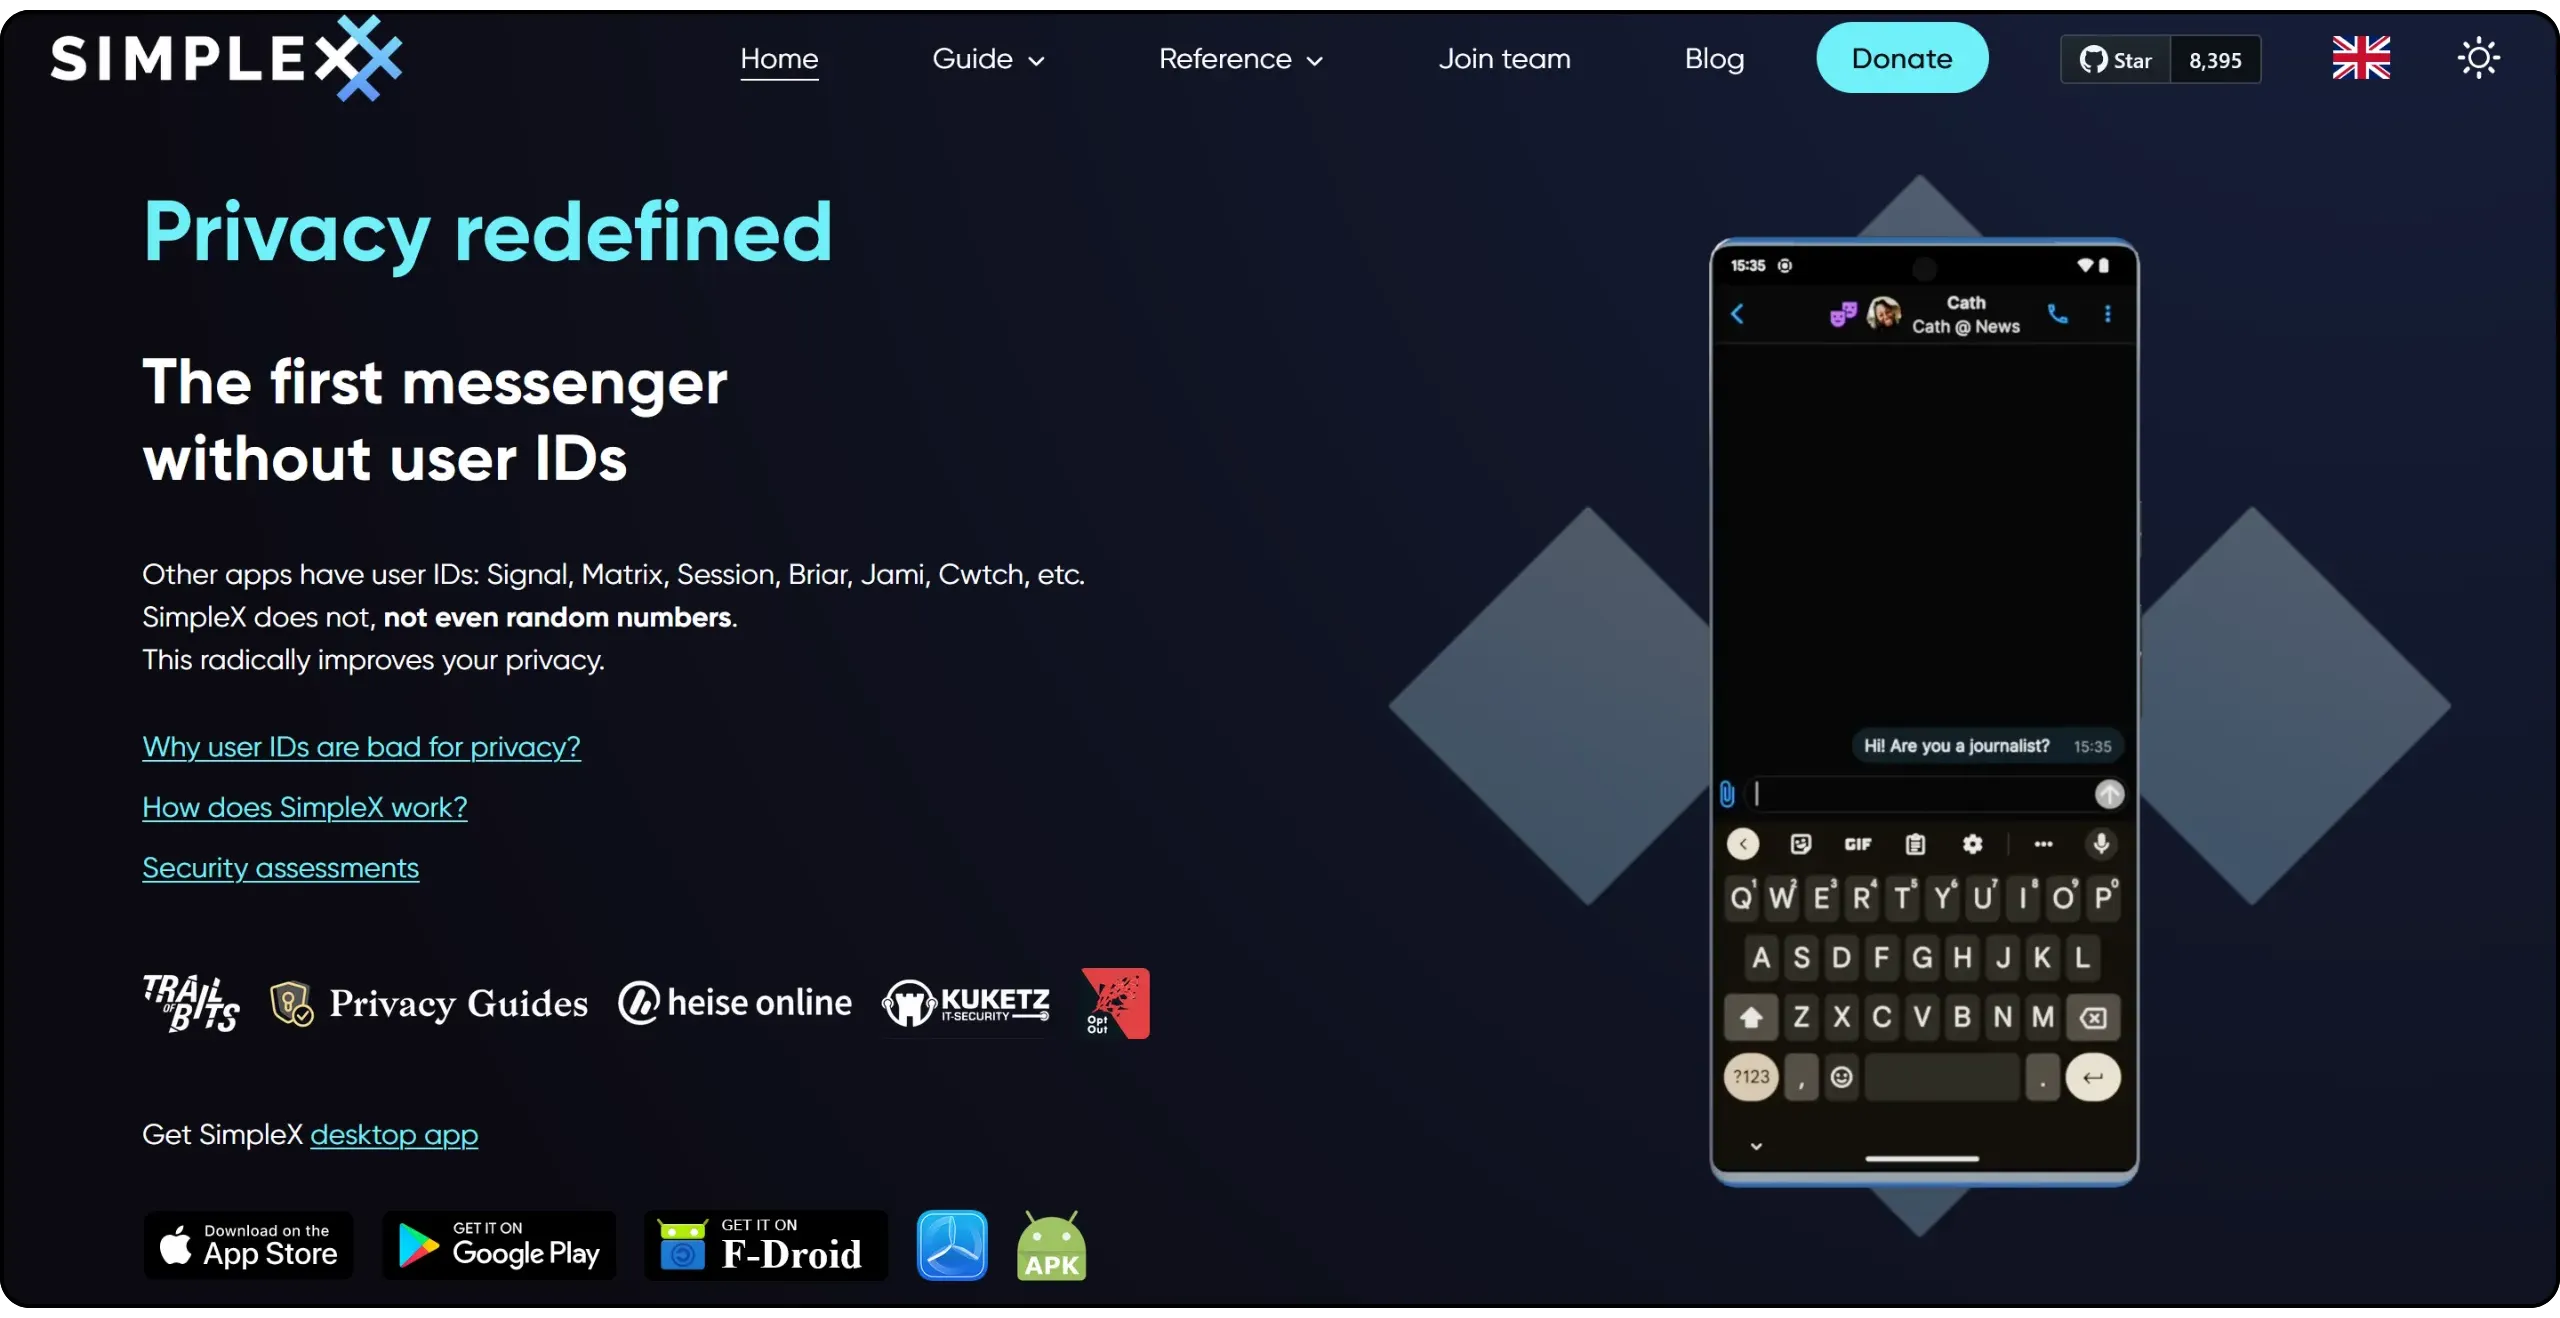
Launched in 2021, SimpleX is a free instant messaging application with a radically different approach to privacy. Unlike WhatsApp, Signal and other centralized messaging services, SimpleX stands out for its user management: there are no user identifiers, pseudonyms, numbers or visible public keys. This total absence of identifiers makes it virtually impossible to correlate users, guaranteeing a high level of privacy.
Unlike most applications that require an account or phone number, SimpleX lets you initiate conversations by sharing a link or ephemeral QR code. Each link creates a unique encrypted channel, and contacts cannot find or recontact the sender without an explicit exchange. Messages are encrypted from end to end, and pass through relay servers that delete them after dispatch, and see neither the sender nor the recipient, nor their keys.
The network architecture is entirely decentralized and unfederated: servers don’t know each other, they don’t keep a global directory, and they don’t host any user profiles. Better still, each user can deploy and use his or her own relay server, while remaining interoperable with those on the public network.
SimpleX is entirely open-source (clients, protocols and servers), available on Android, iOS, Linux, Windows and macOS. Its local storage is encrypted and portable, so you can transfer a profile from one device to another without relying on a centralized server.
SimpleX integrates all the classic features of messaging applications. However, its ergonomics remain less fluid than those of WhatsApp or Signal. It can also be more restrictive to use, especially when adding contacts. So, in my opinion, it’s a relevant alternative to WhatsApp or Signal for users who place privacy at the heart of their priorities, and who are prepared, for that reason, to make a few concessions on day-to-day user comfort.
| Application | E2EE 1:1 | E2EE groups | Anonymous registration | Open-source client license | Open-source server license | Decentralized server | Year of creation |
|---|---|---|---|---|---|---|---|
| ✅ | ✅ | ❌ | ❌ | ❌ | ❌ | 2009 | |
| ❌ | ❌ | ❌ | ❌ | ❌ | ❌ | 2011 | |
| Facebook Messenger | ✅ | 🟡 (optional) | ❌ | ❌ | ❌ | ❌ | 2011 |
| Telegram | 🟡 (optional) | ❌ | 🟡 | ✅ | ❌ | ❌ | 2013 |
| LINE | ✅ | ✅ | ❌ | ❌ | ❌ | ❌ | 2011 |
| Signal | ✅ | ✅ | ❌ | ✅ | ✅ | ❌ | 2014 |
| Threema | ✅ | ✅ | ✅ | ✅ | ❌ | ❌ | 2012 |
| Element (Matrix) | ✅ | ✅ | ✅ | ✅ | ✅ | 🟡 (federated) | 2016 |
| Delta Chat | ✅ | ✅ | ✅ | ✅ | N/A | 🟡 (via email) | 2017 |
| Conversations (XMPP) | ✅ | ✅ | ✅ | ✅ | ✅ | 🟡 (federated) | 2014 |
| Session | ✅ | ✅ | ✅ | ✅ | ✅ | ✅ | 2020 |
| SimpleX | ✅ | ✅ | ✅ | ✅ | ✅ | ✅ | 2021 |
| Olvid | ✅ | ✅ | ✅ | ✅ | ❌ | 🟡(no directory) | 2019 |
| Keet | ✅ | ✅ | ✅ | ❌ | N/A | ✅ | 2022 |
| Jami | ✅ | ✅ | ✅ | ✅ | N/A | ✅ | 2005 |
| Briar | ✅ | ✅ | ✅ | ✅ | N/A | ✅ | 2018 |
| Tox | ✅ | ✅ | ✅ | ✅ | N/A | ✅ | 2013 |
E2EE = End-to-end encryption
Install the SimpleX Chat application
SimpleX Chat is available on all platforms. You can download the application directly from your phone’s app store:
On Android, it is also possible to install via APK.
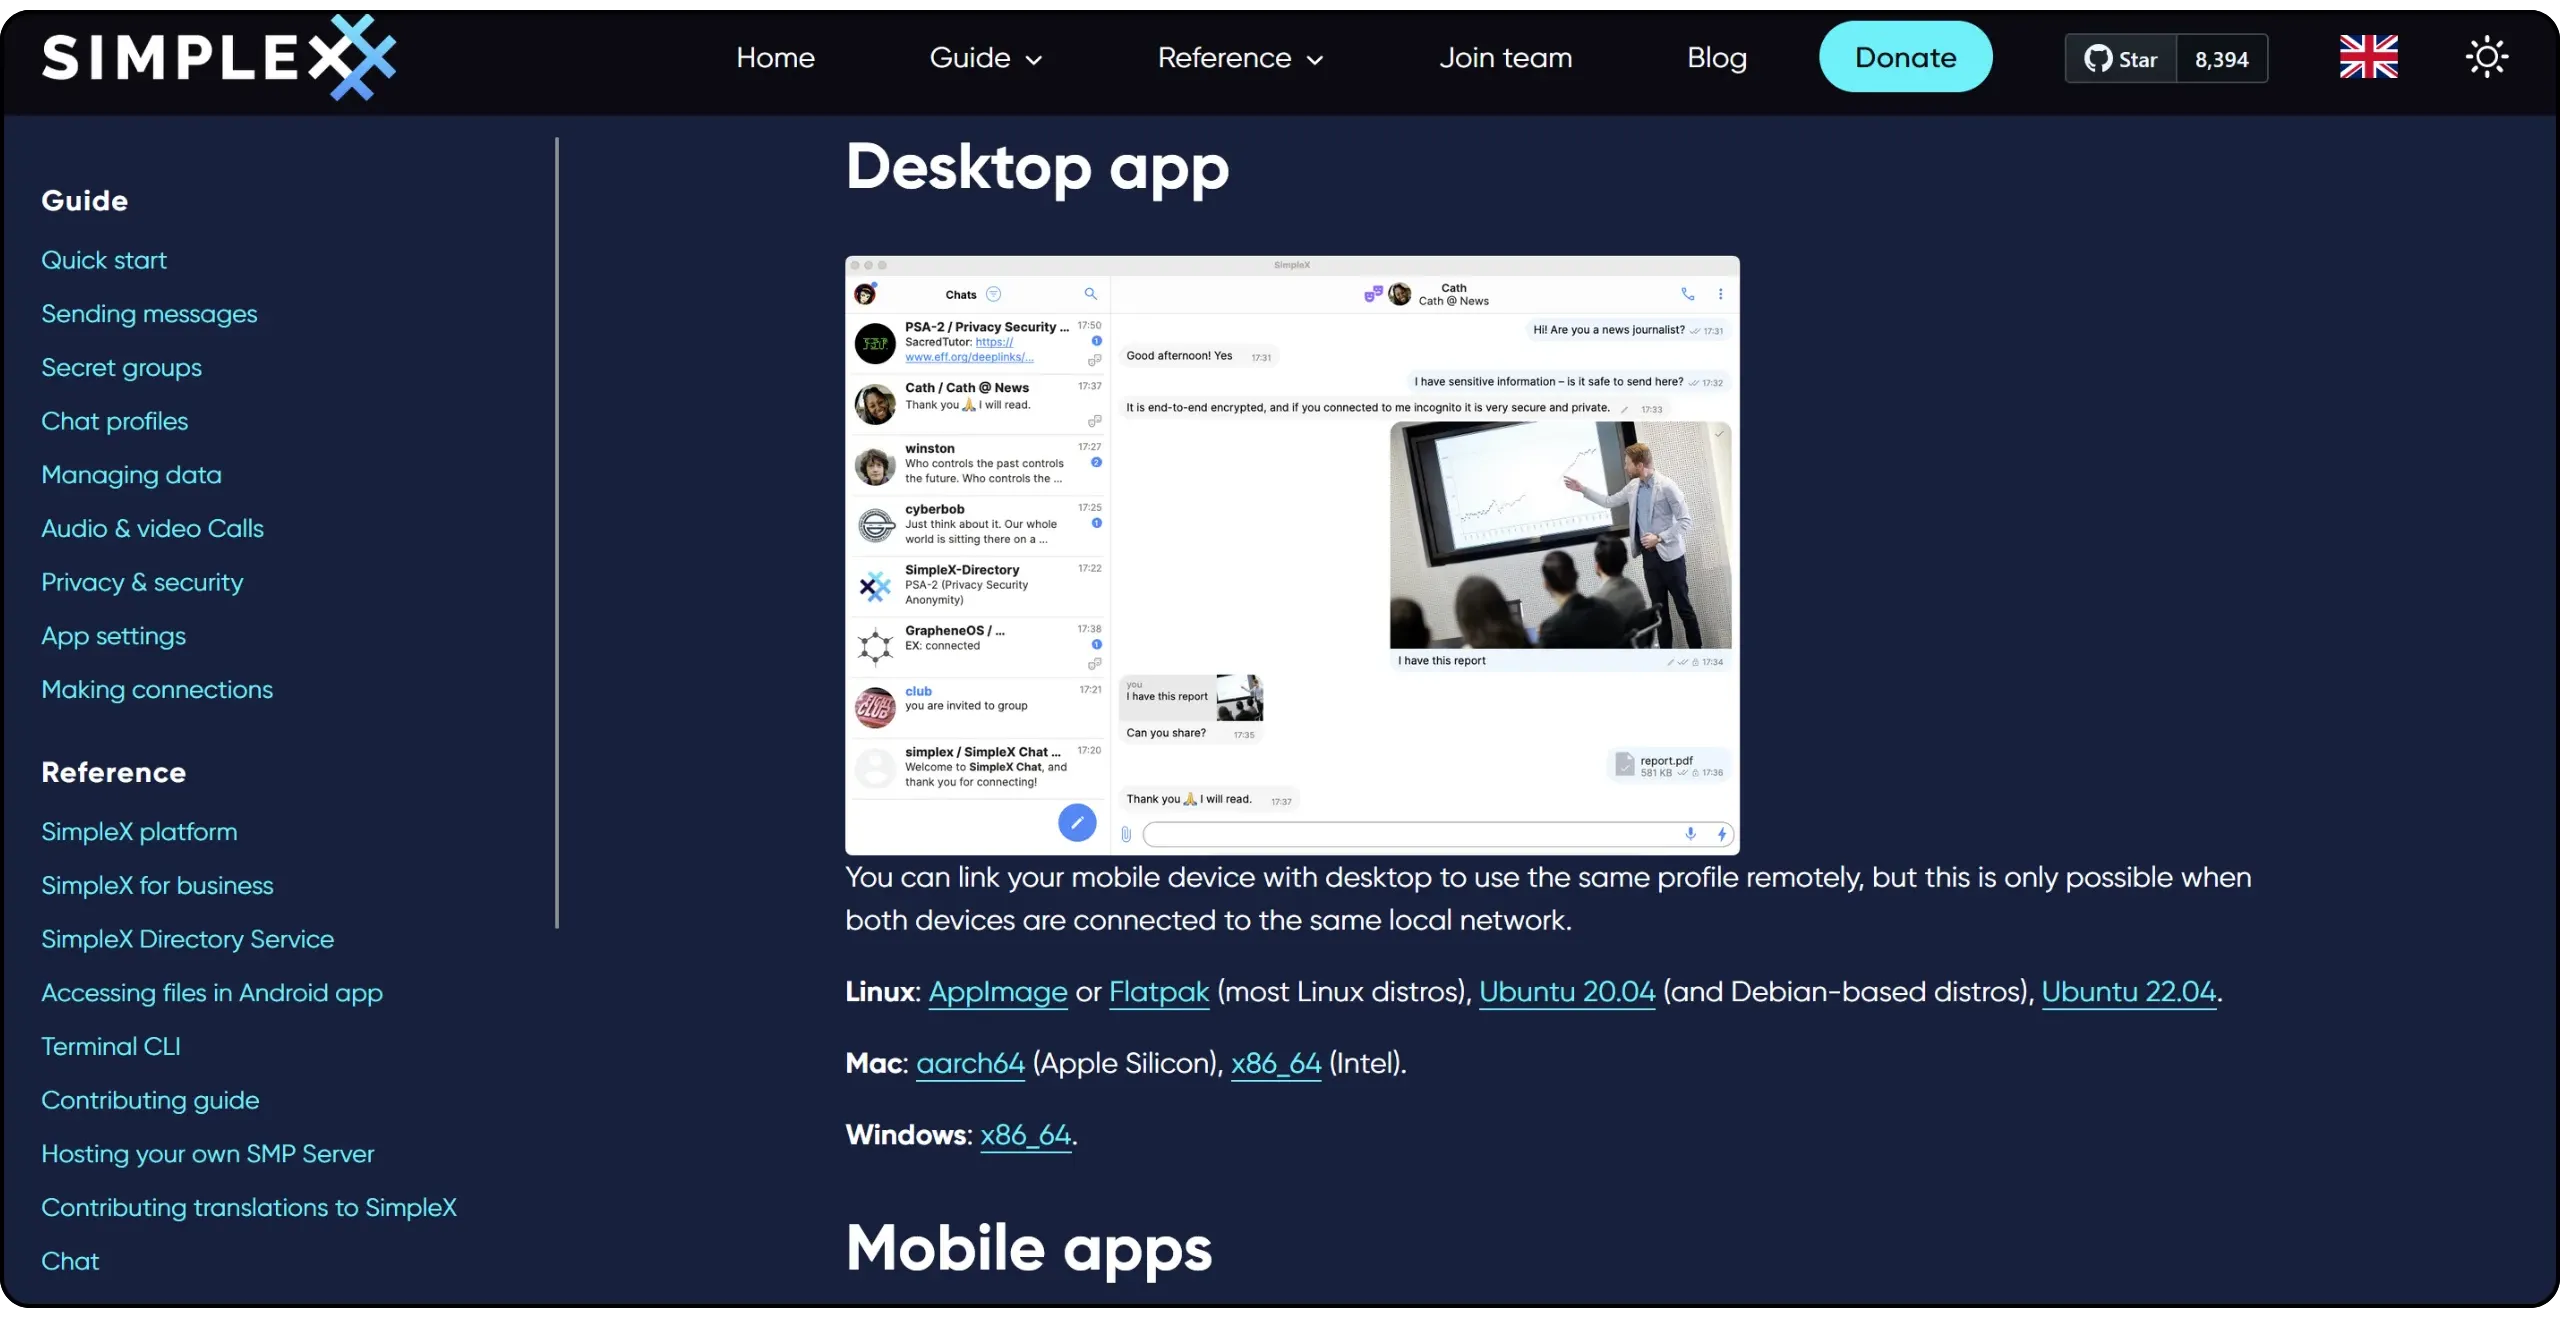
In this tutorial, we’ll concentrate on the mobile version, but please note that desktop versions are also available (MacOS, Linux and Windows). It is possible to link the desktop version to an existing mobile user profile, but for this synchronization to work, both devices must be connected to the same local network.
Create an account on SimpleX Chat
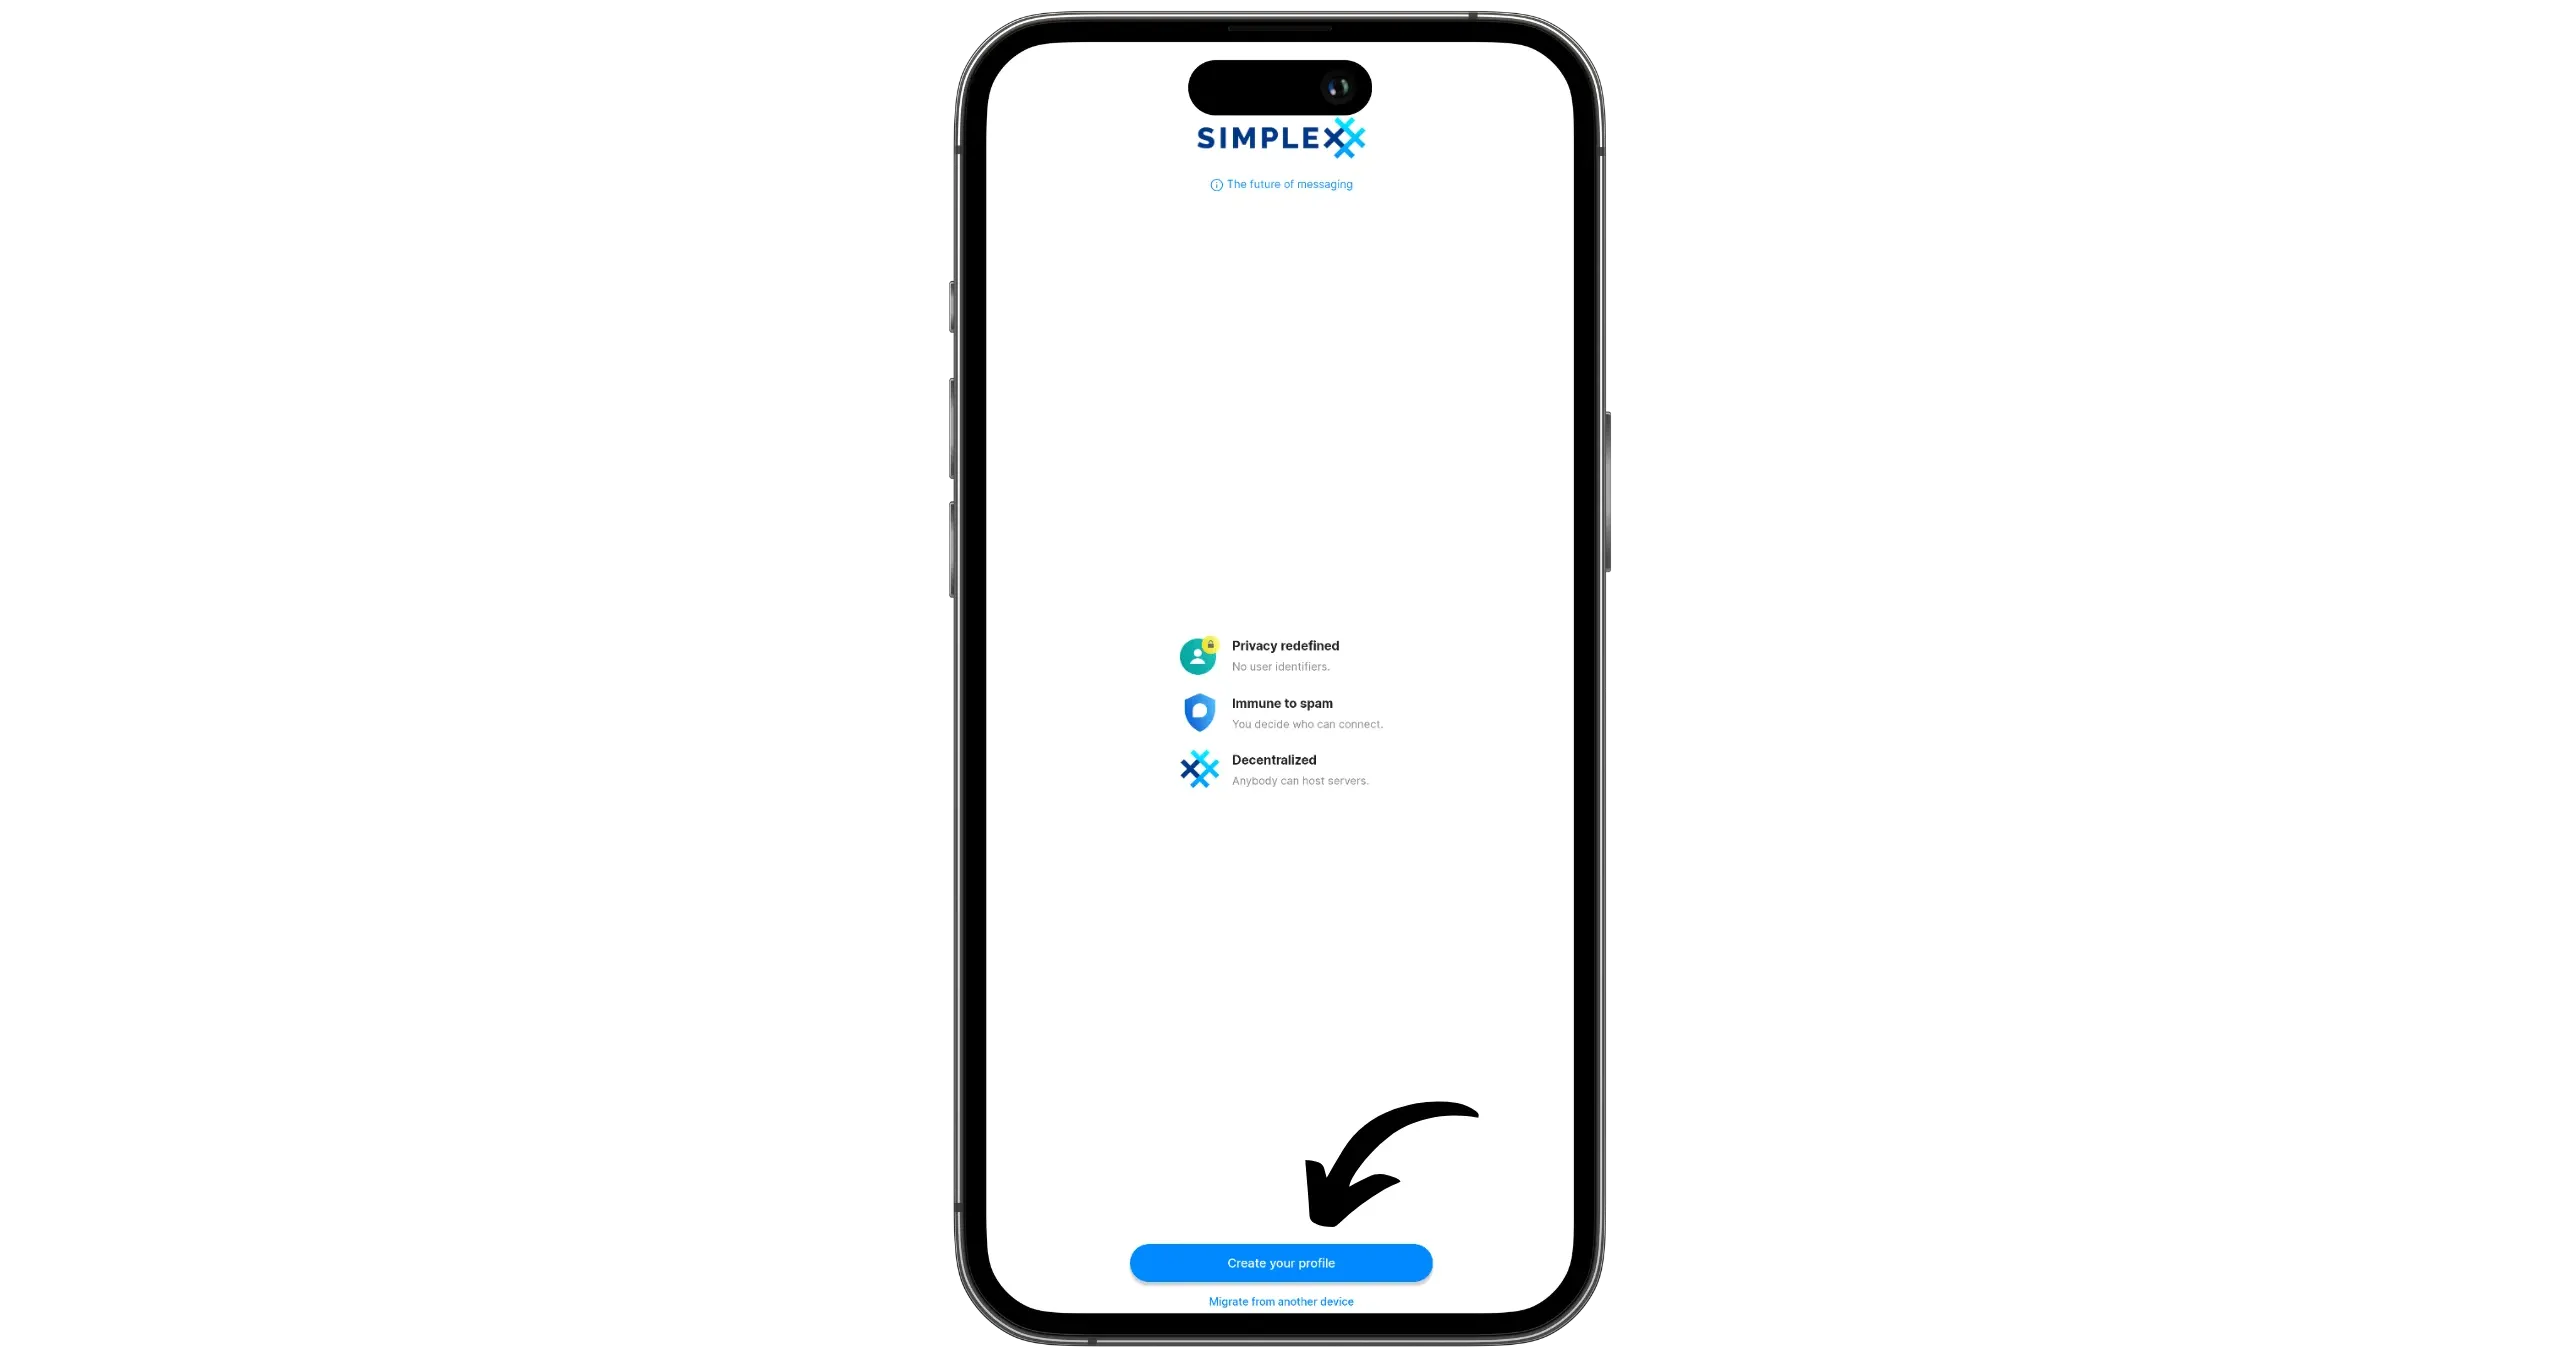
When you first launch the application, click on the “Create your profile” button.
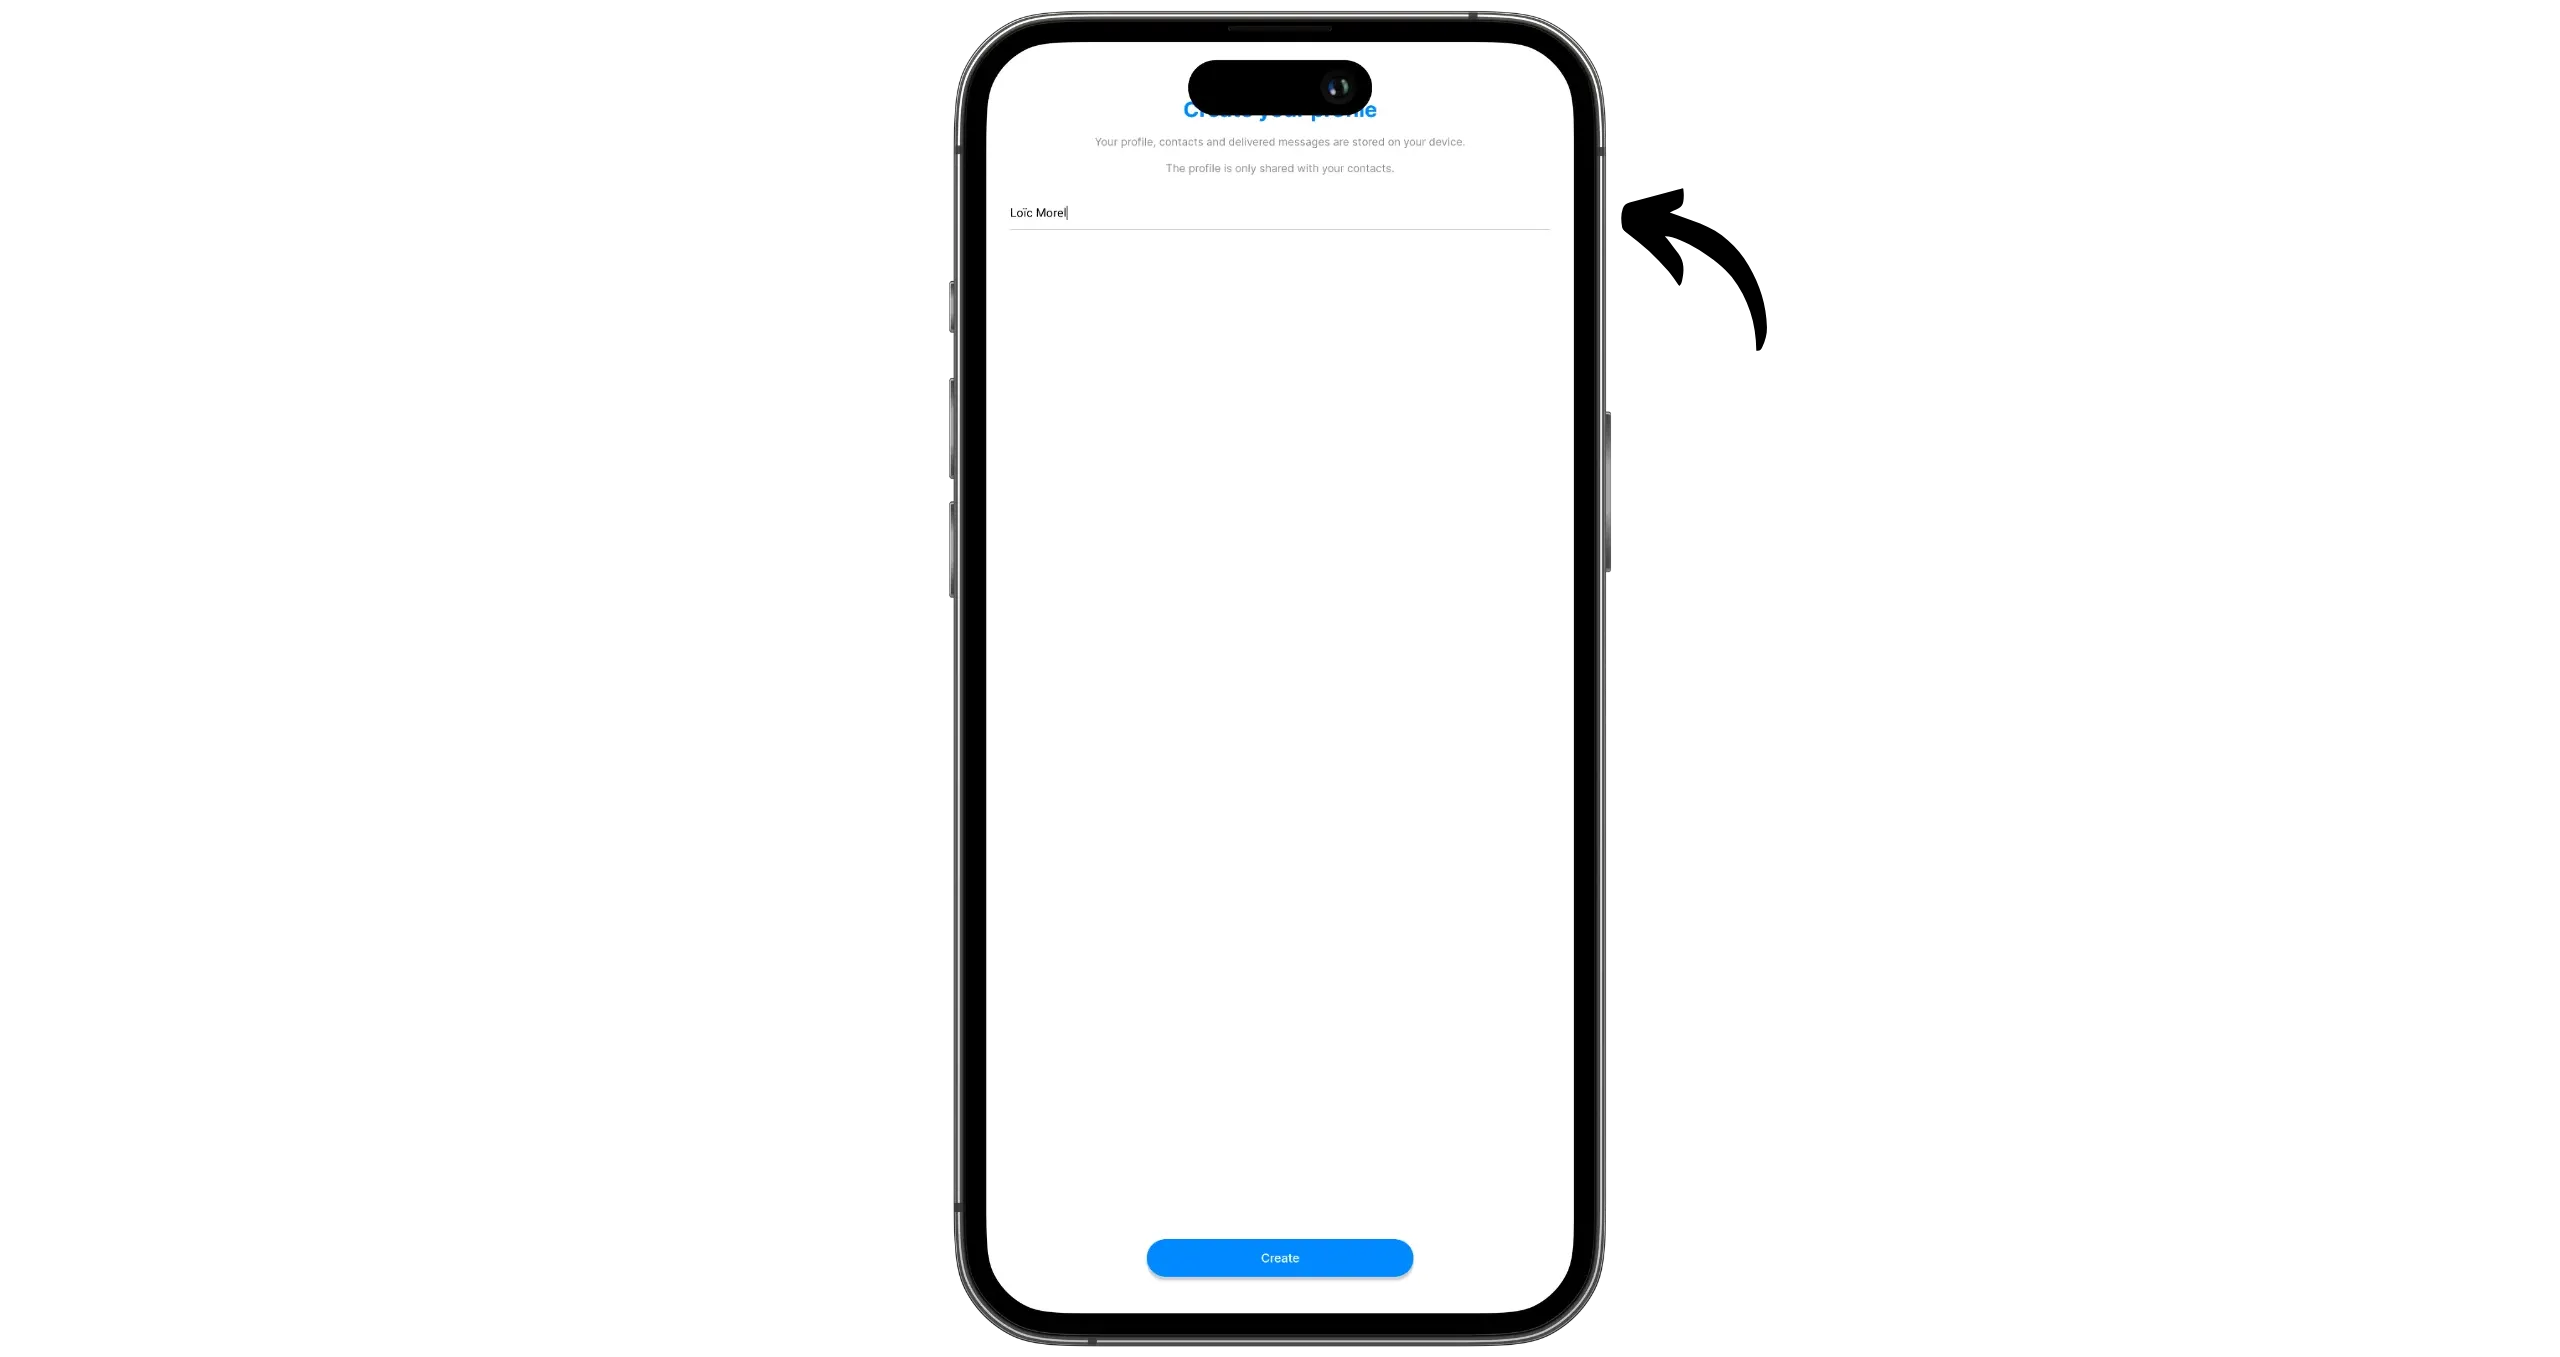
Choose a username, which can be your real name or a pseudonym, then click on “Create”.
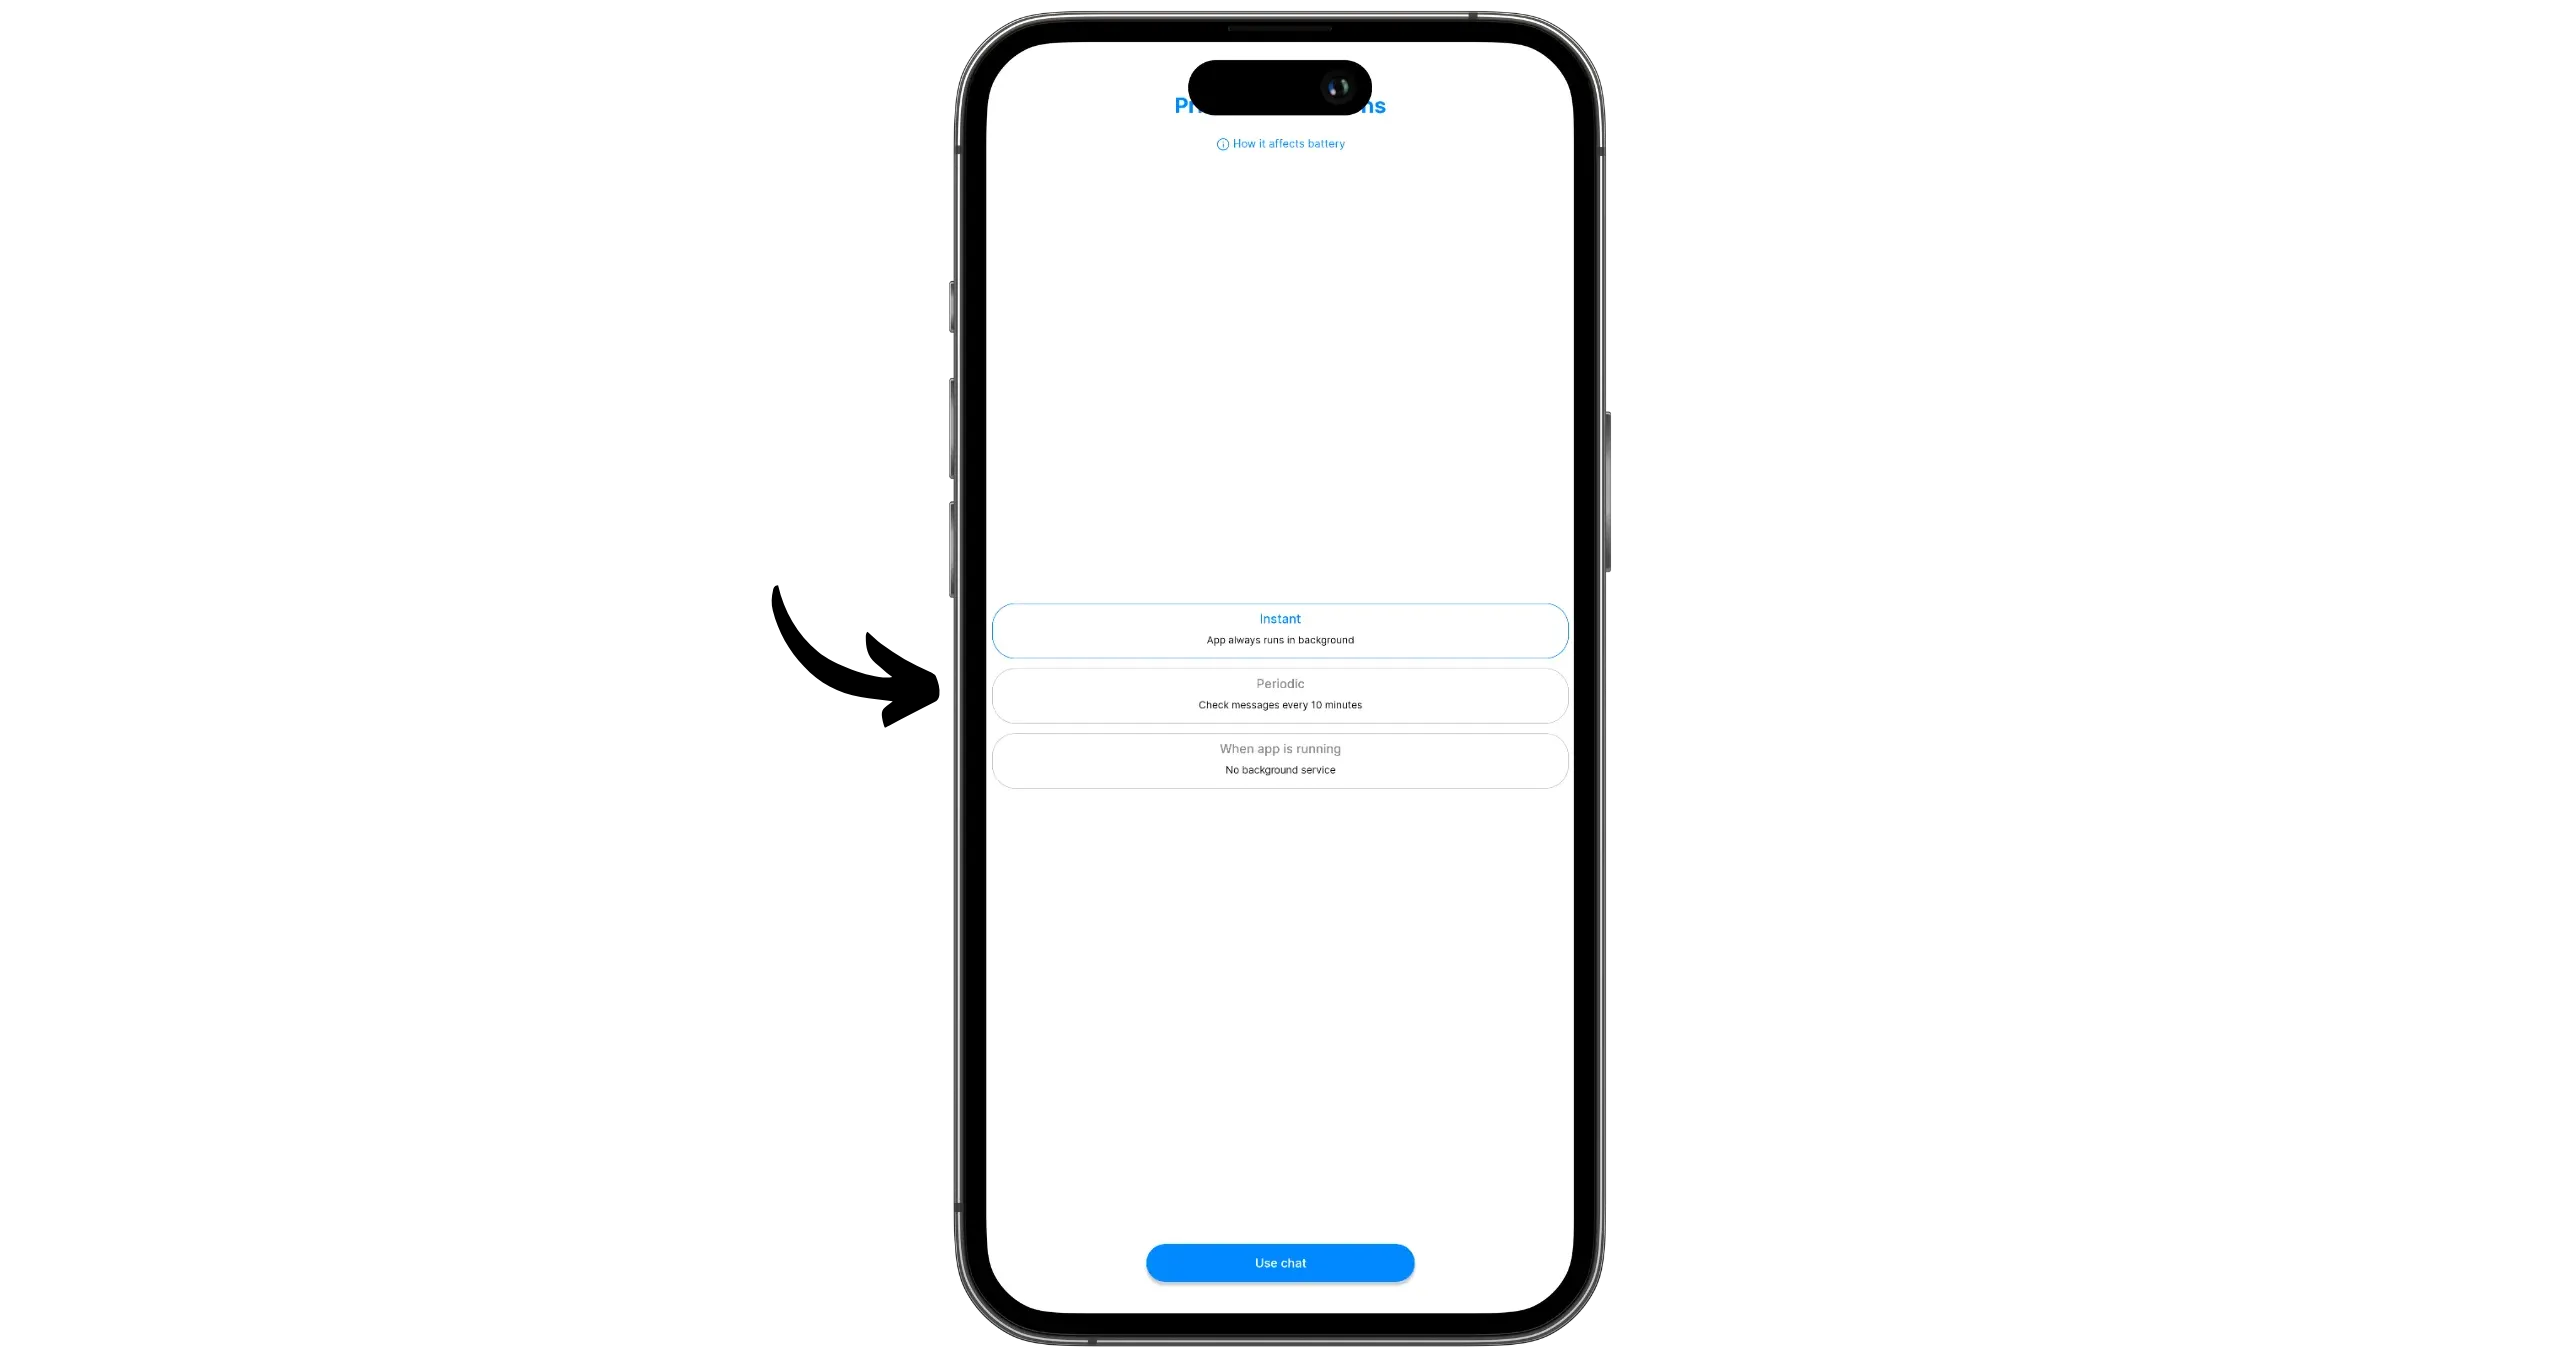
Next, set the frequency at which the application will check for new messages. If your phone’s battery life isn’t an issue, select “Instant” to receive messages in real time. If you prefer to save your battery and prevent the application from running in the background, select “When app is running”: you will then only receive messages when the application is open. A possible compromise is to opt for a periodic check every 10 minutes.
Once you’ve made your choice, click on “Use chat”.
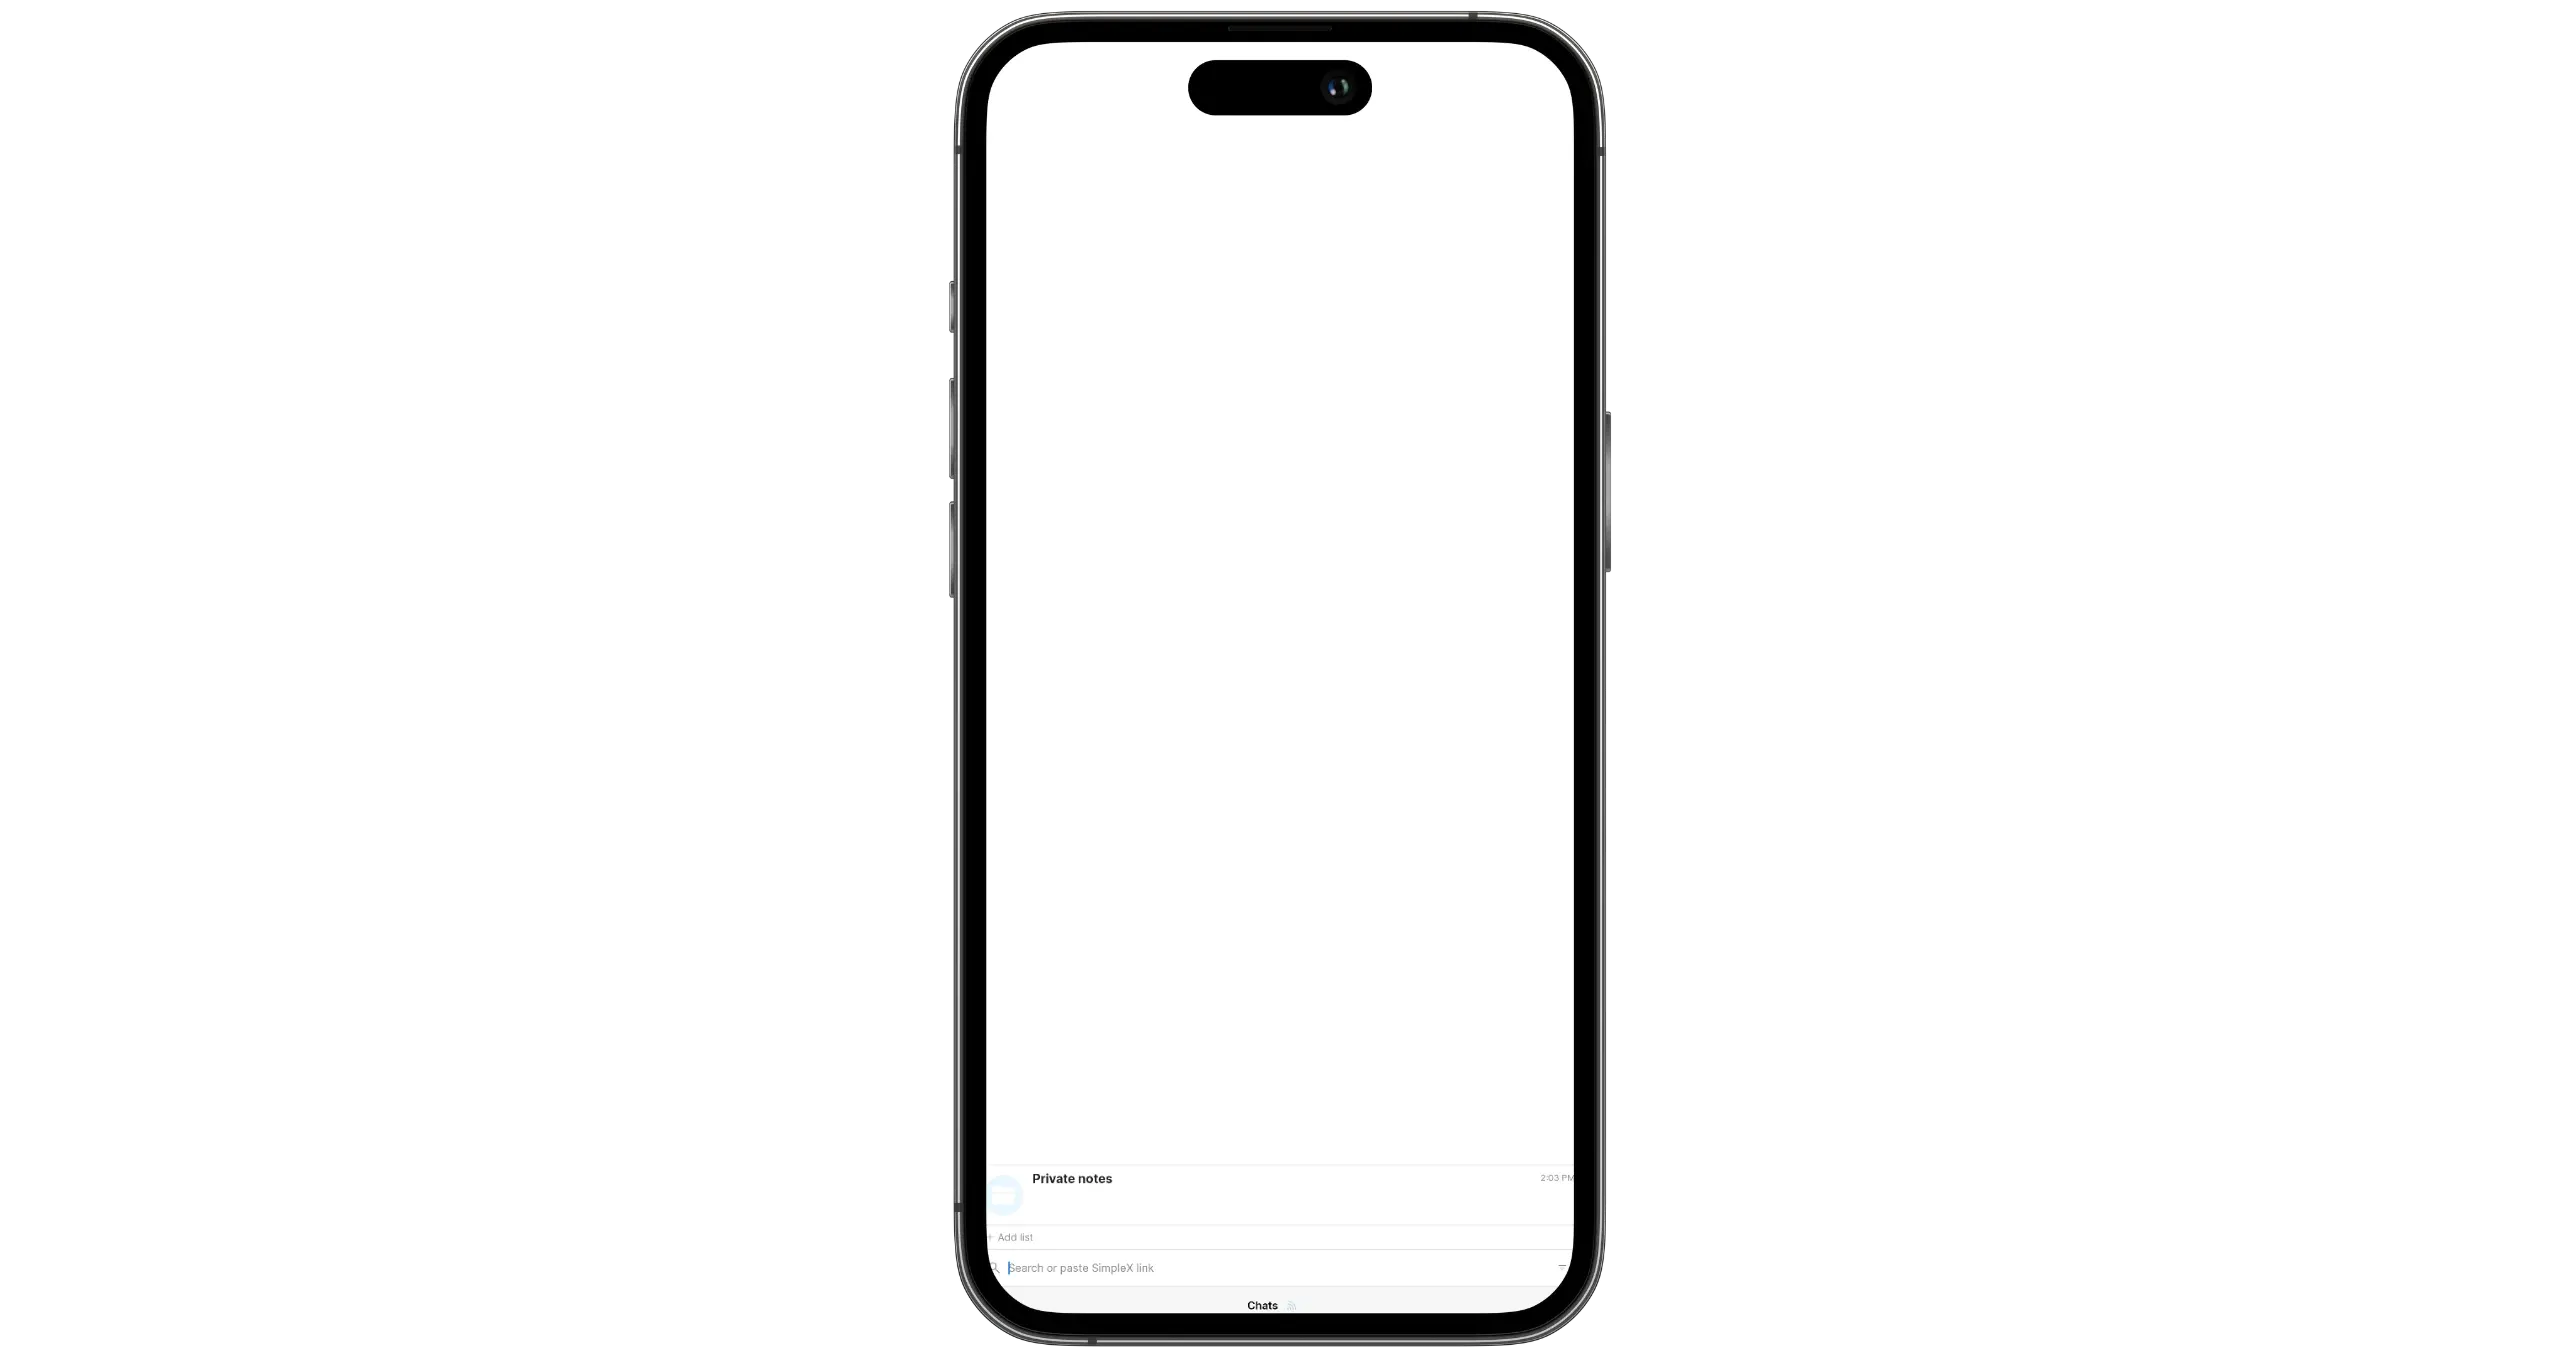
You’re now connected to SimpleX Chat and ready to start chatting.
Setting up SimpleX Chat
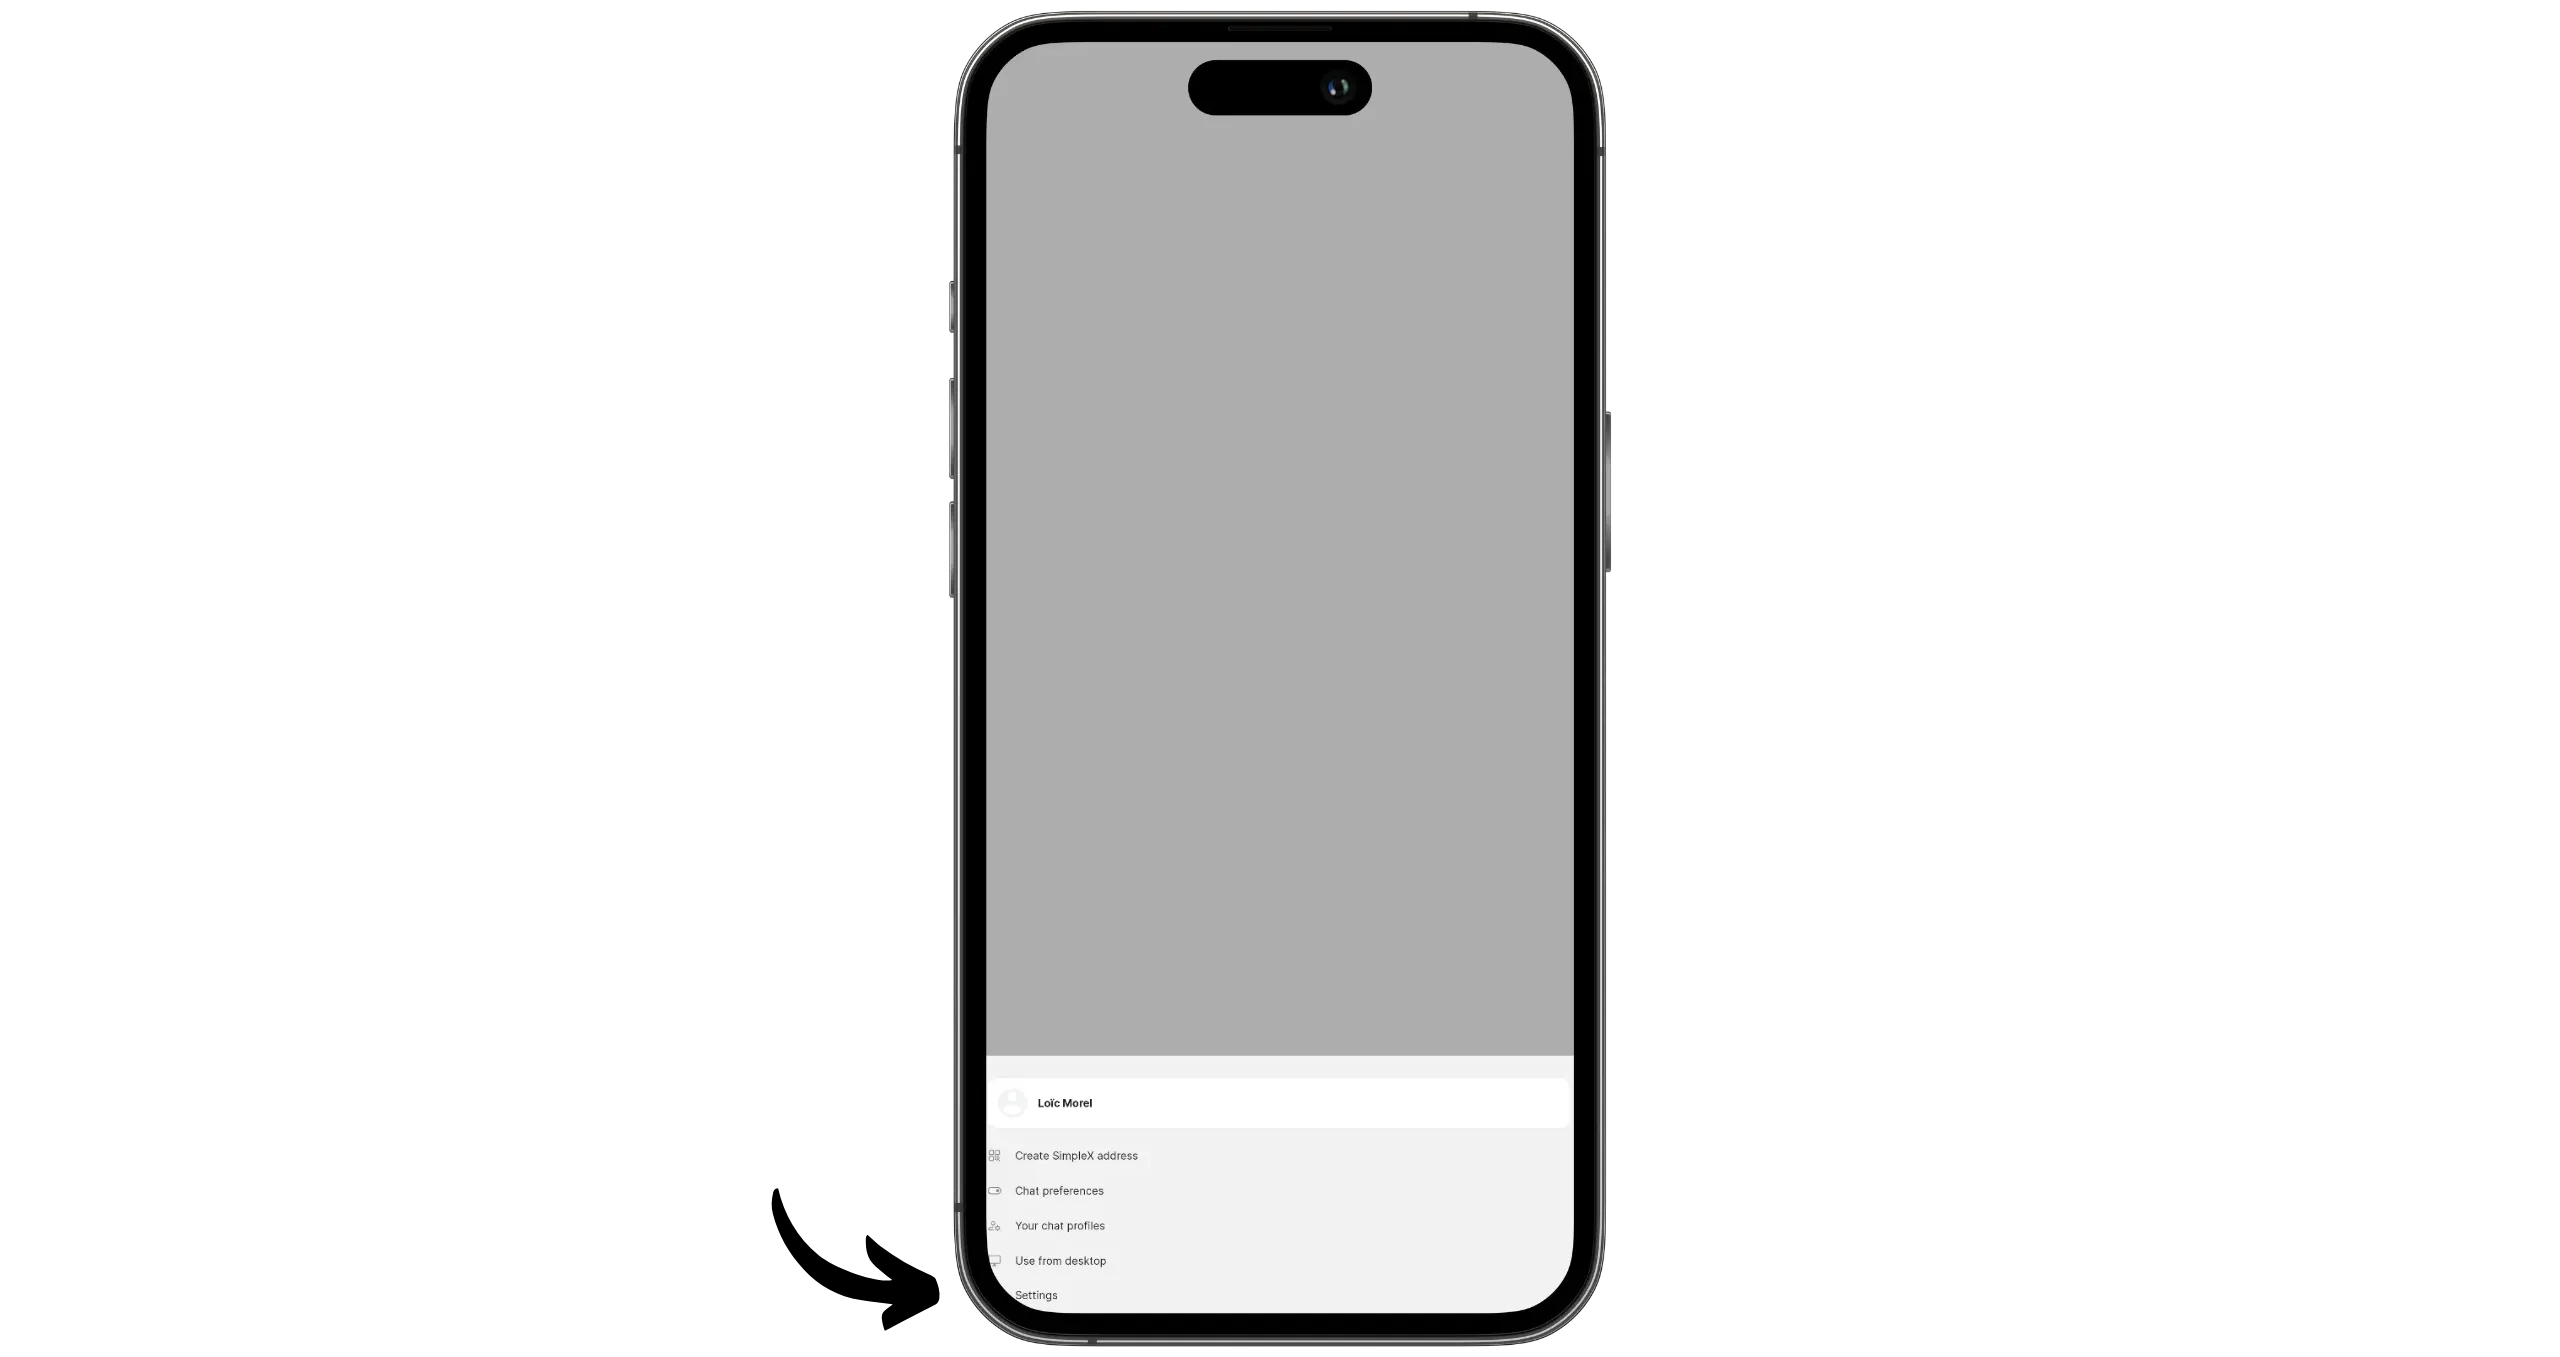
First of all, access the settings by clicking on your profile photo in the bottom right-hand corner, then on “Settings”.
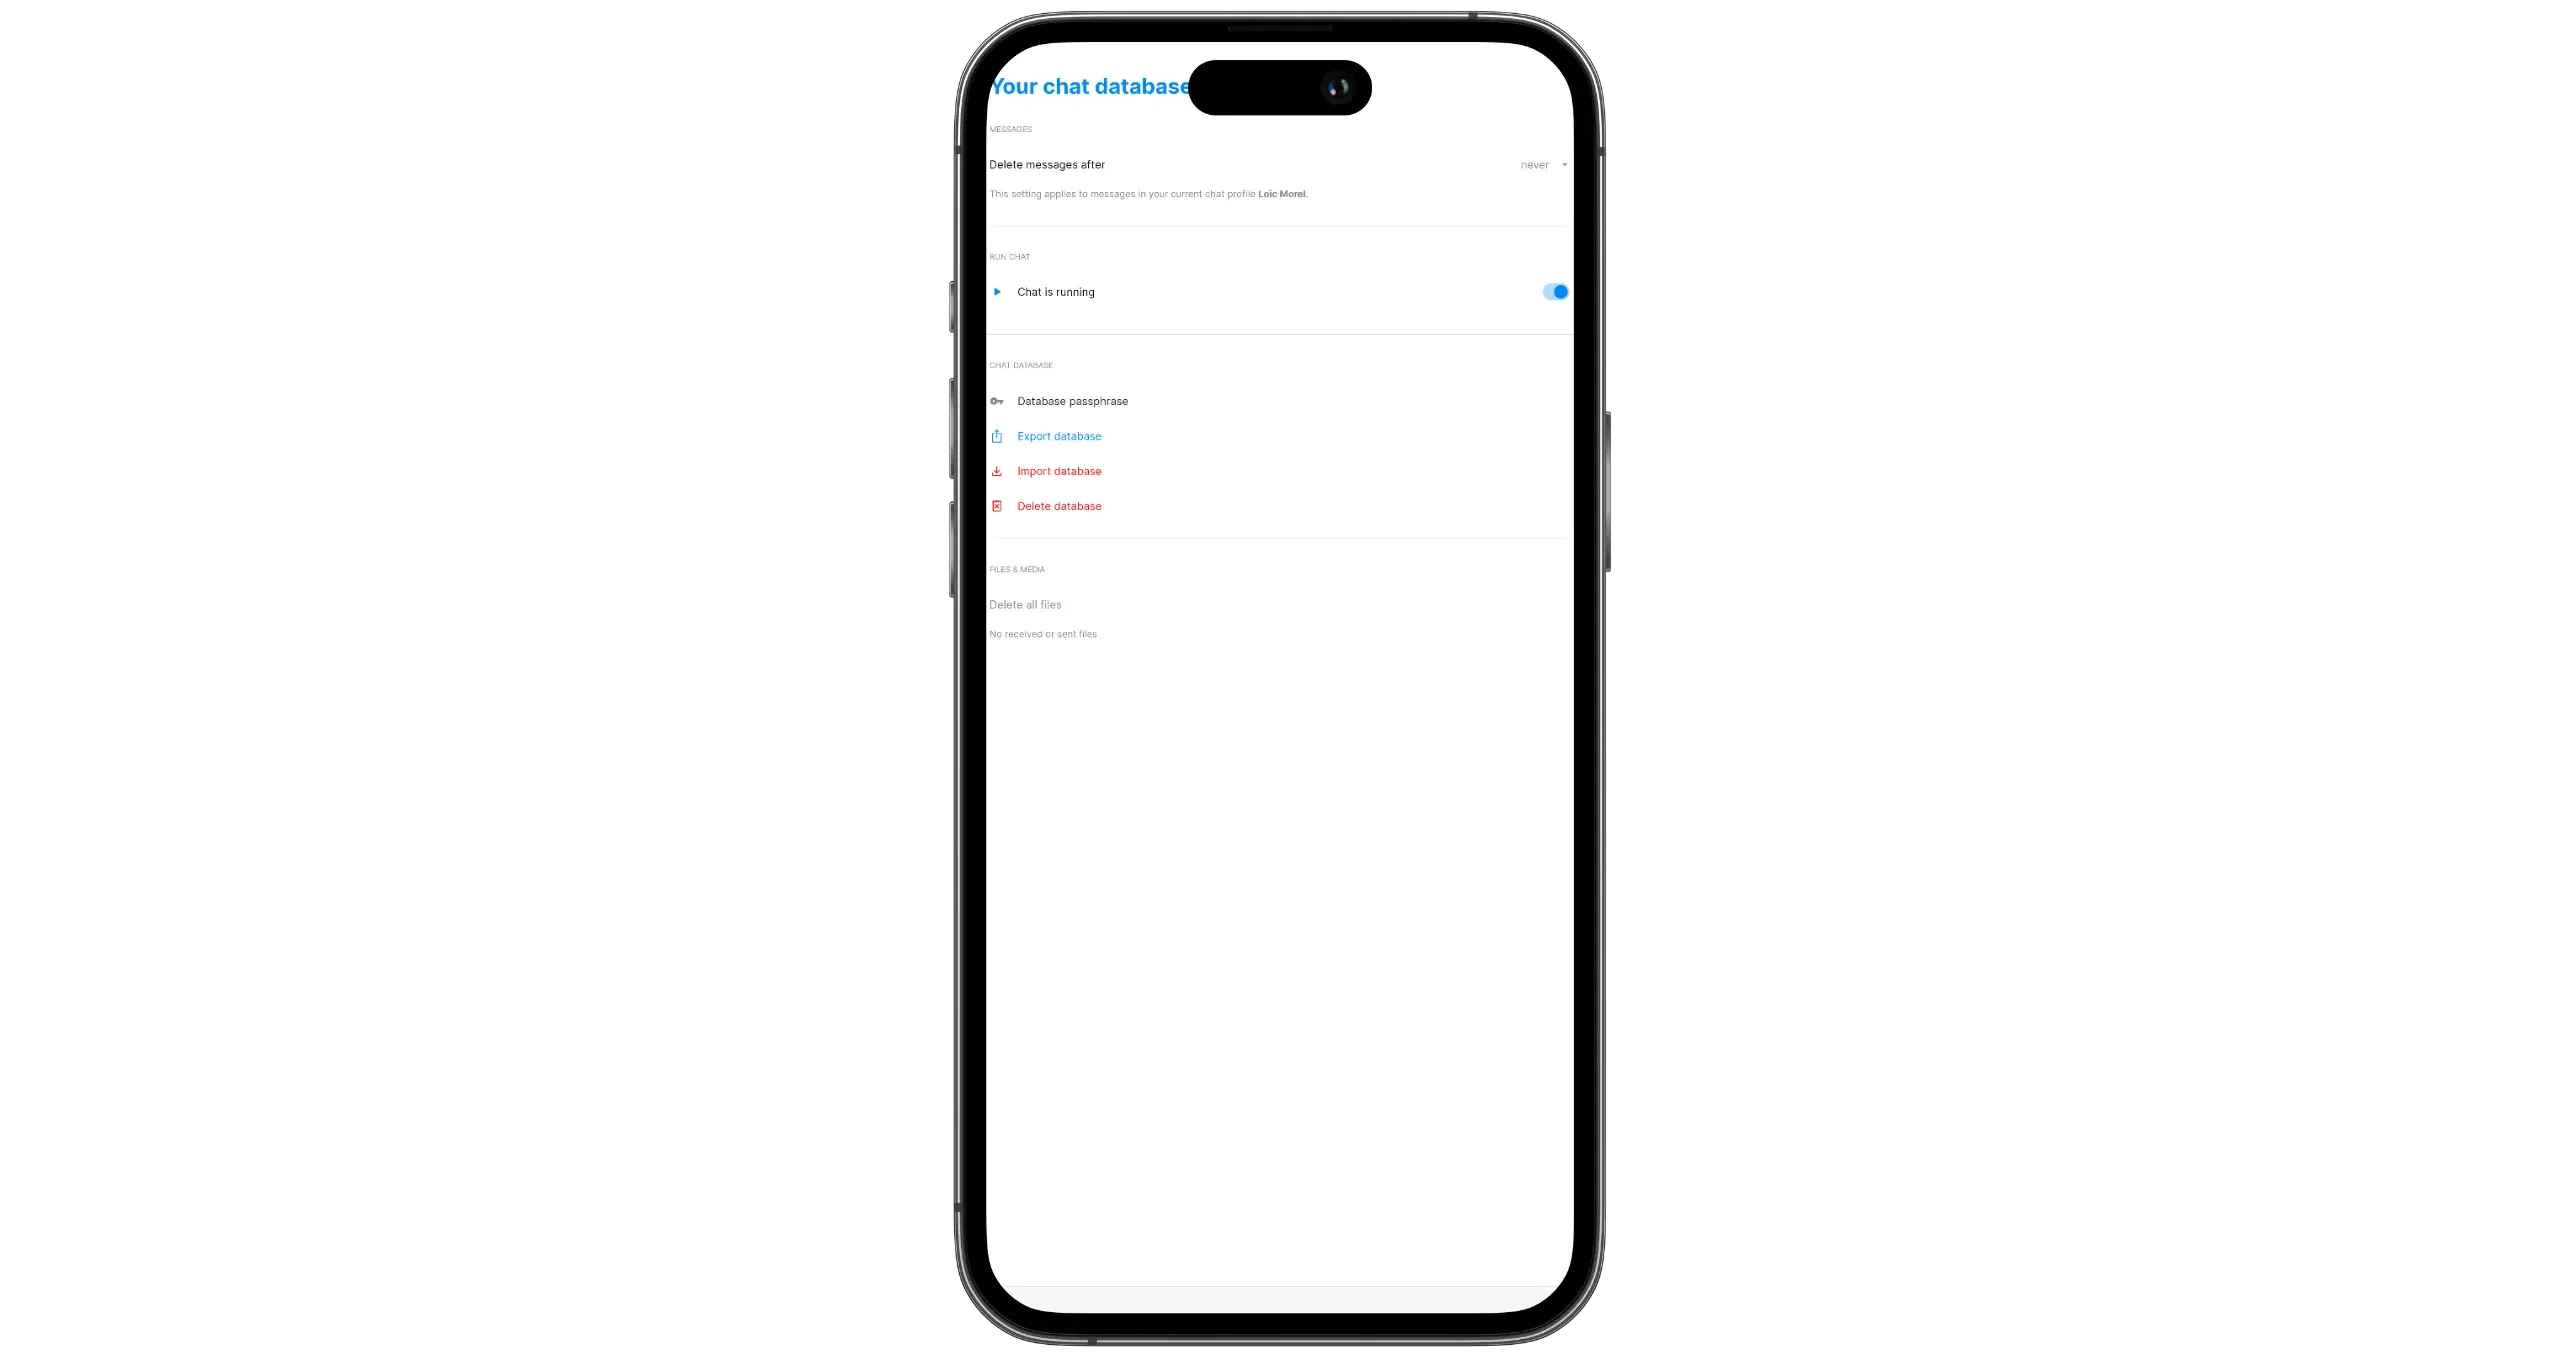
The default settings are generally suitable for most users. However, I recommend that you go to the “Database passphrase & export” menu. This is where you can export your SimpleX account database for backup purposes.
You can also modify the passphrase used to encrypt this database. By default, it is randomly generated and stored locally on your device. If you prefer, you can define your own passphrase and delete the local passphrase backup: you’ll then have to enter it manually each time you open the application, as well as when you migrate to another device.
Important: if you choose this option, the loss of the passphrase will result in the permanent loss of all your SimpleX profiles and messages.
I also recommend that you go to the “Privacy & security” menu, where you can activate the “SimpleX Lock” option. This protects access to the application with a lock code.
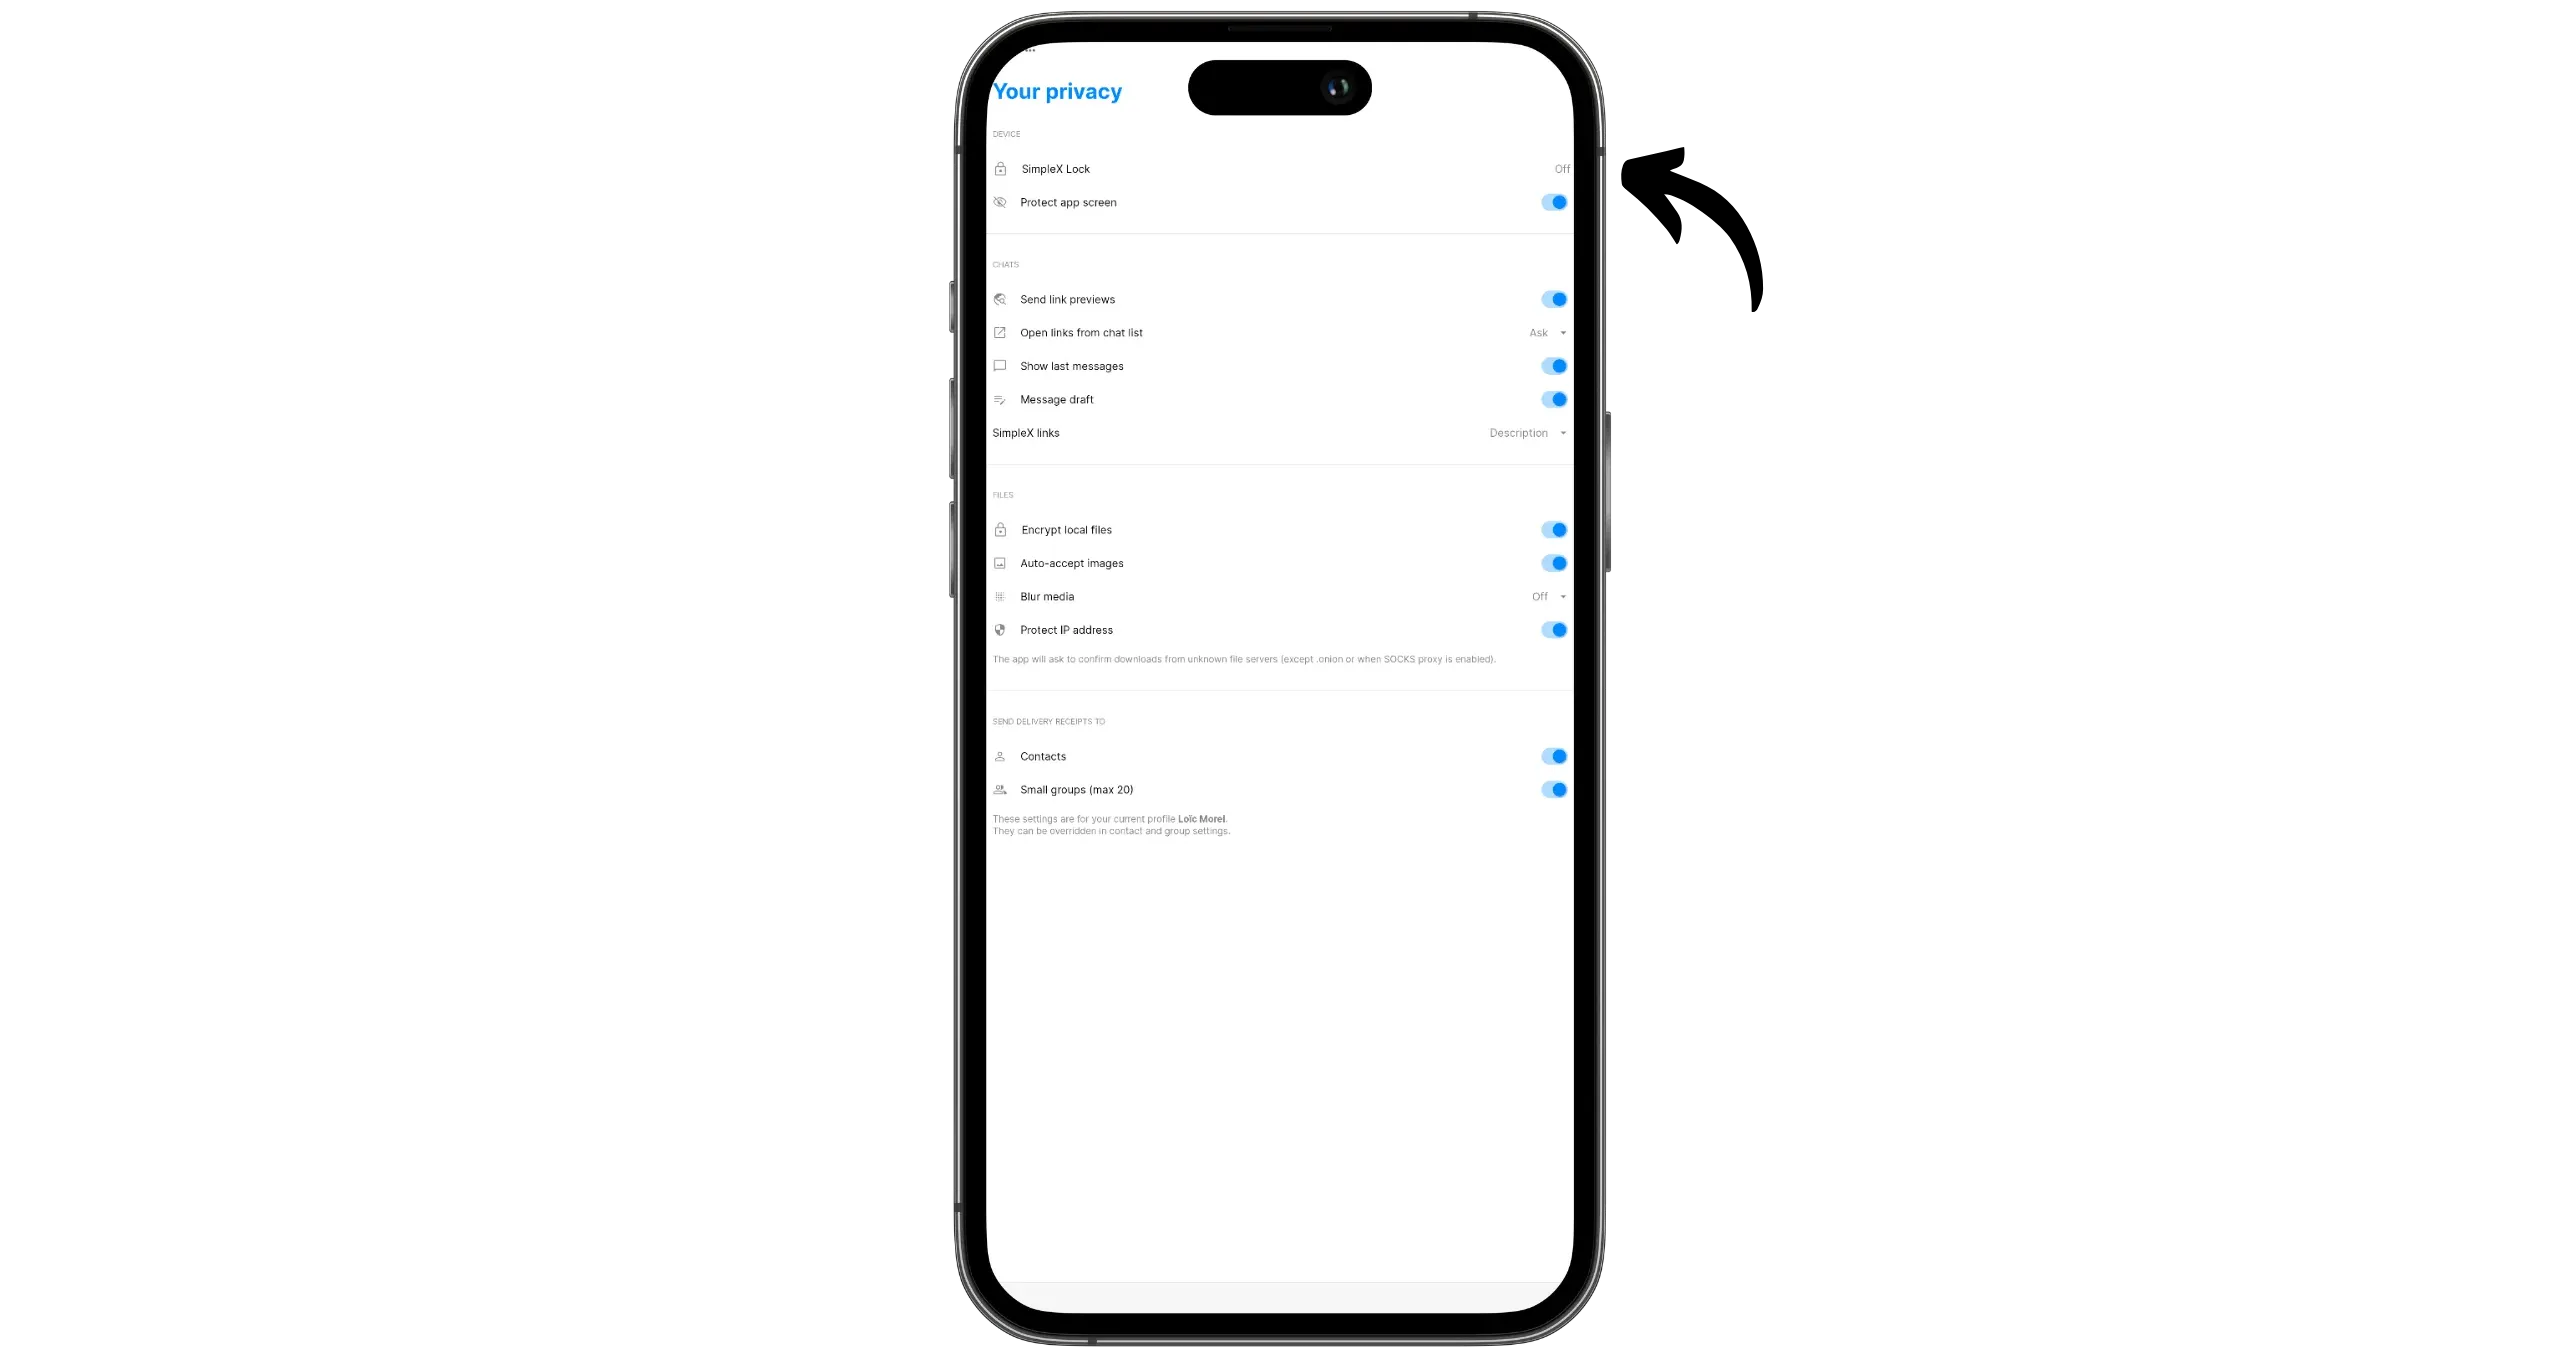
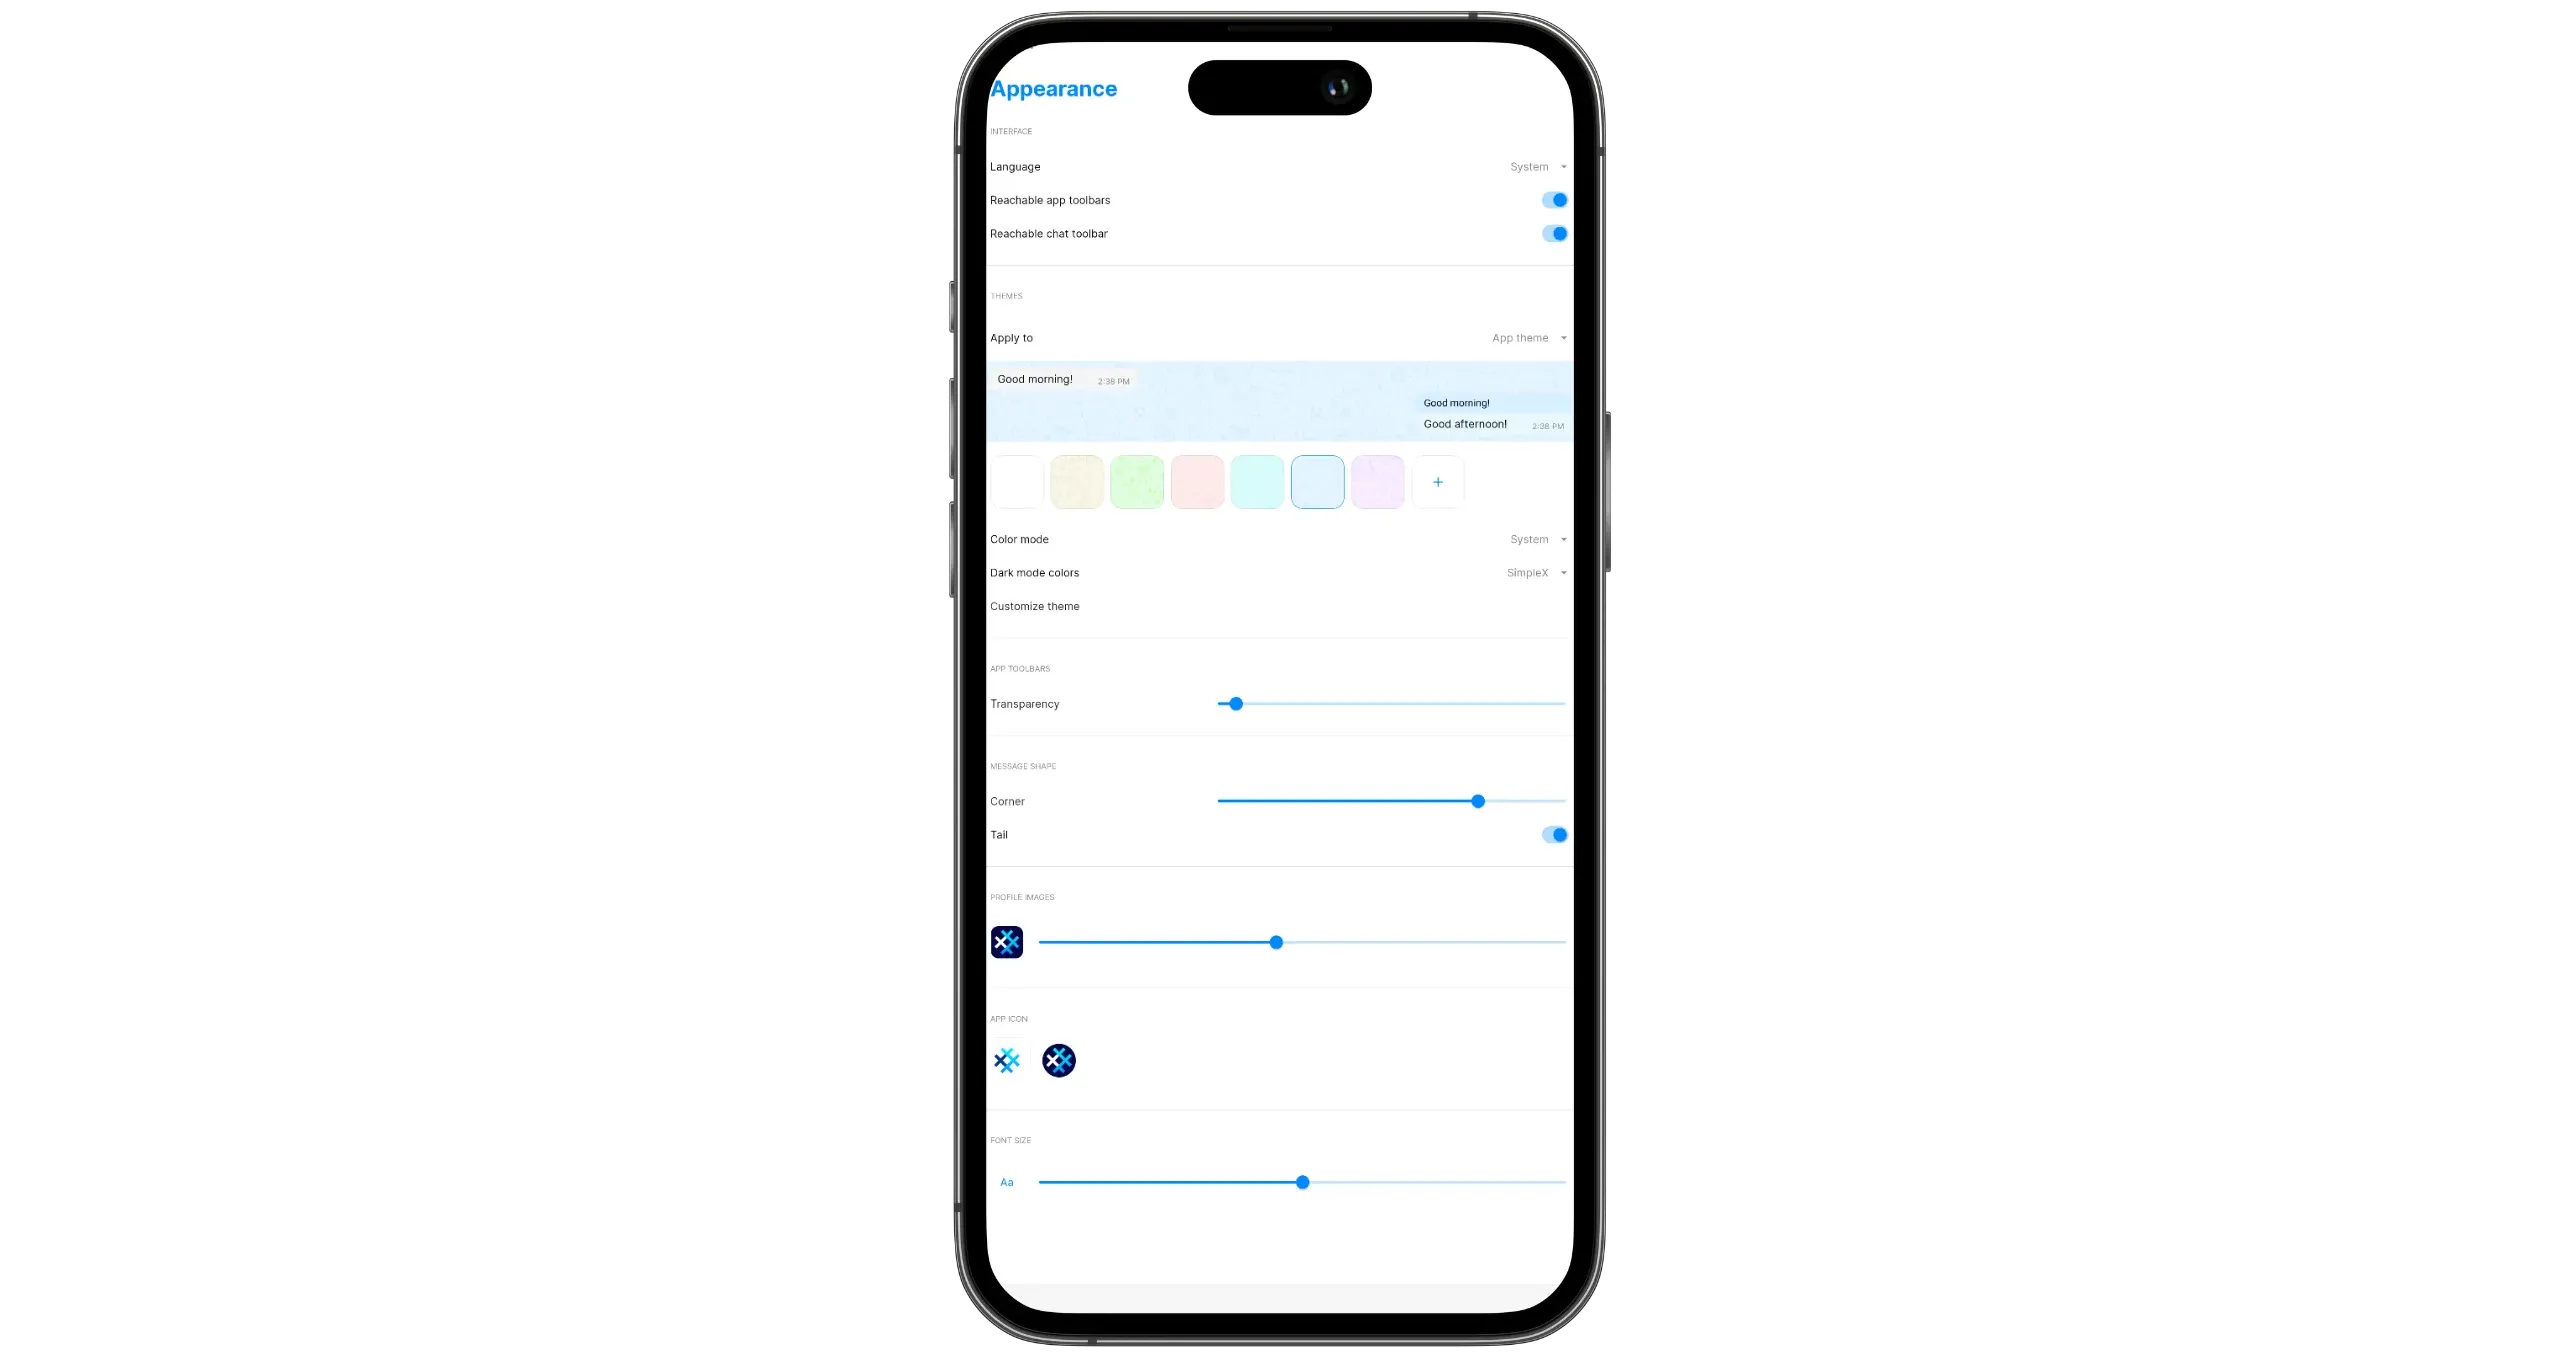
Finally, the “Notifications” and “Appearance” menus let you customize SimpleX Chat to suit your preferences.
Send messages with SimpleX Chat
To connect with another person on SimpleX, you have two options:
- Use a single-use link
- Use a reusable static address
A static address allows anyone who knows it to contact you on SimpleX. It’s a persistent address, which can be used several times, by different people, with no time limit. It’s this persistence that makes it more vulnerable to spam. However, unlike other messaging applications, deleting your SimpleX address is enough to stop all spam, without affecting existing conversations. In fact, this address is only used to establish the initial connection, and is no longer needed once the exchange has begun.
Single-use links, on the other hand, can only be used once, by any user. Once a contact uses it, the link becomes invalid. You’ll need to generate a new one for each new connection.
With static address
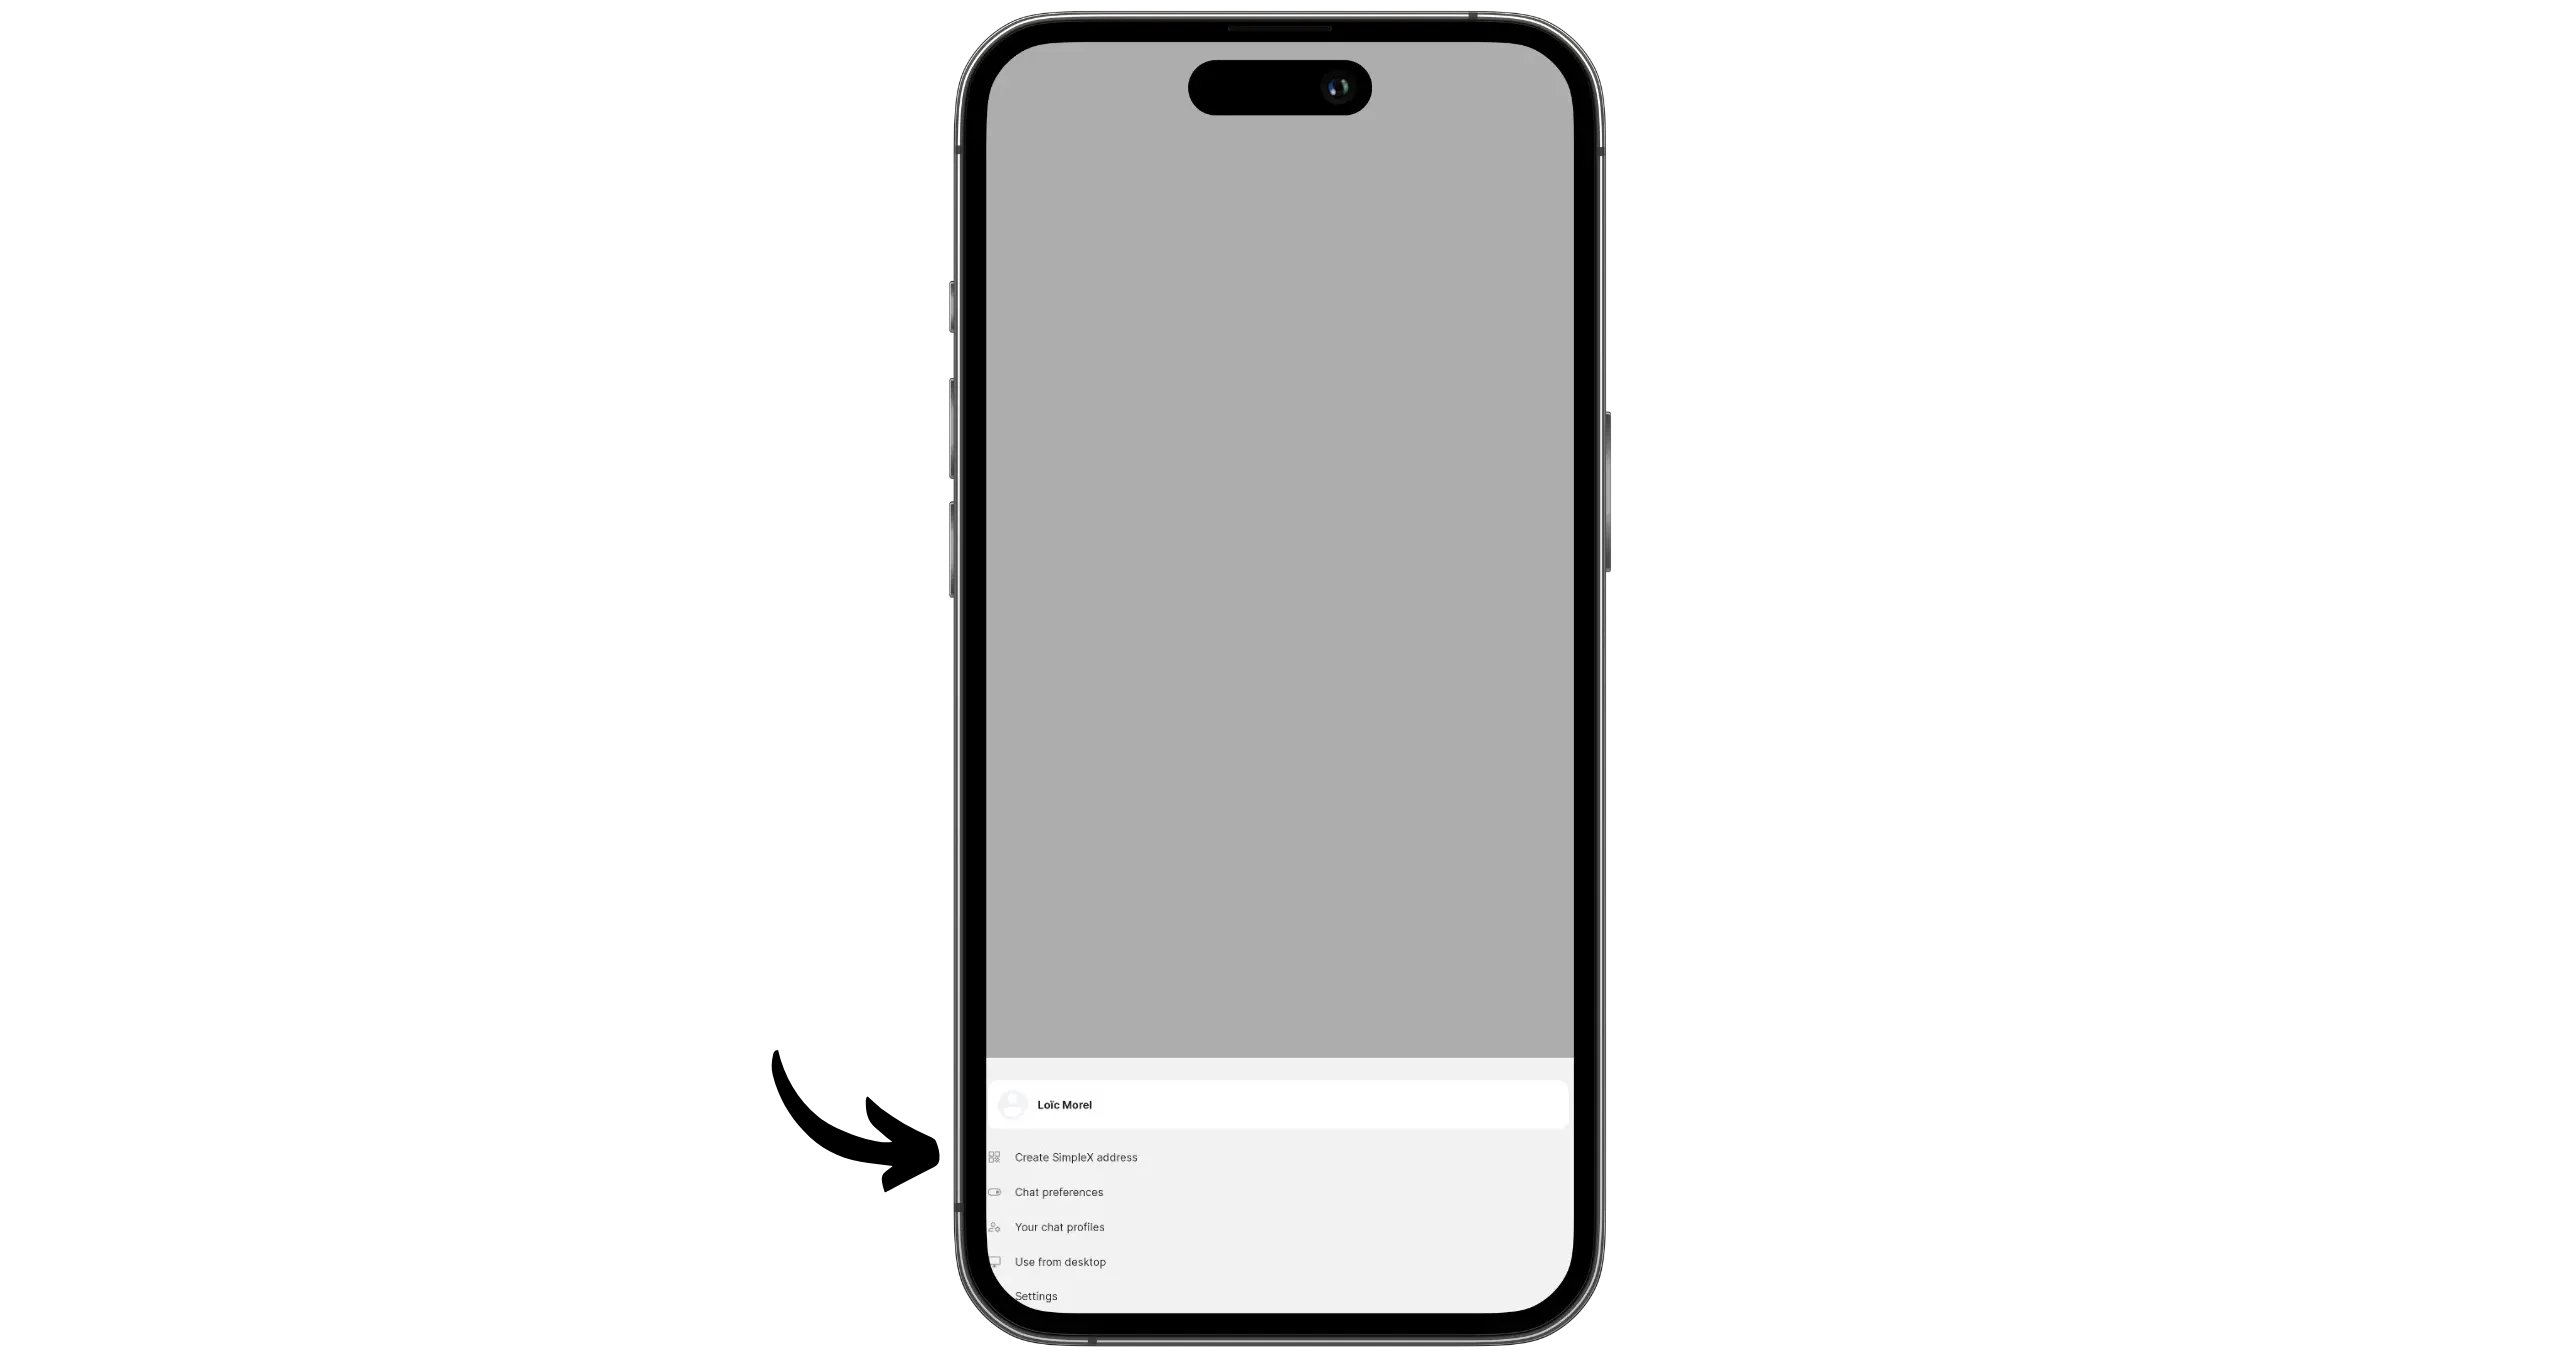
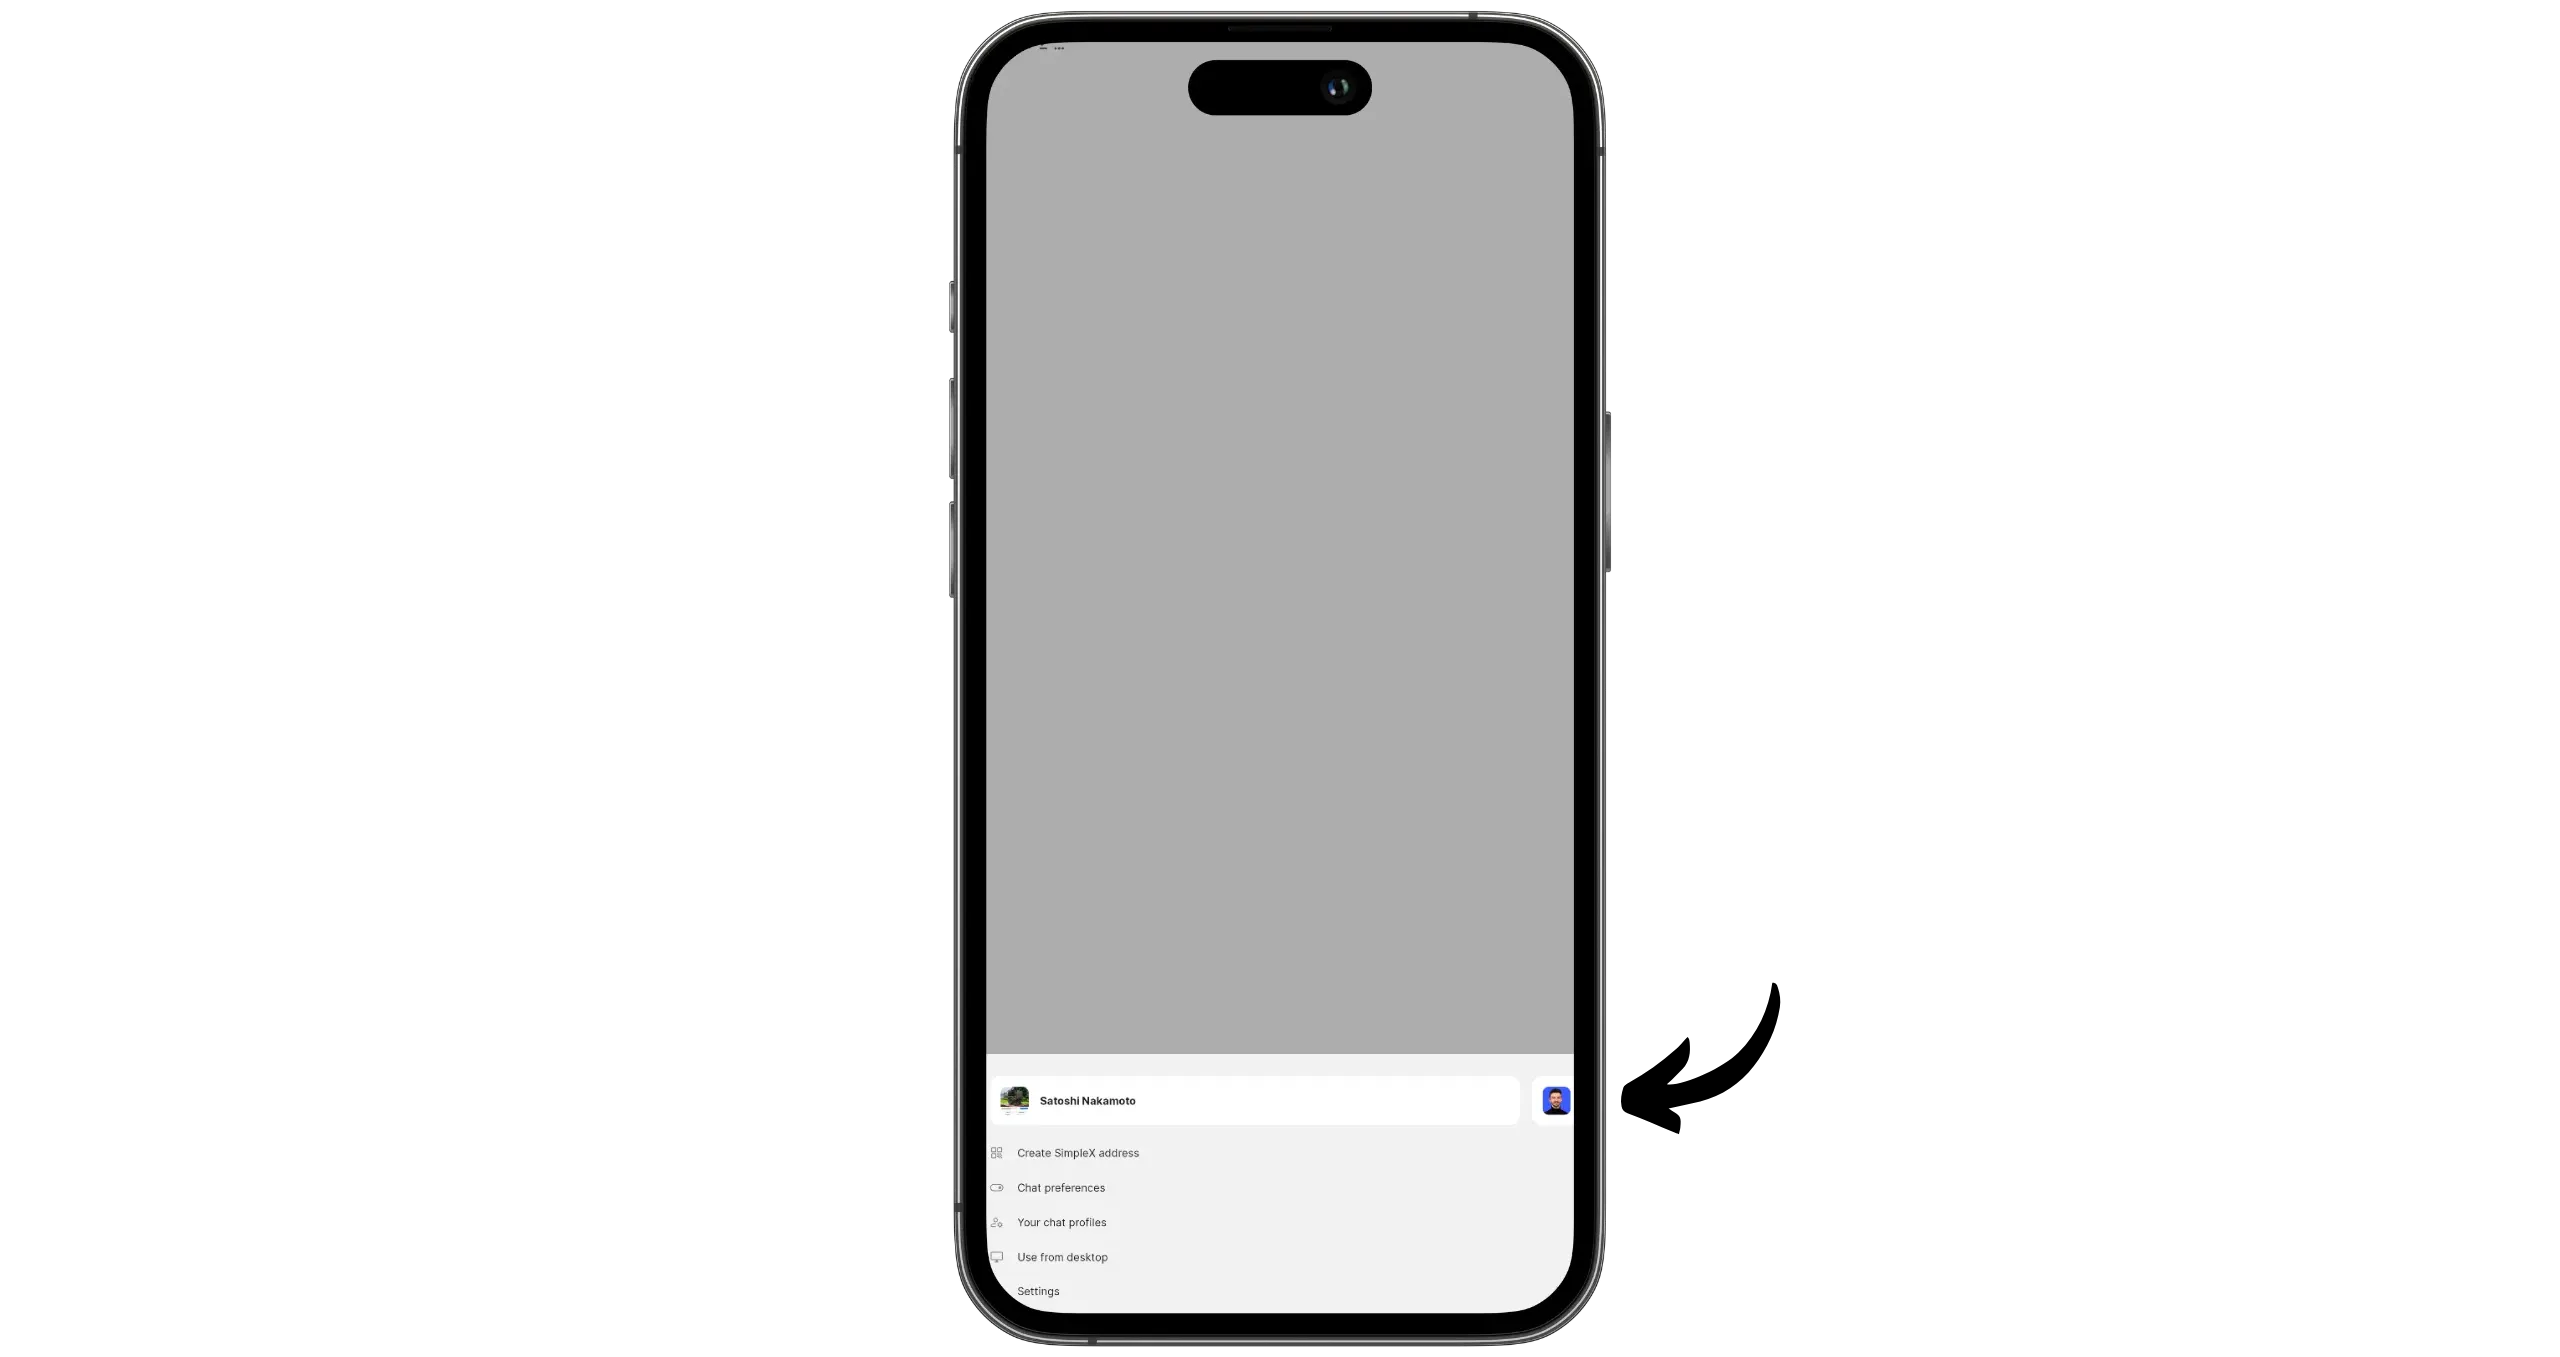
If you wish to use the address, click on your profile picture at the bottom left of the Interface, then select “Create SimpleX Address”. Then click on “Create SimpleX Address” again.
Your reusable address has now been created. You can share it with people who want to get in touch with you, either by showing them the QR code, or by sending them the link.
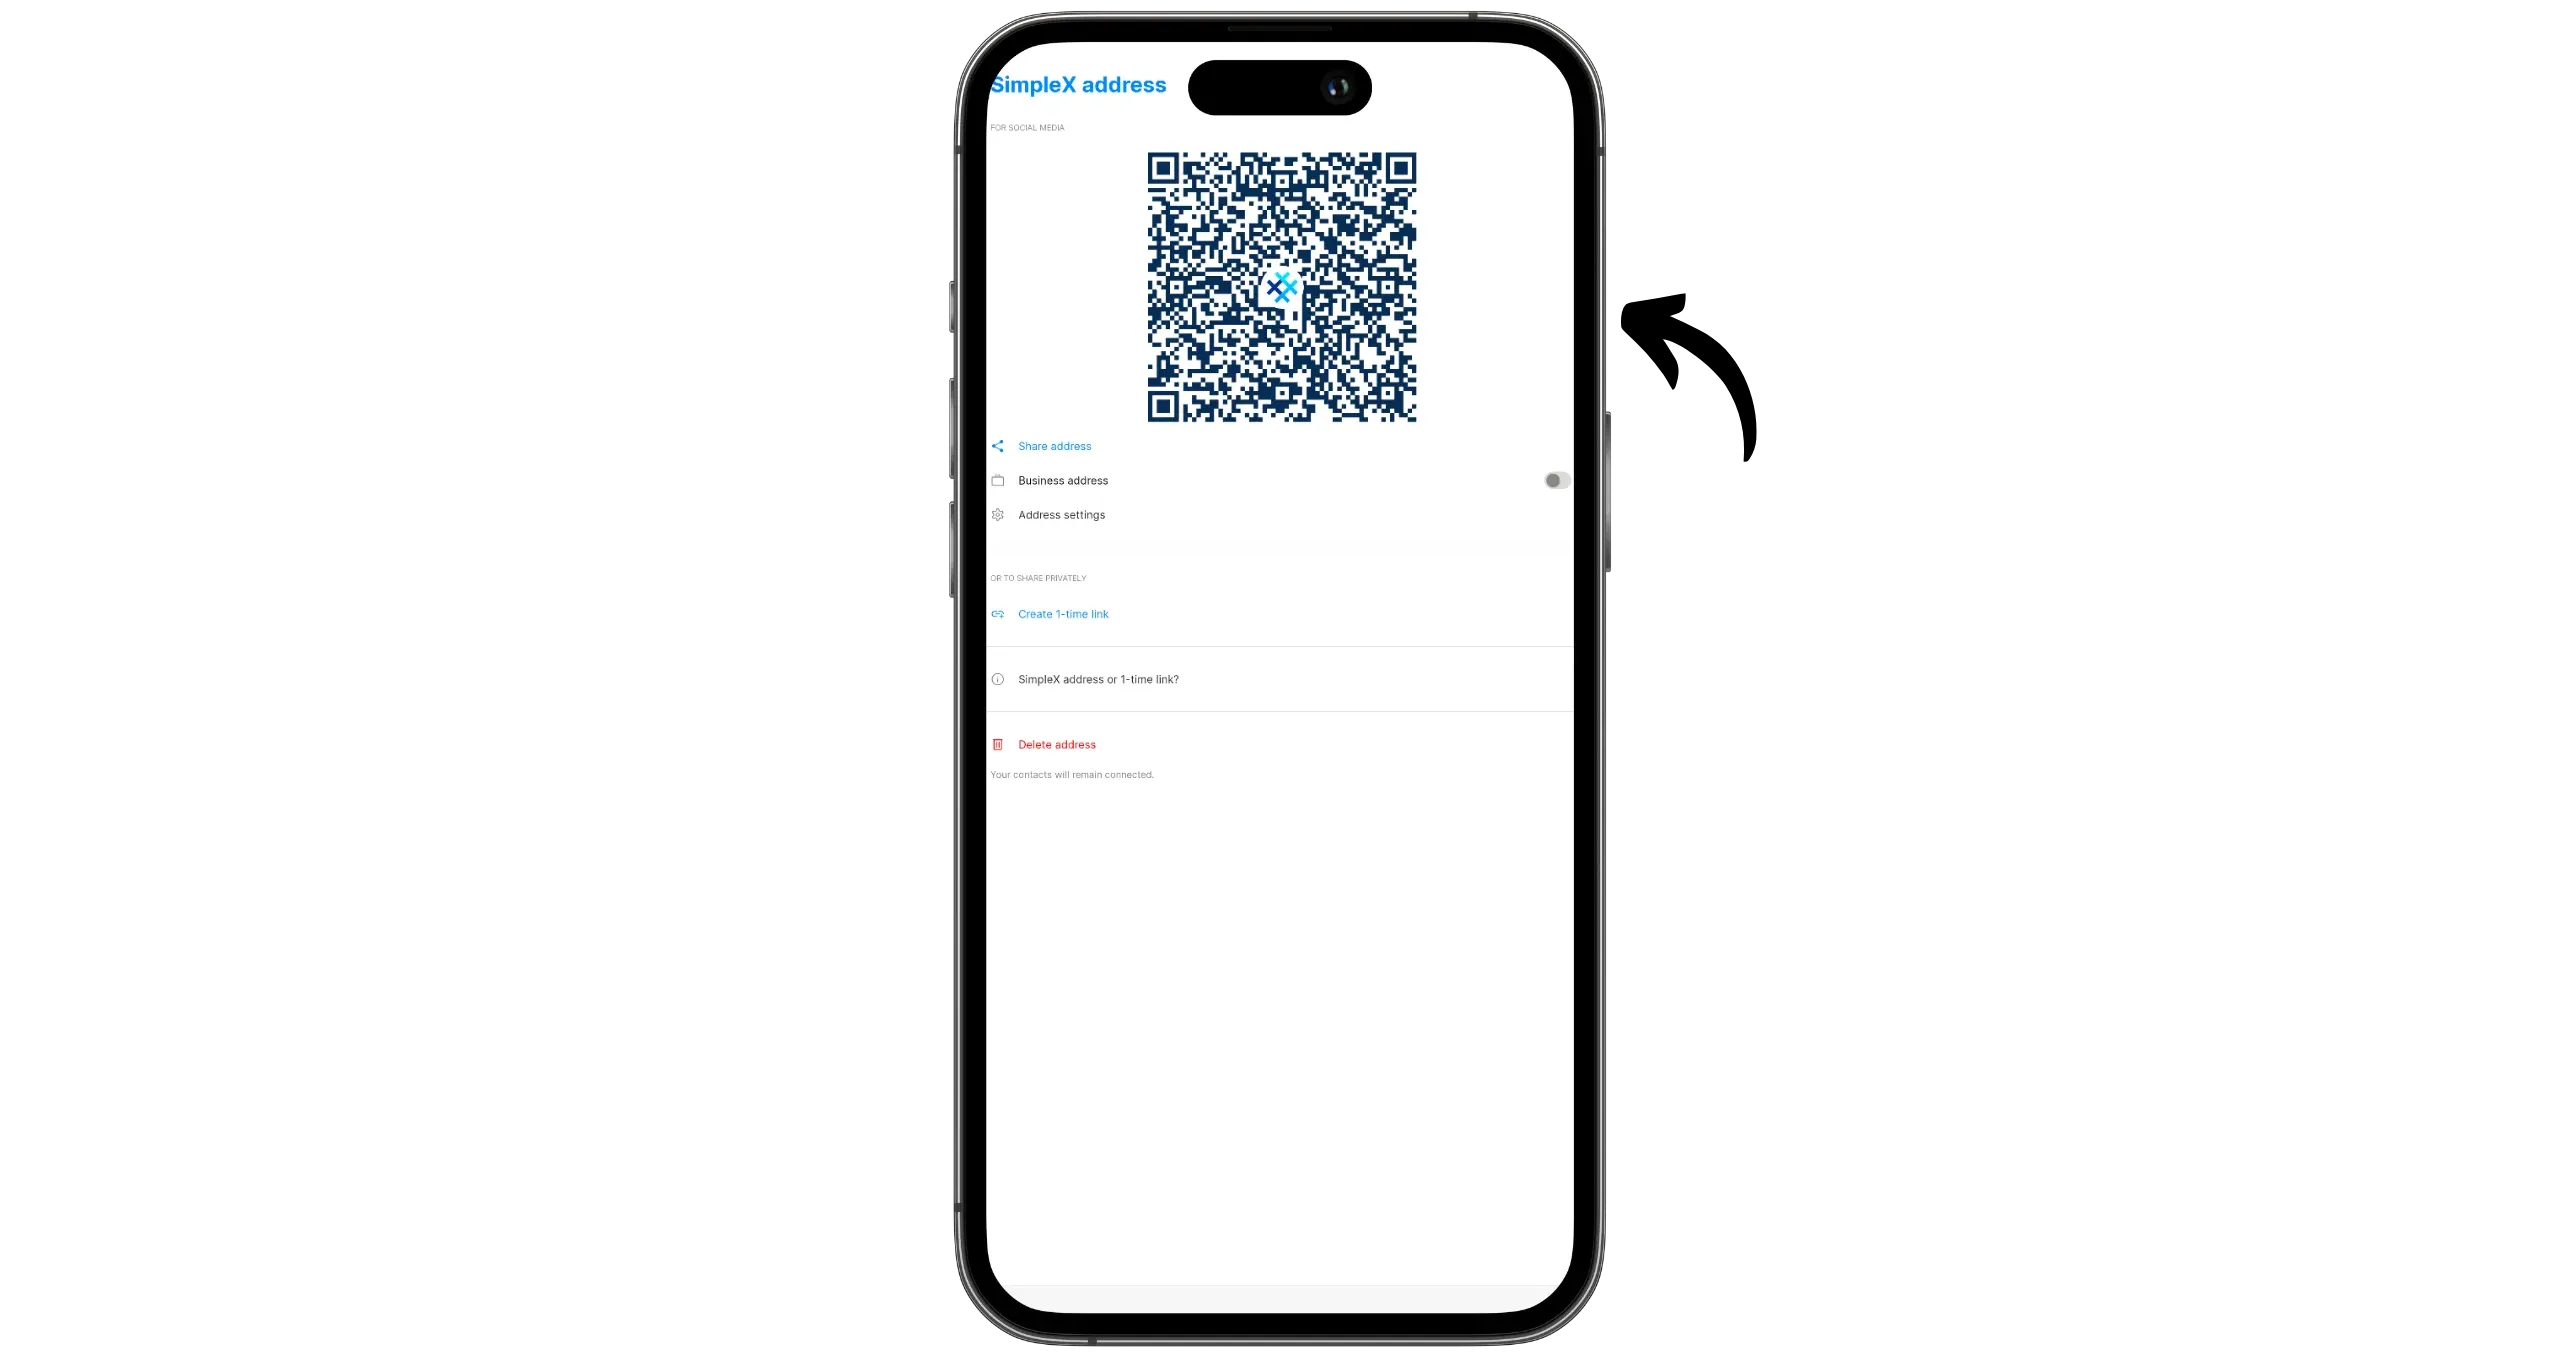
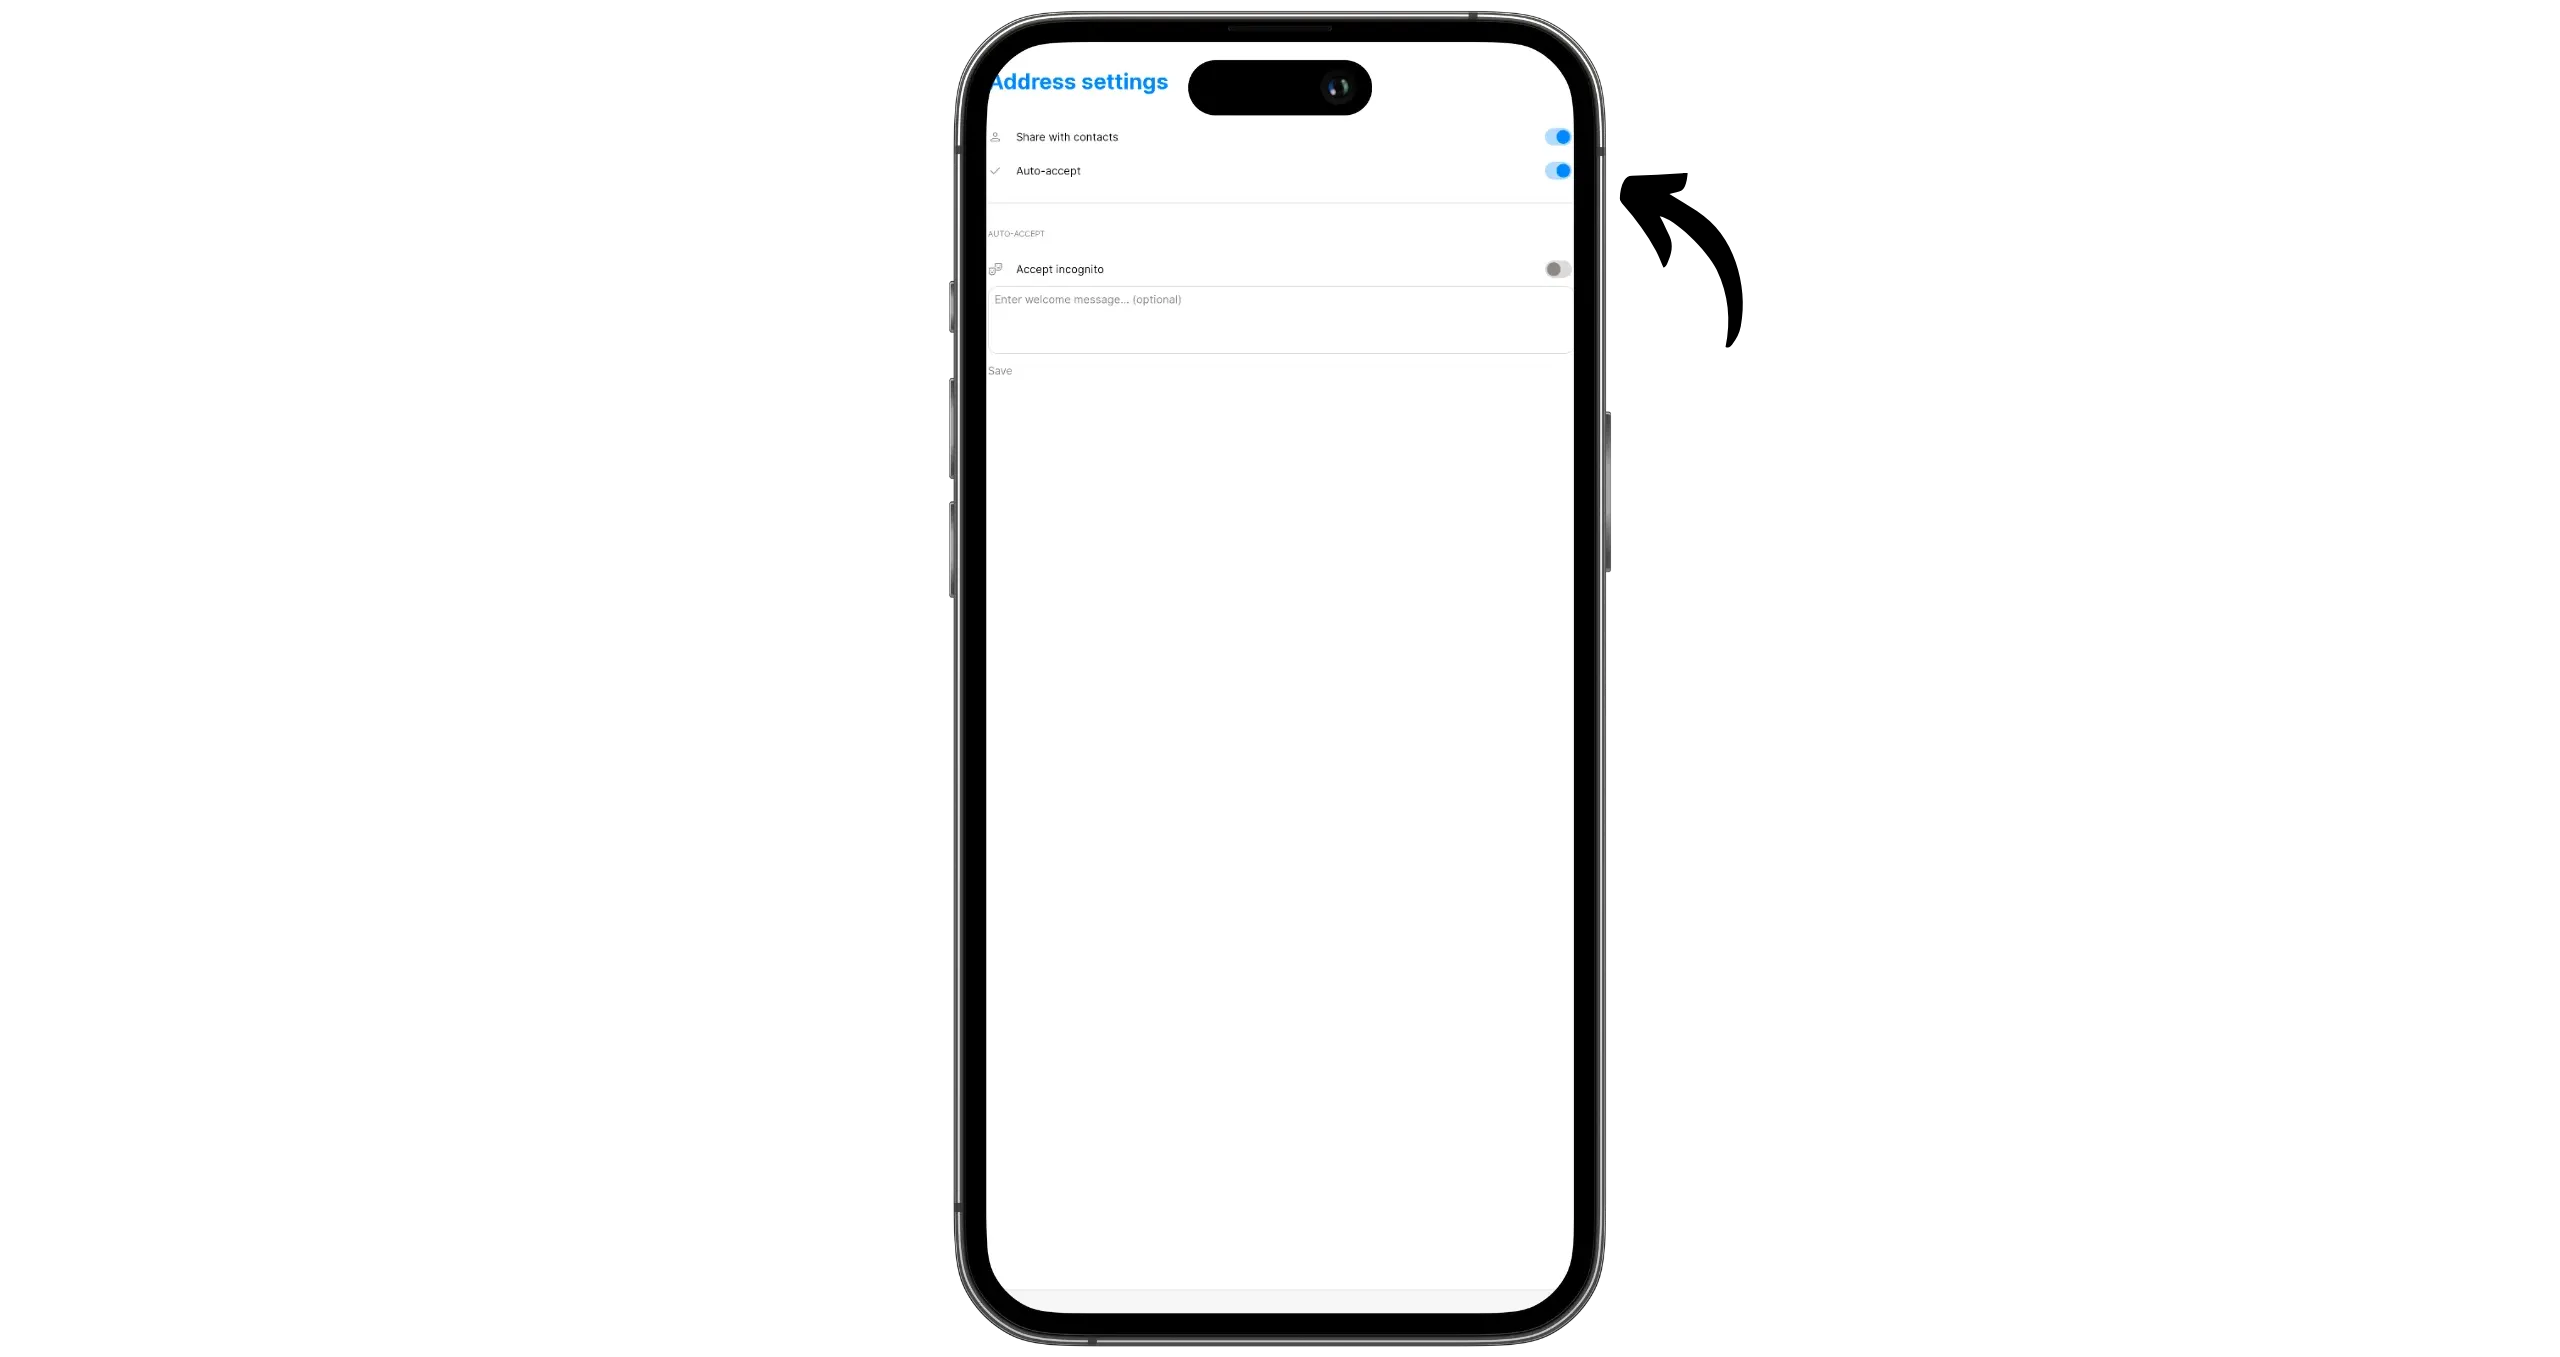
Click on the “Address settings” button. Here you can configure the permissions associated with your address. The “Share with contacts” option makes your address visible on your SimpleX profile. Your contacts will then be able to consult it and forward it to other people wishing to contact you.
The “Auto-accept” option automatically accepts incoming connections via your address. This means that anyone with your address will be able to see your profile and send you a message, unless you activate the “Accept incognito” option. This hides your name and profile photo when a new connection is made, replacing them with a random pseudonym, distinct for each interlocutor.
With reusable link
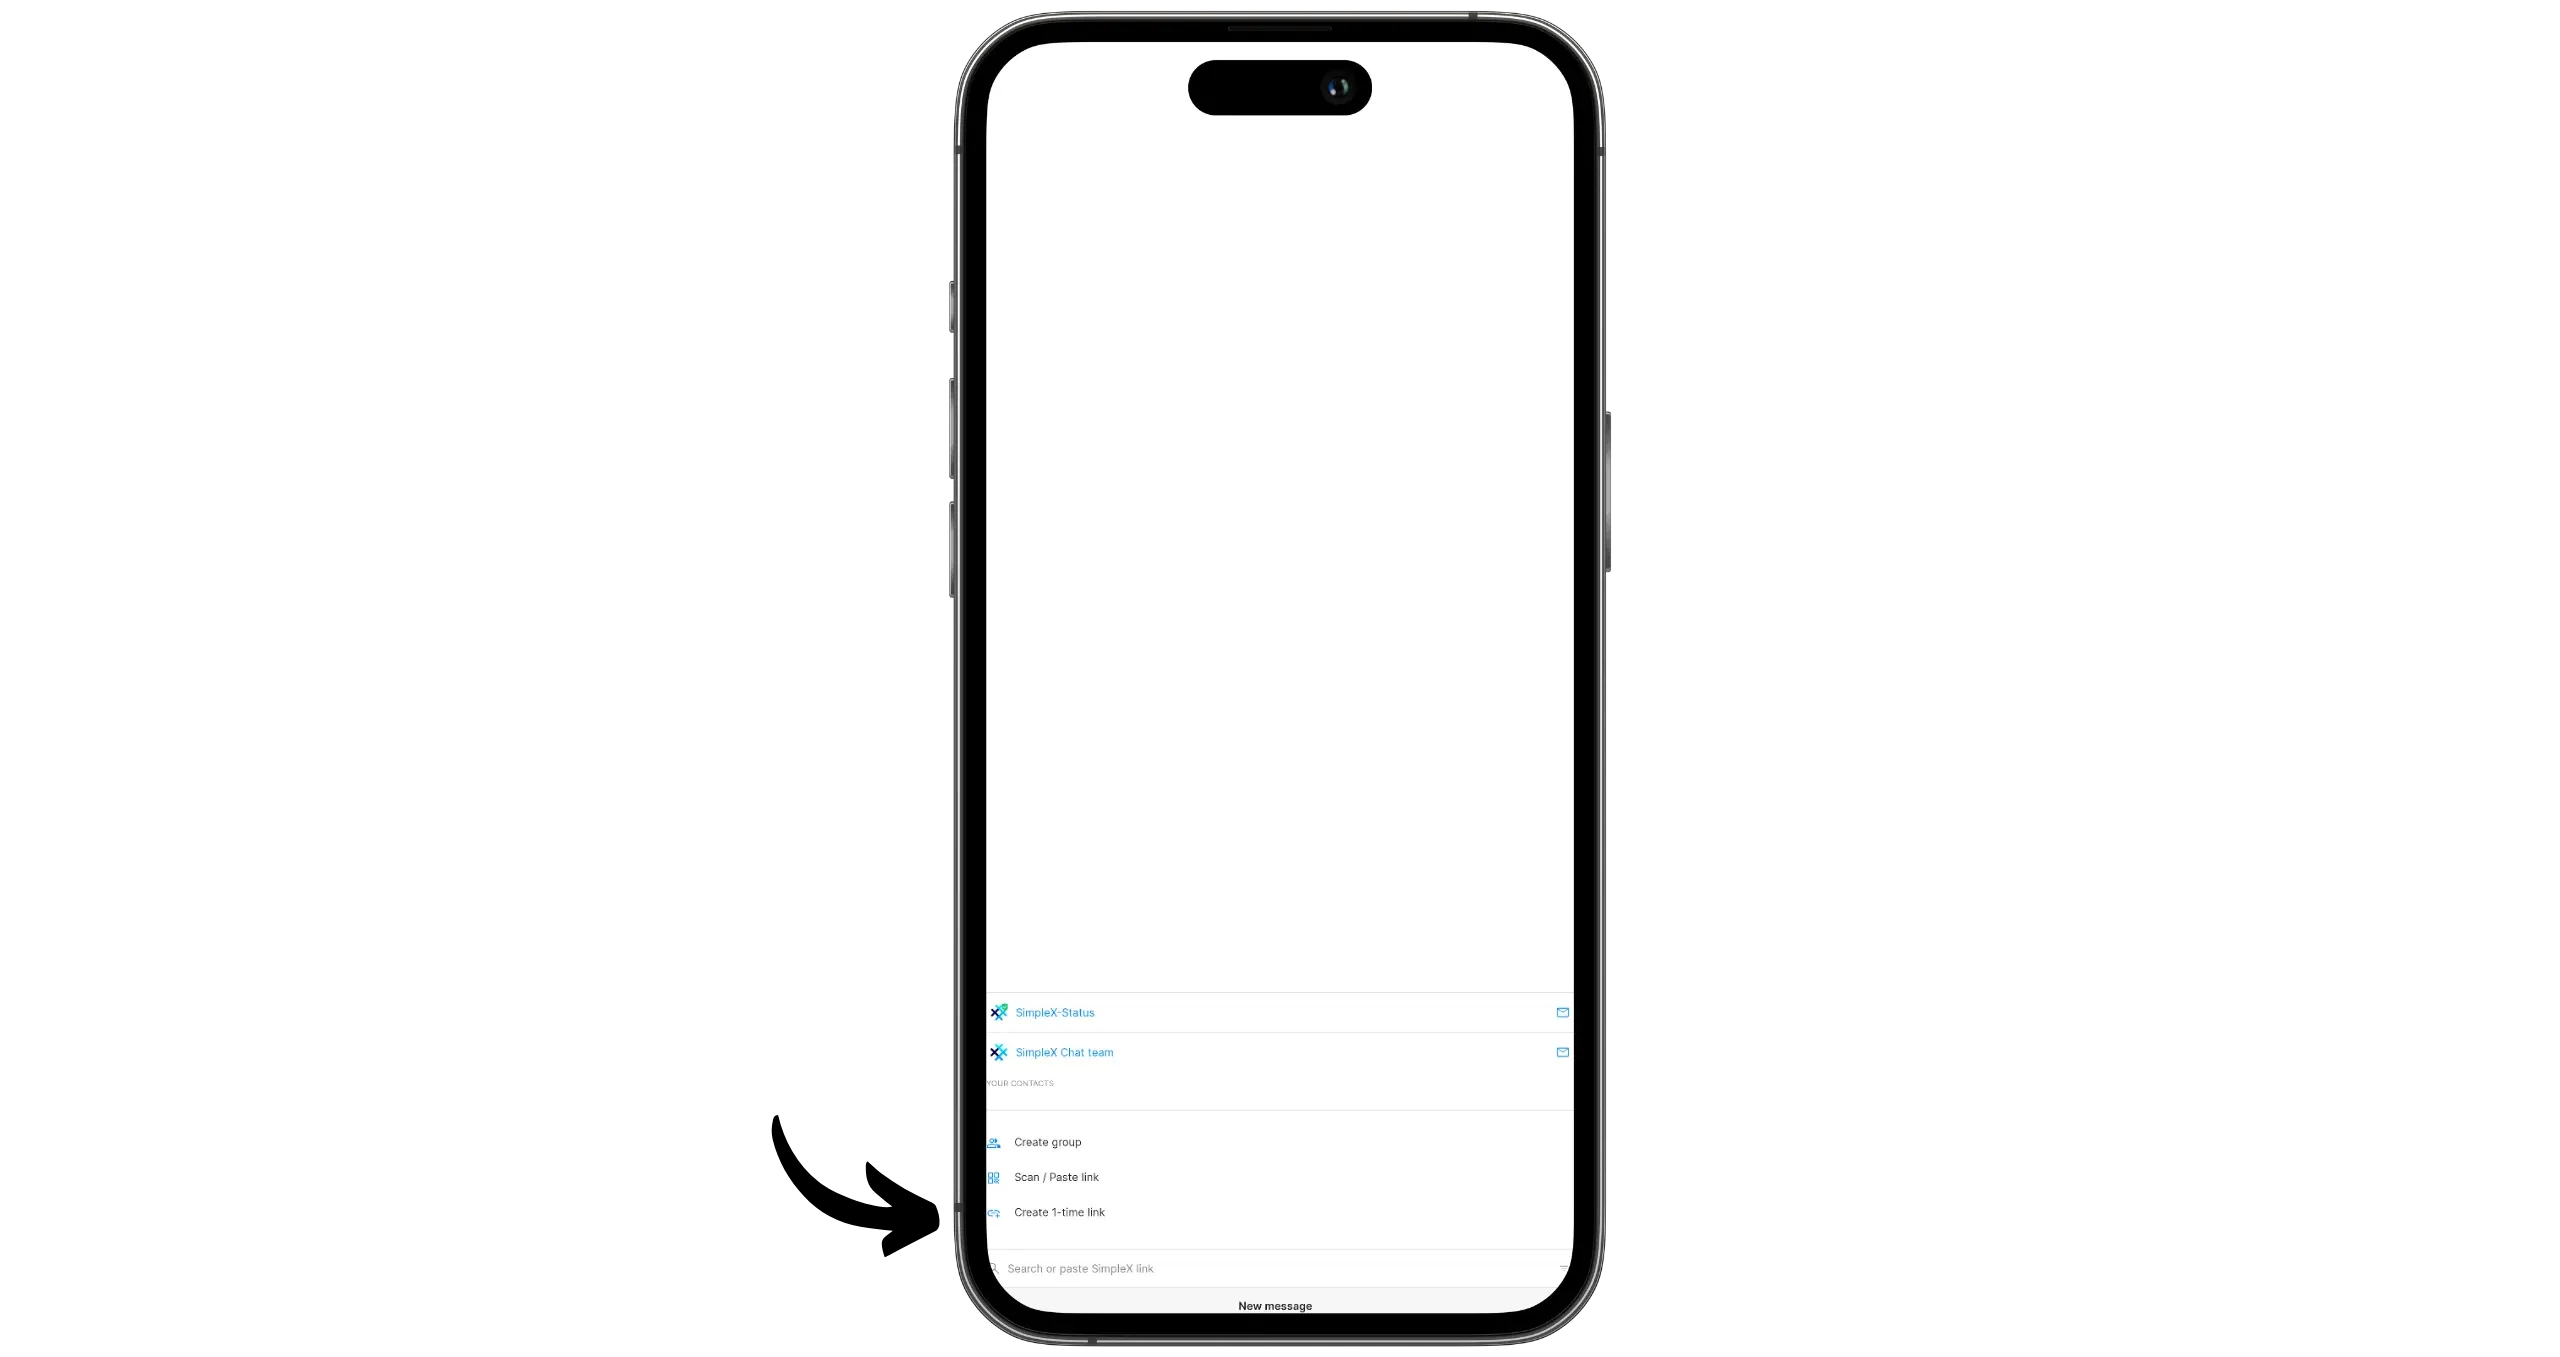
The second way to connect with a person is to create a one-time link. To do this, click on the pencil icon in the bottom right-hand corner of Interface, then select “Create 1-time link”.
If your contact has sent you a link, click on “Scan / Paste link” to scan or paste it.
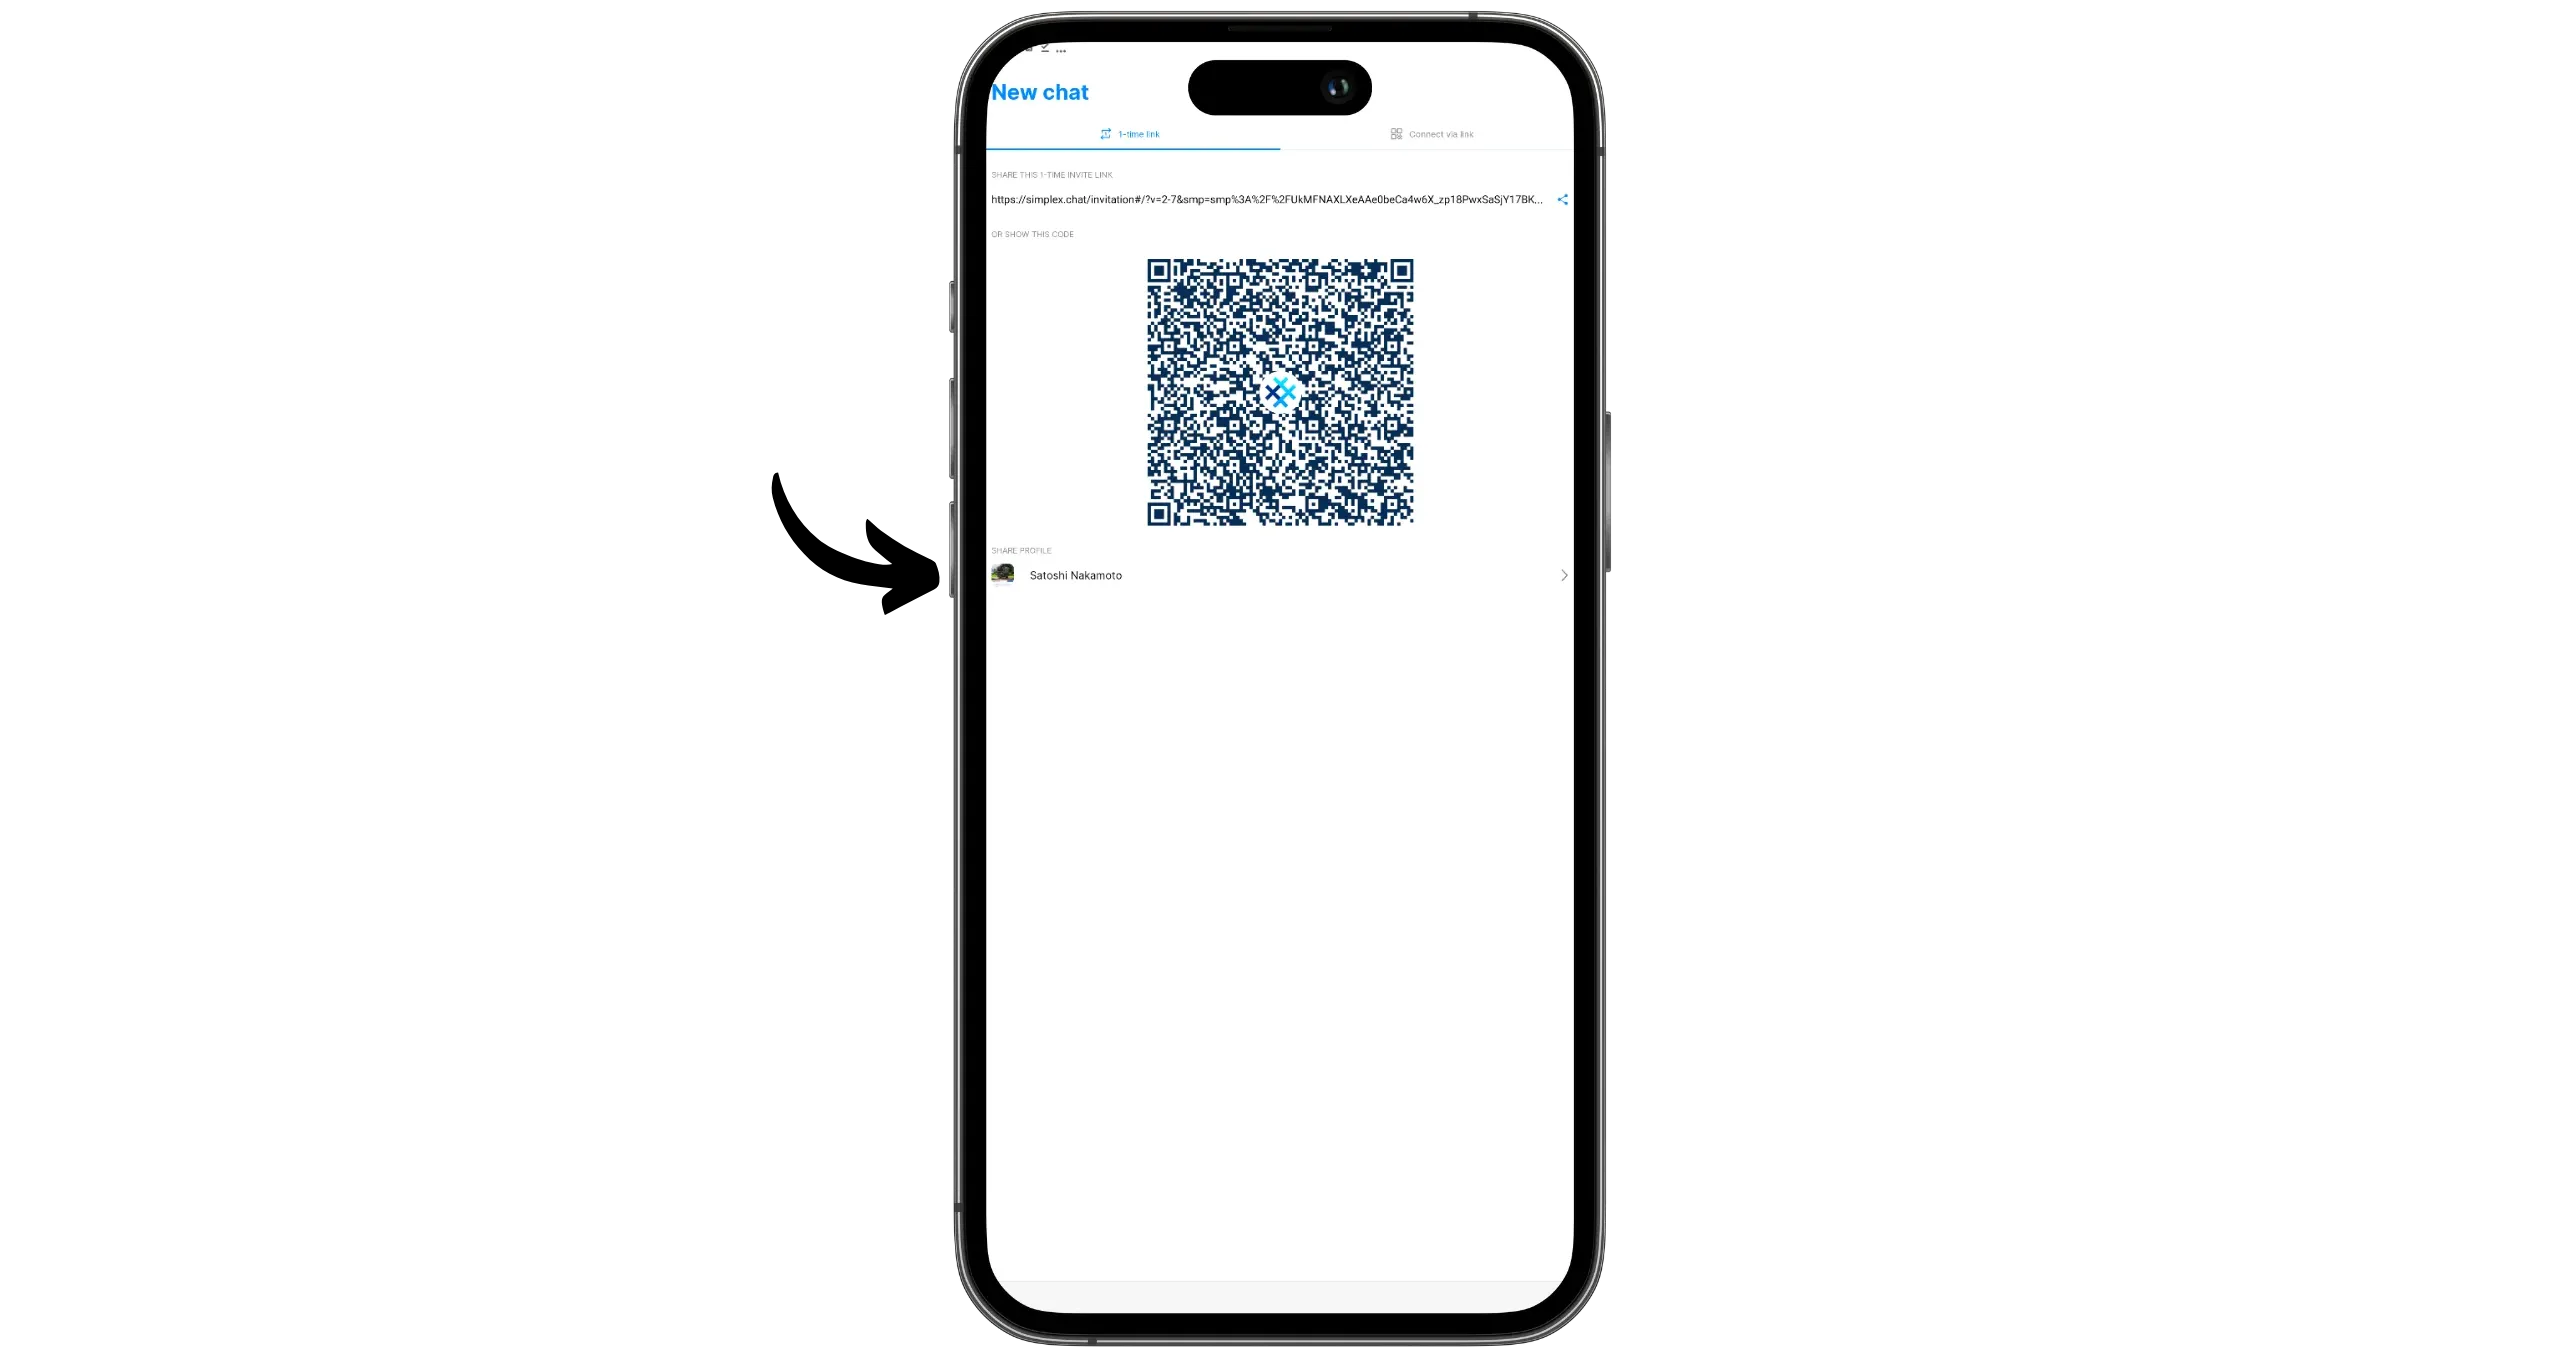
SimpleX then generates a single-use link. You can forward it to your contact by any means: physical exchange, other messaging, etc.
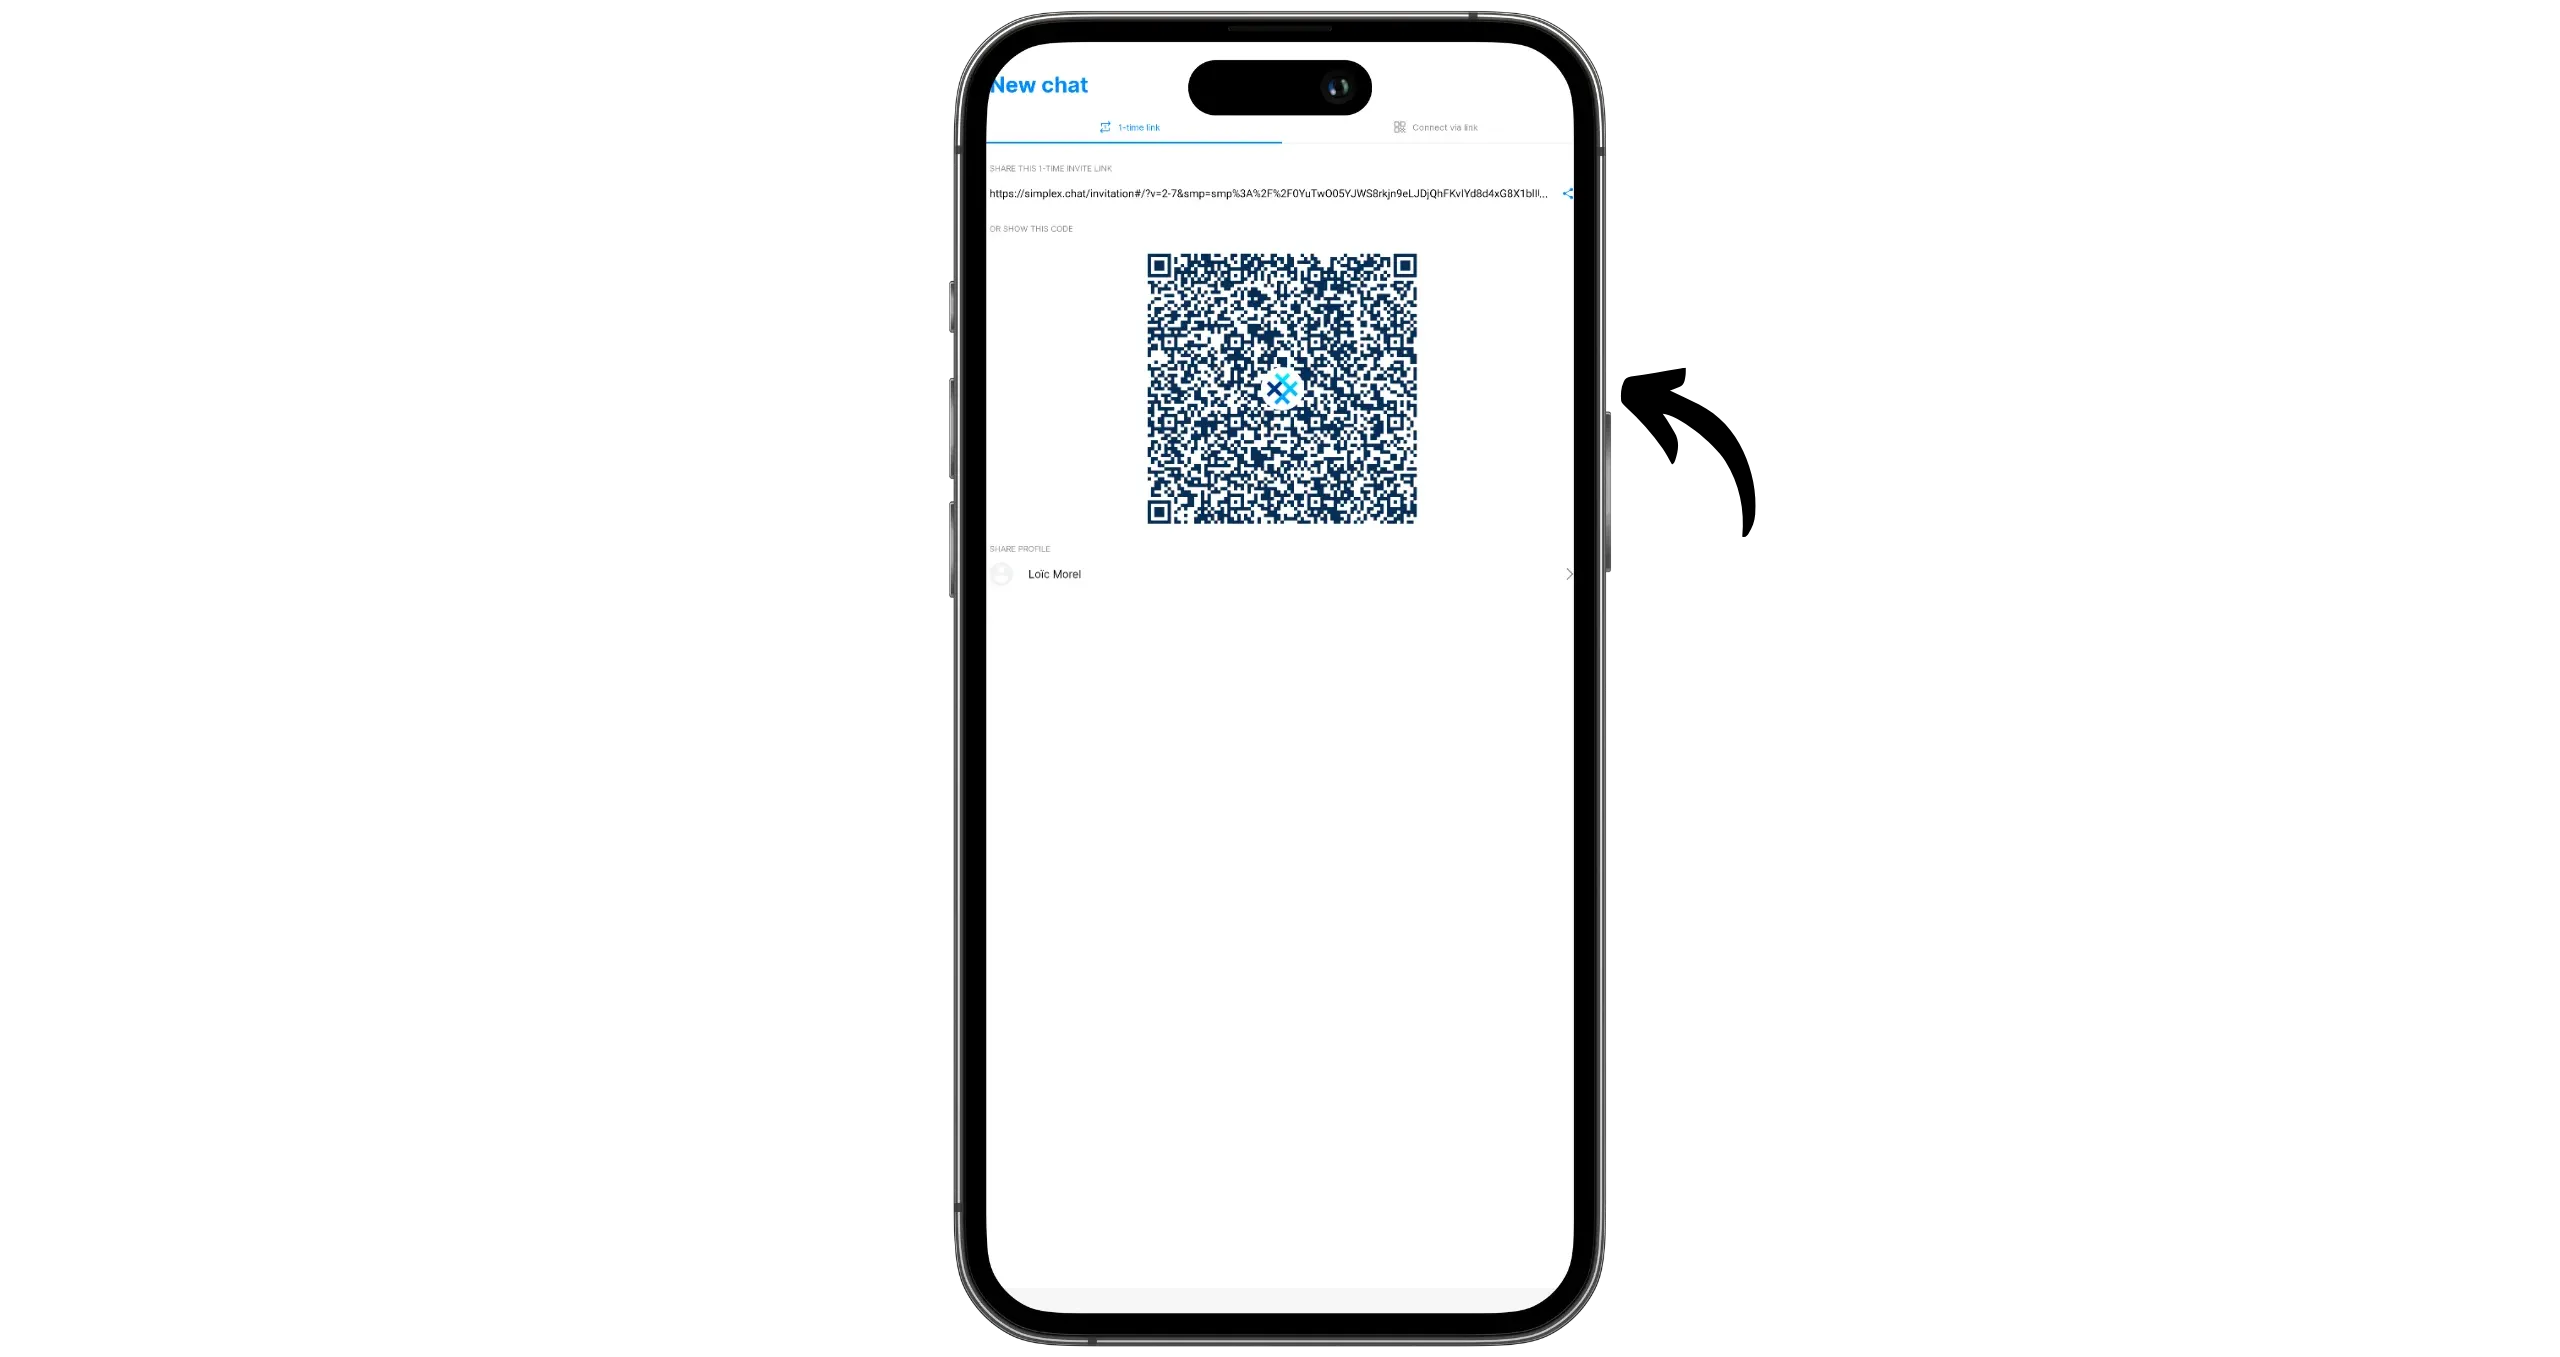
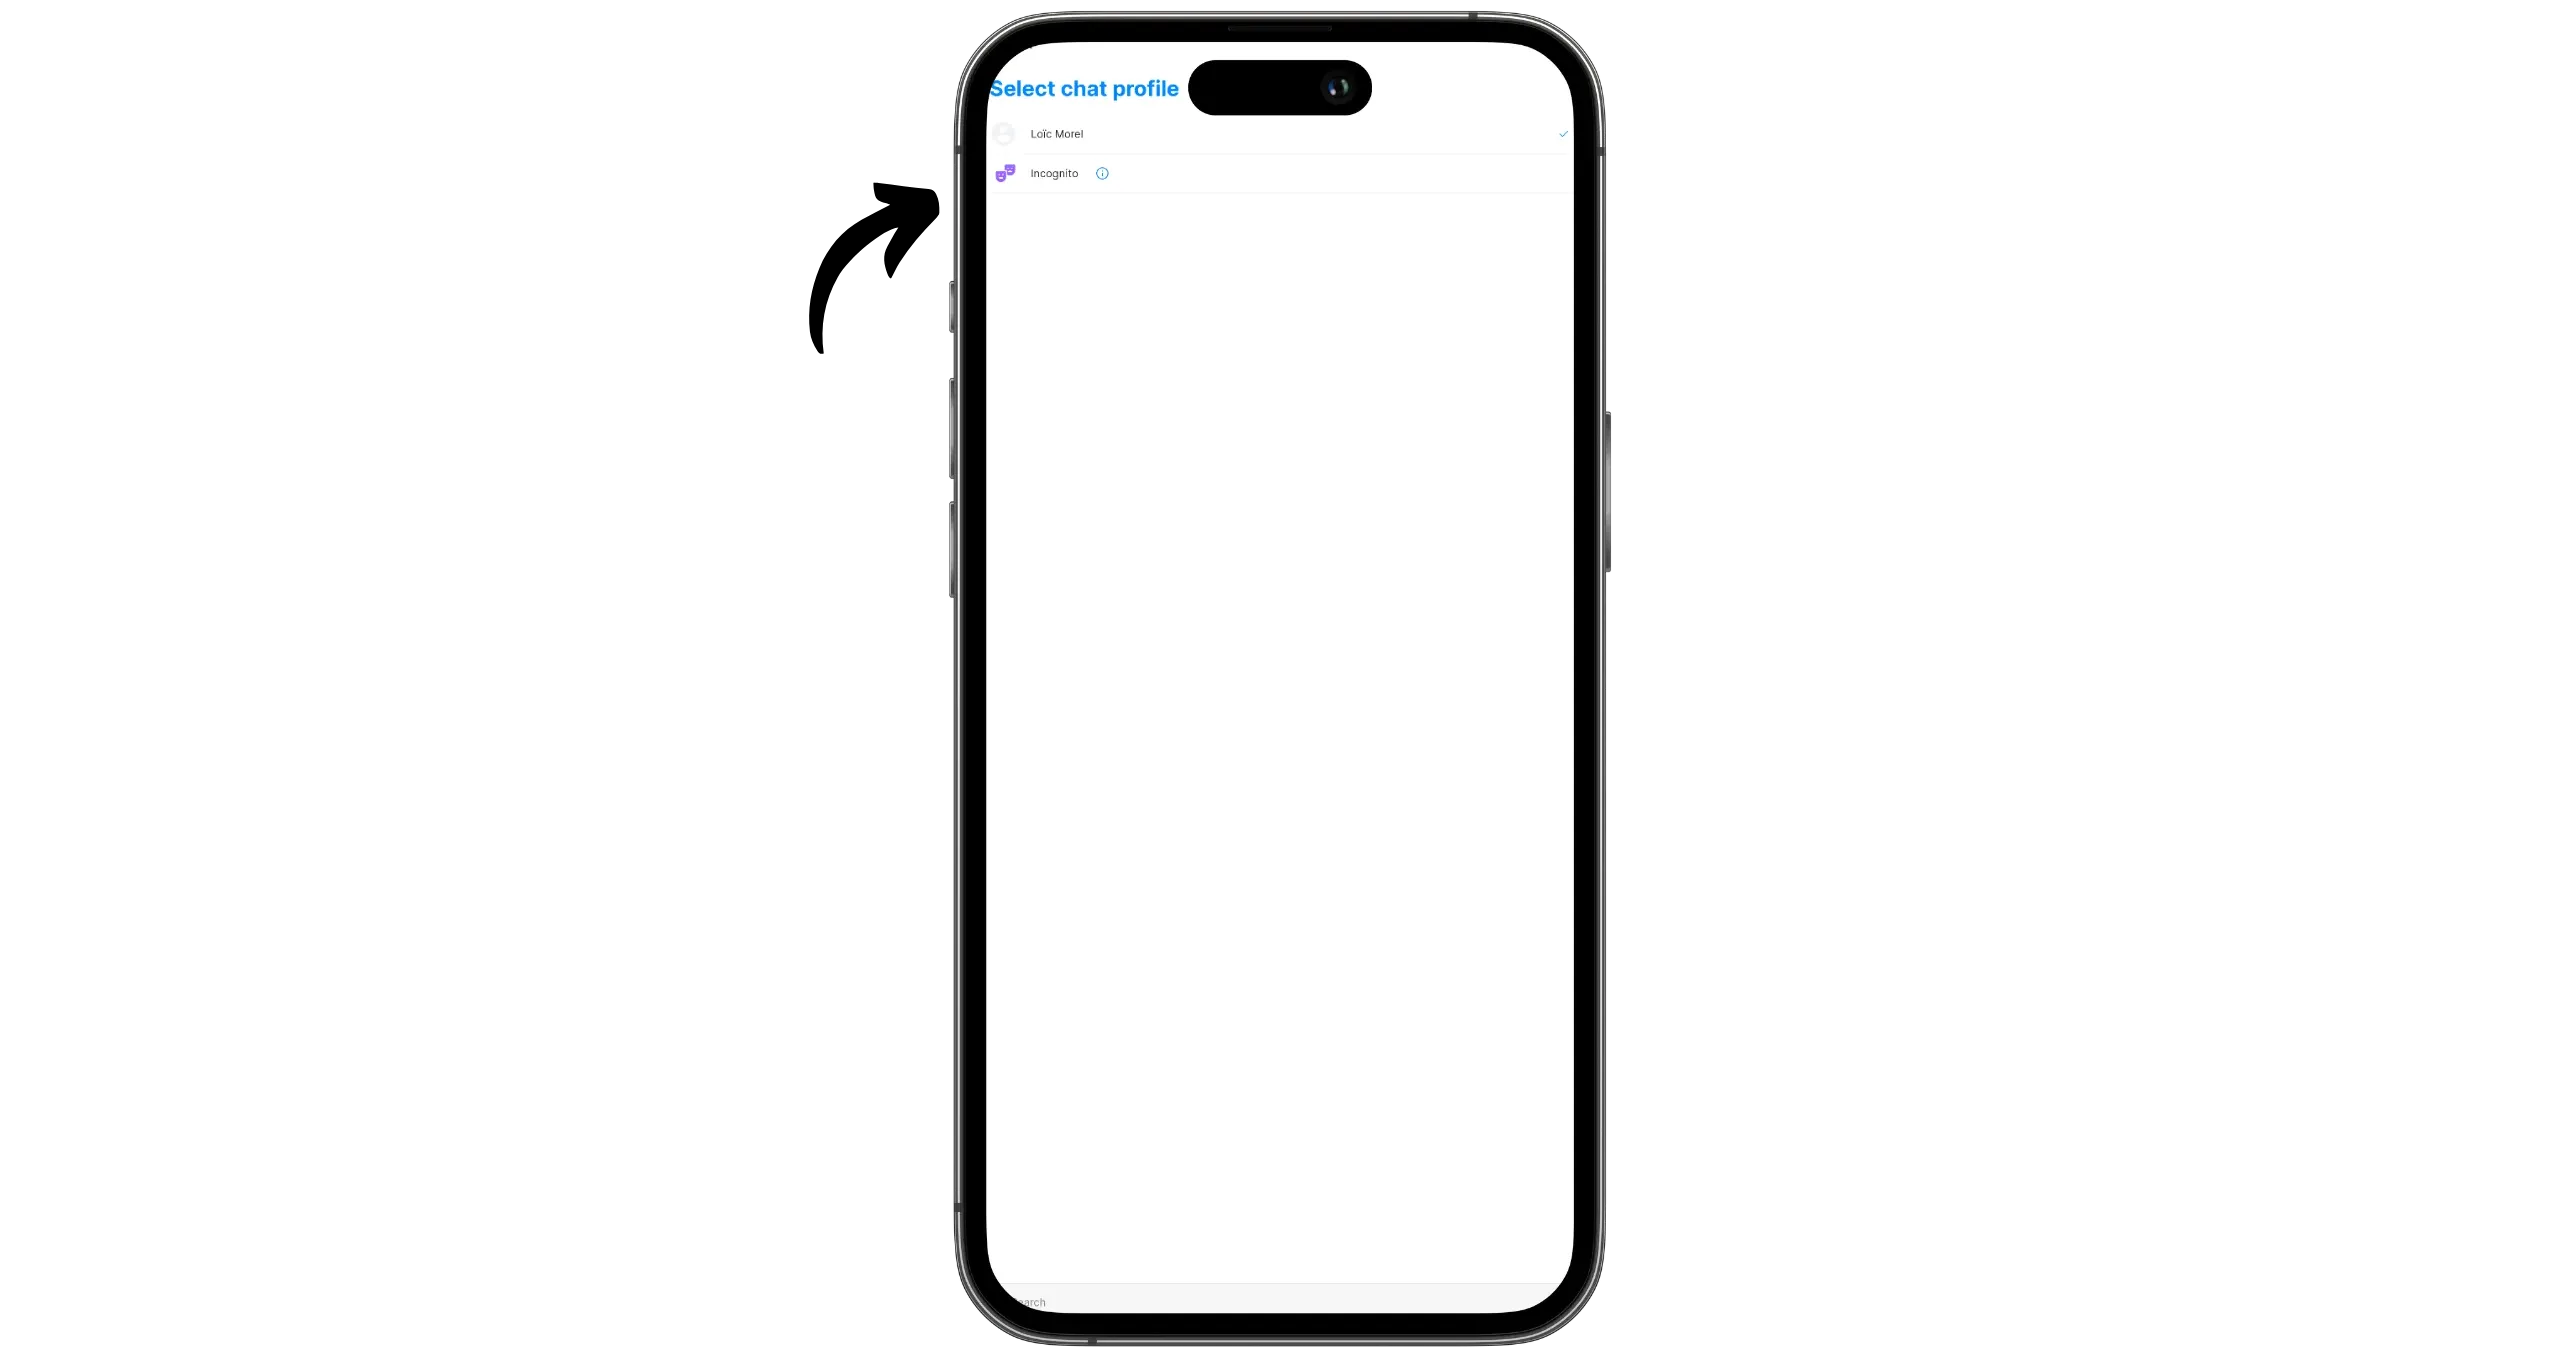
You can also choose which profile to associate with this invitation link. To do so, click on your profile just below the QR code. You will then be able to:
- select one of your existing profiles (we’ll see how to create several profiles in the next section)
- or choose the “Incognito” mode, which hides your name and profile photo with a randomly generated pseudonym for your correspondent
Here, I choose the “Incognito” mode.
My contact used the link. For his part, he didn’t activate the “Incognito” mode, which is why I see his profile name, “Bob”. On the other hand, Bob doesn’t see my real name “Loïc Morel”, but a random pseudonym, in this case “RealSynergy”.
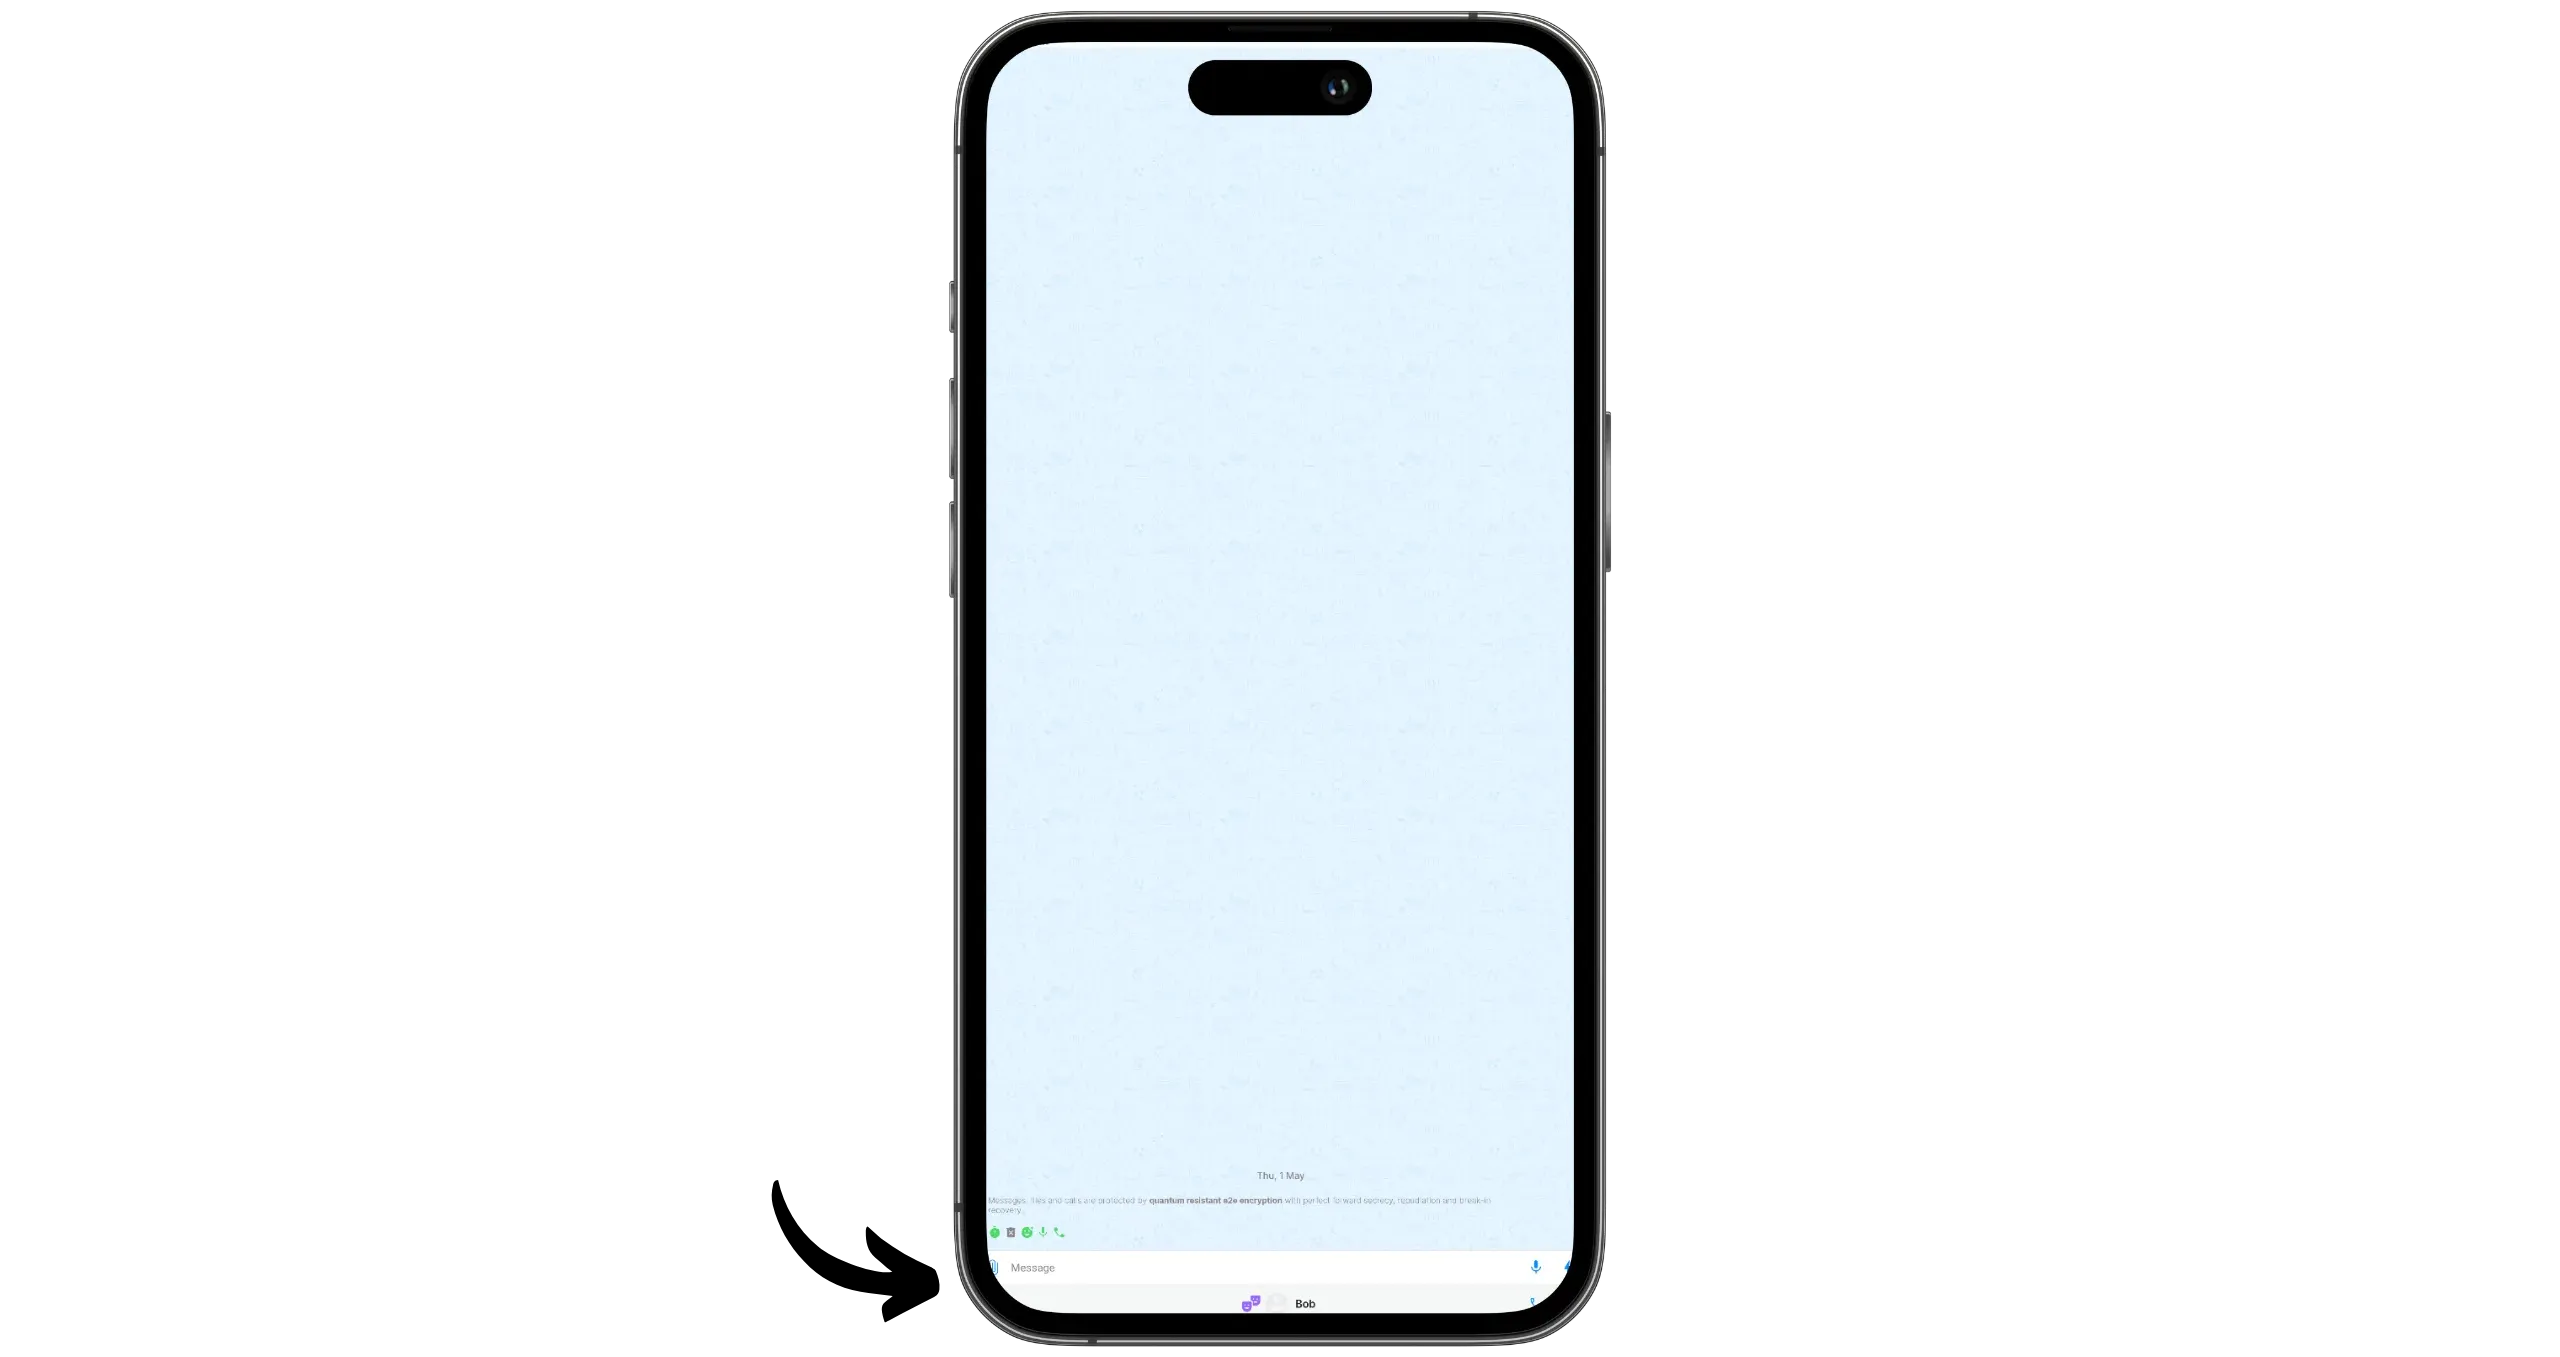
I could start chatting immediately, but first I’d like to check that I’m talking to Bob, and not to some malicious person who may have intercepted the link or carried out an MITM attack.
To do this, we’re going to check our security link outside the application. This is important, because in the event of an MITM attack, internal verification would be compromised. So use another secure messaging system, or even better, check the codes in person.
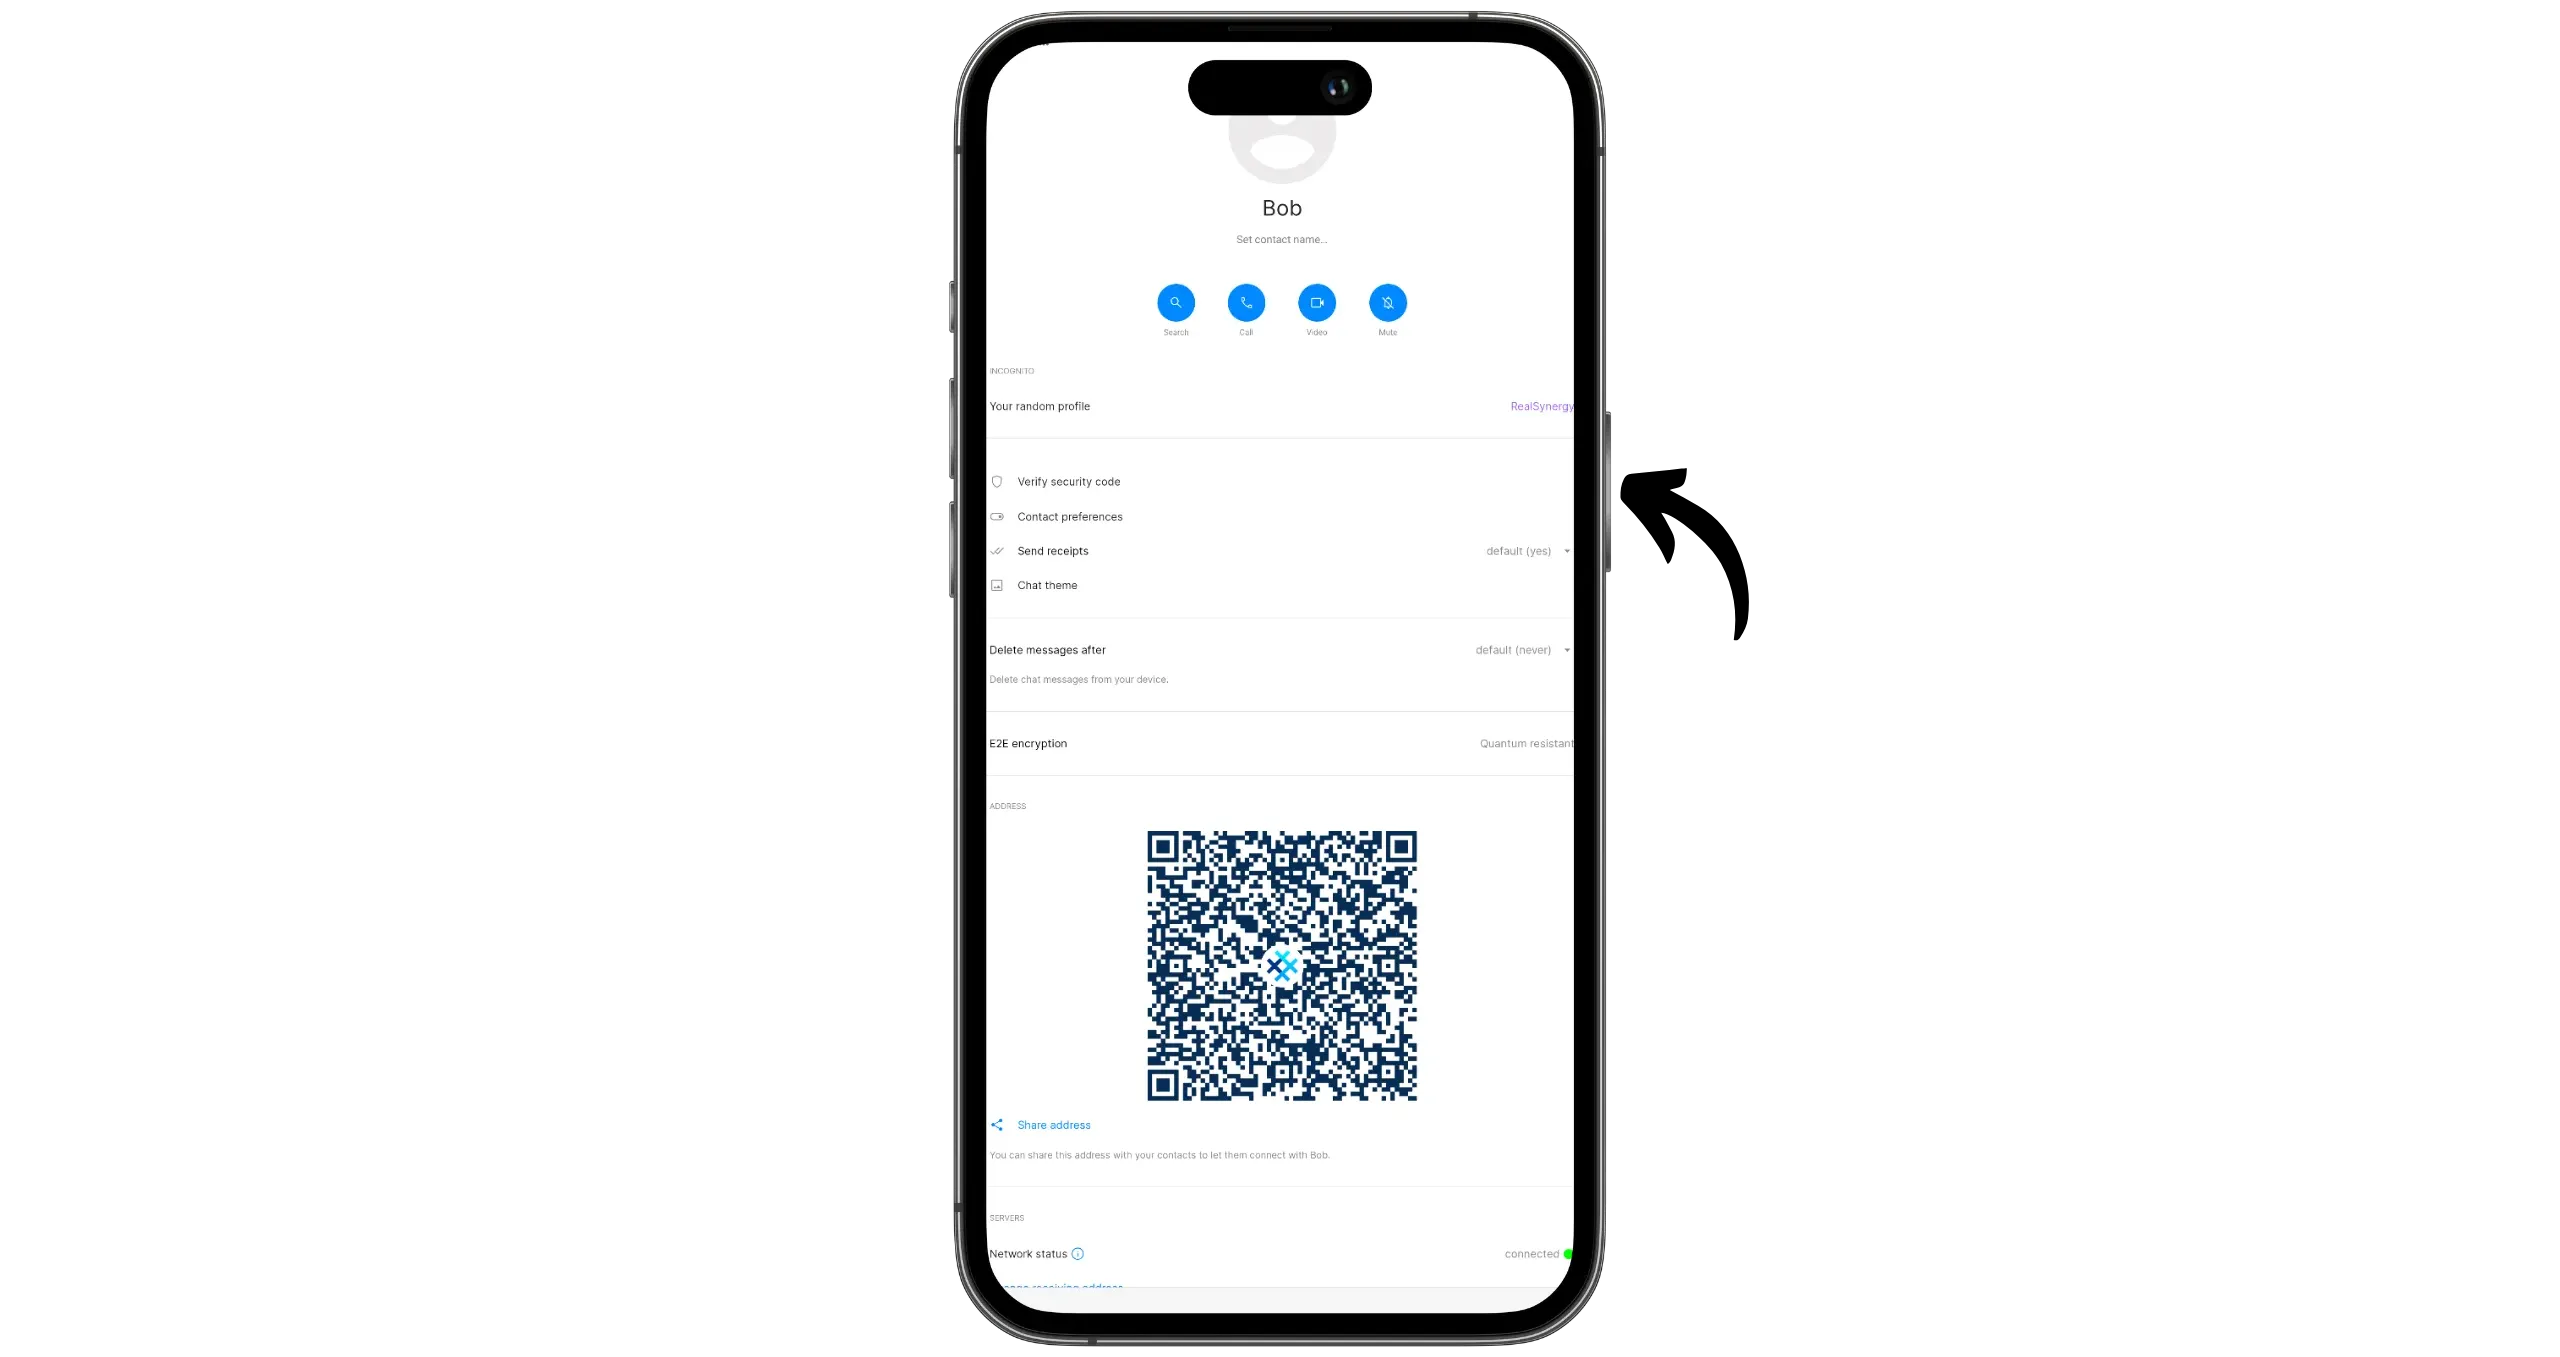
In the chat, click on Bob’s photo, then on “Verify security code”. Bob has to do the same on his side.
If you’re working remotely, compare the codes on another secure messaging system (they must be identical). Or even better, if you can meet face-to-face, scan your contact’s QR code by clicking on “Scan code”.
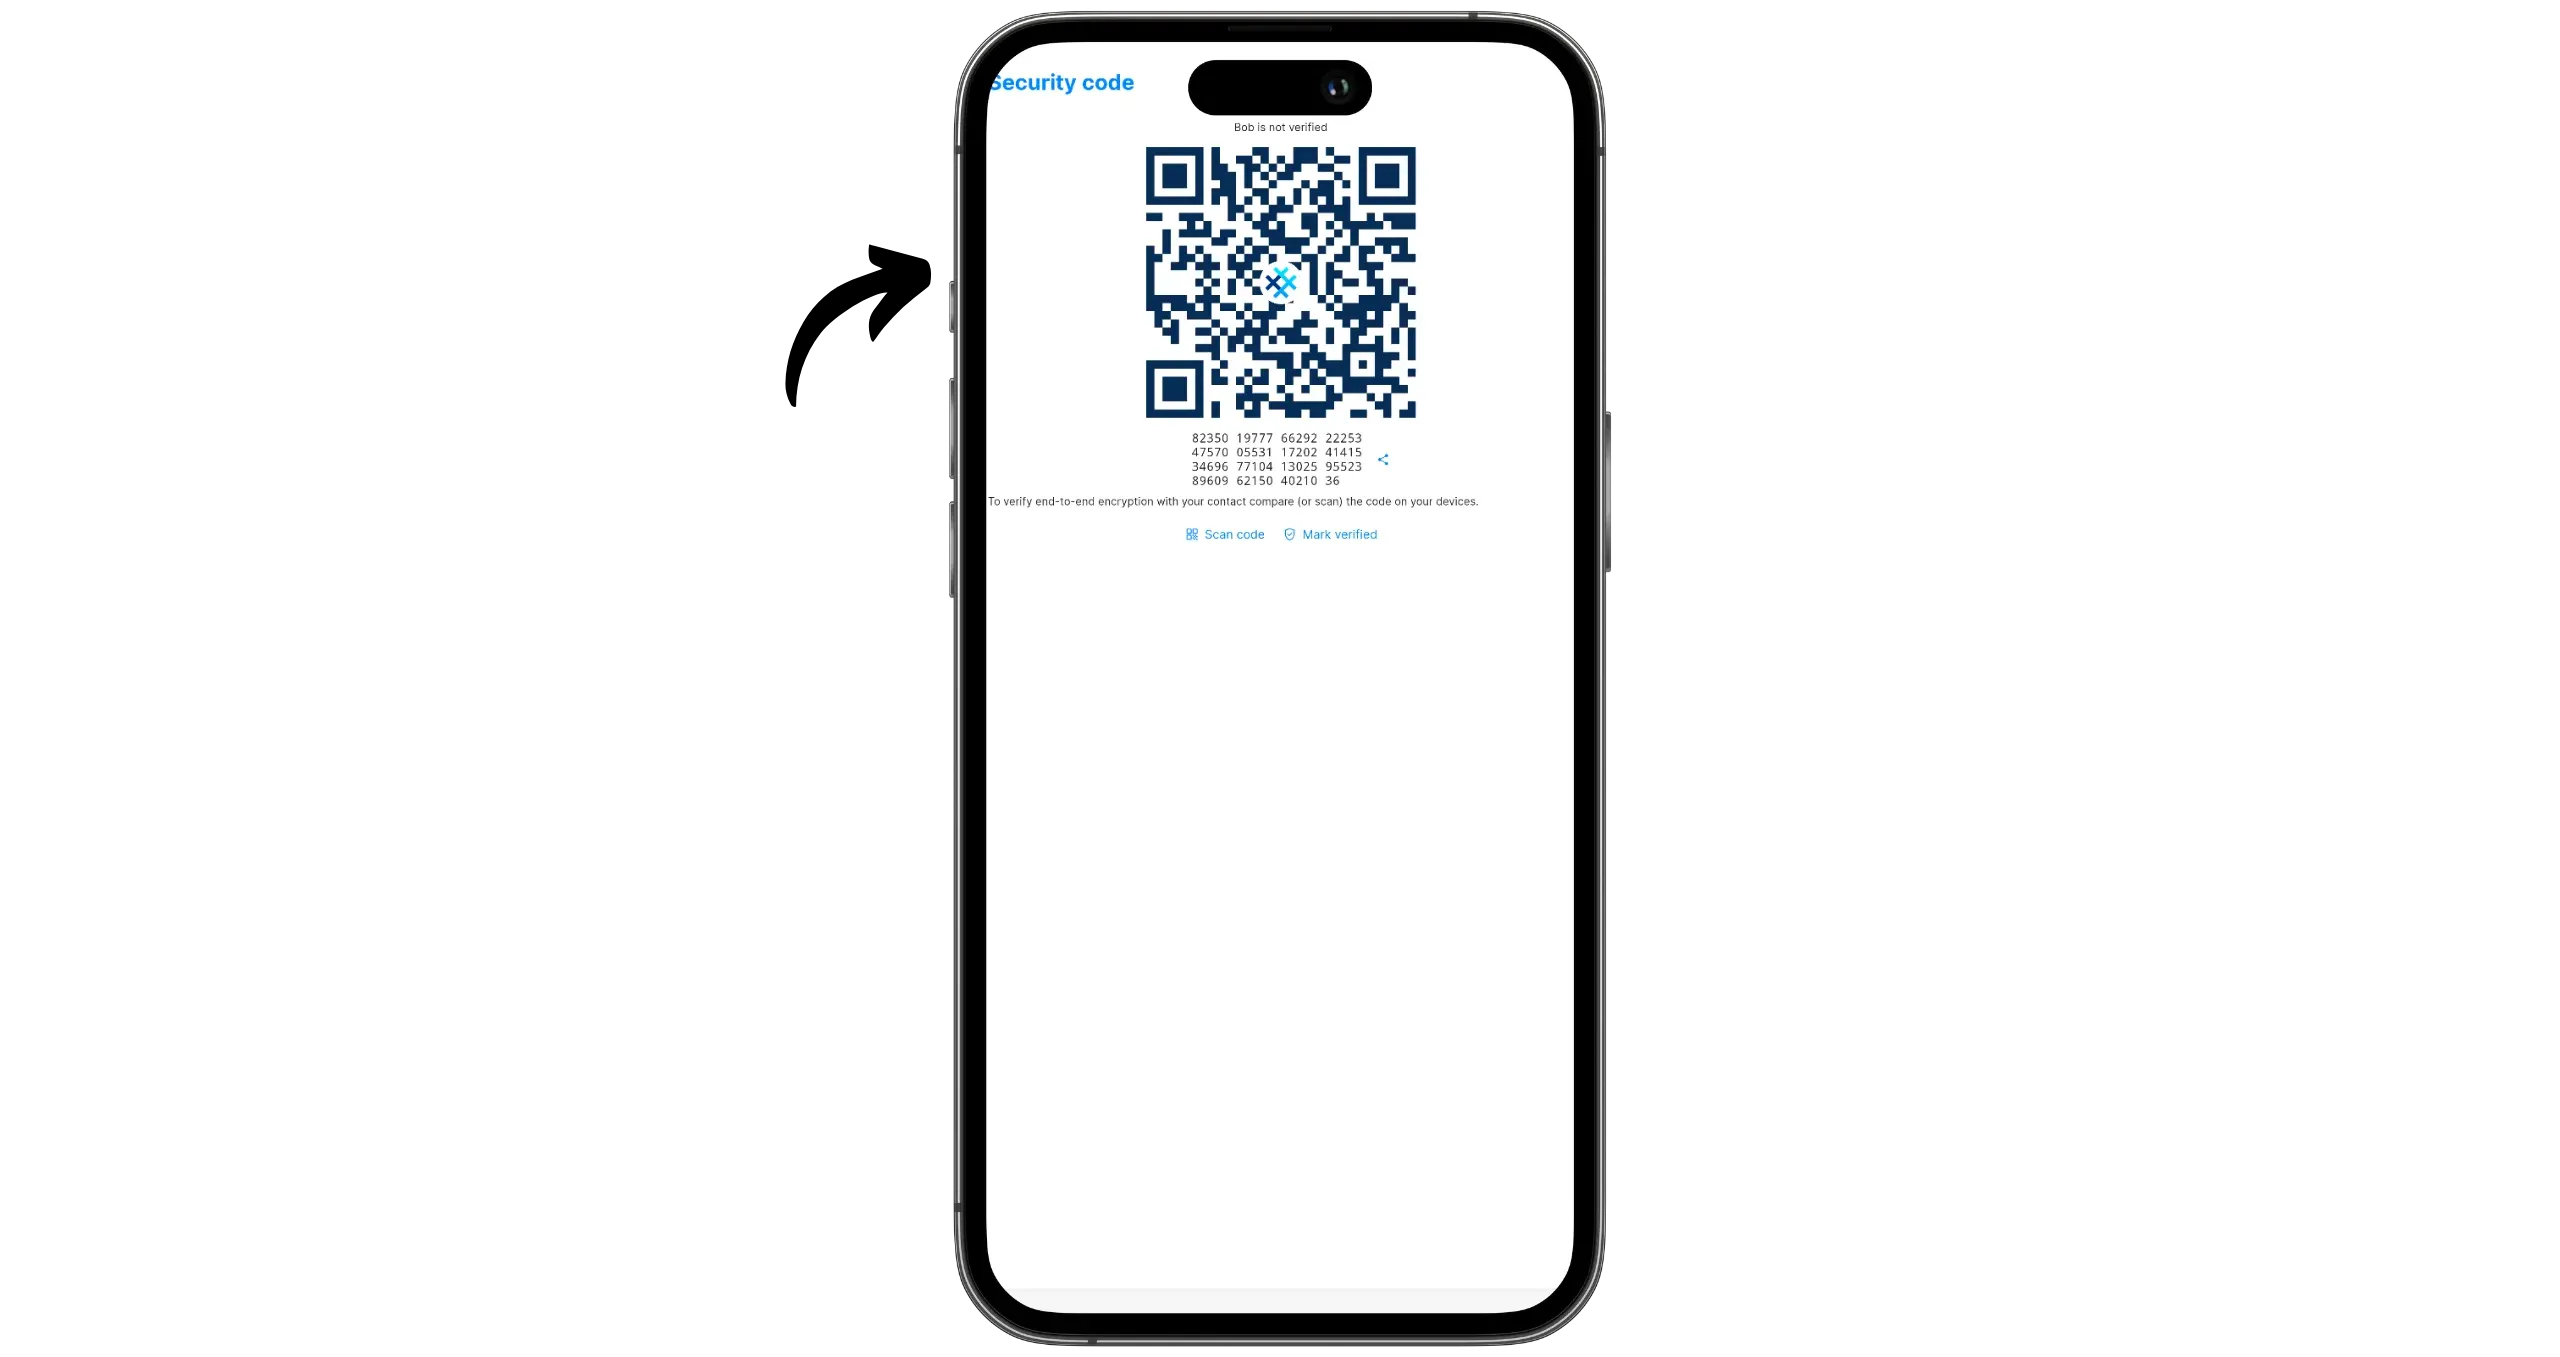
If the verification is successful, a shield icon with a check mark will appear next to your contact’s name. This is your assurance that you are exchanging with Bob. If the verification is unsuccessful, a “Incorrect security code!” alert will appear.
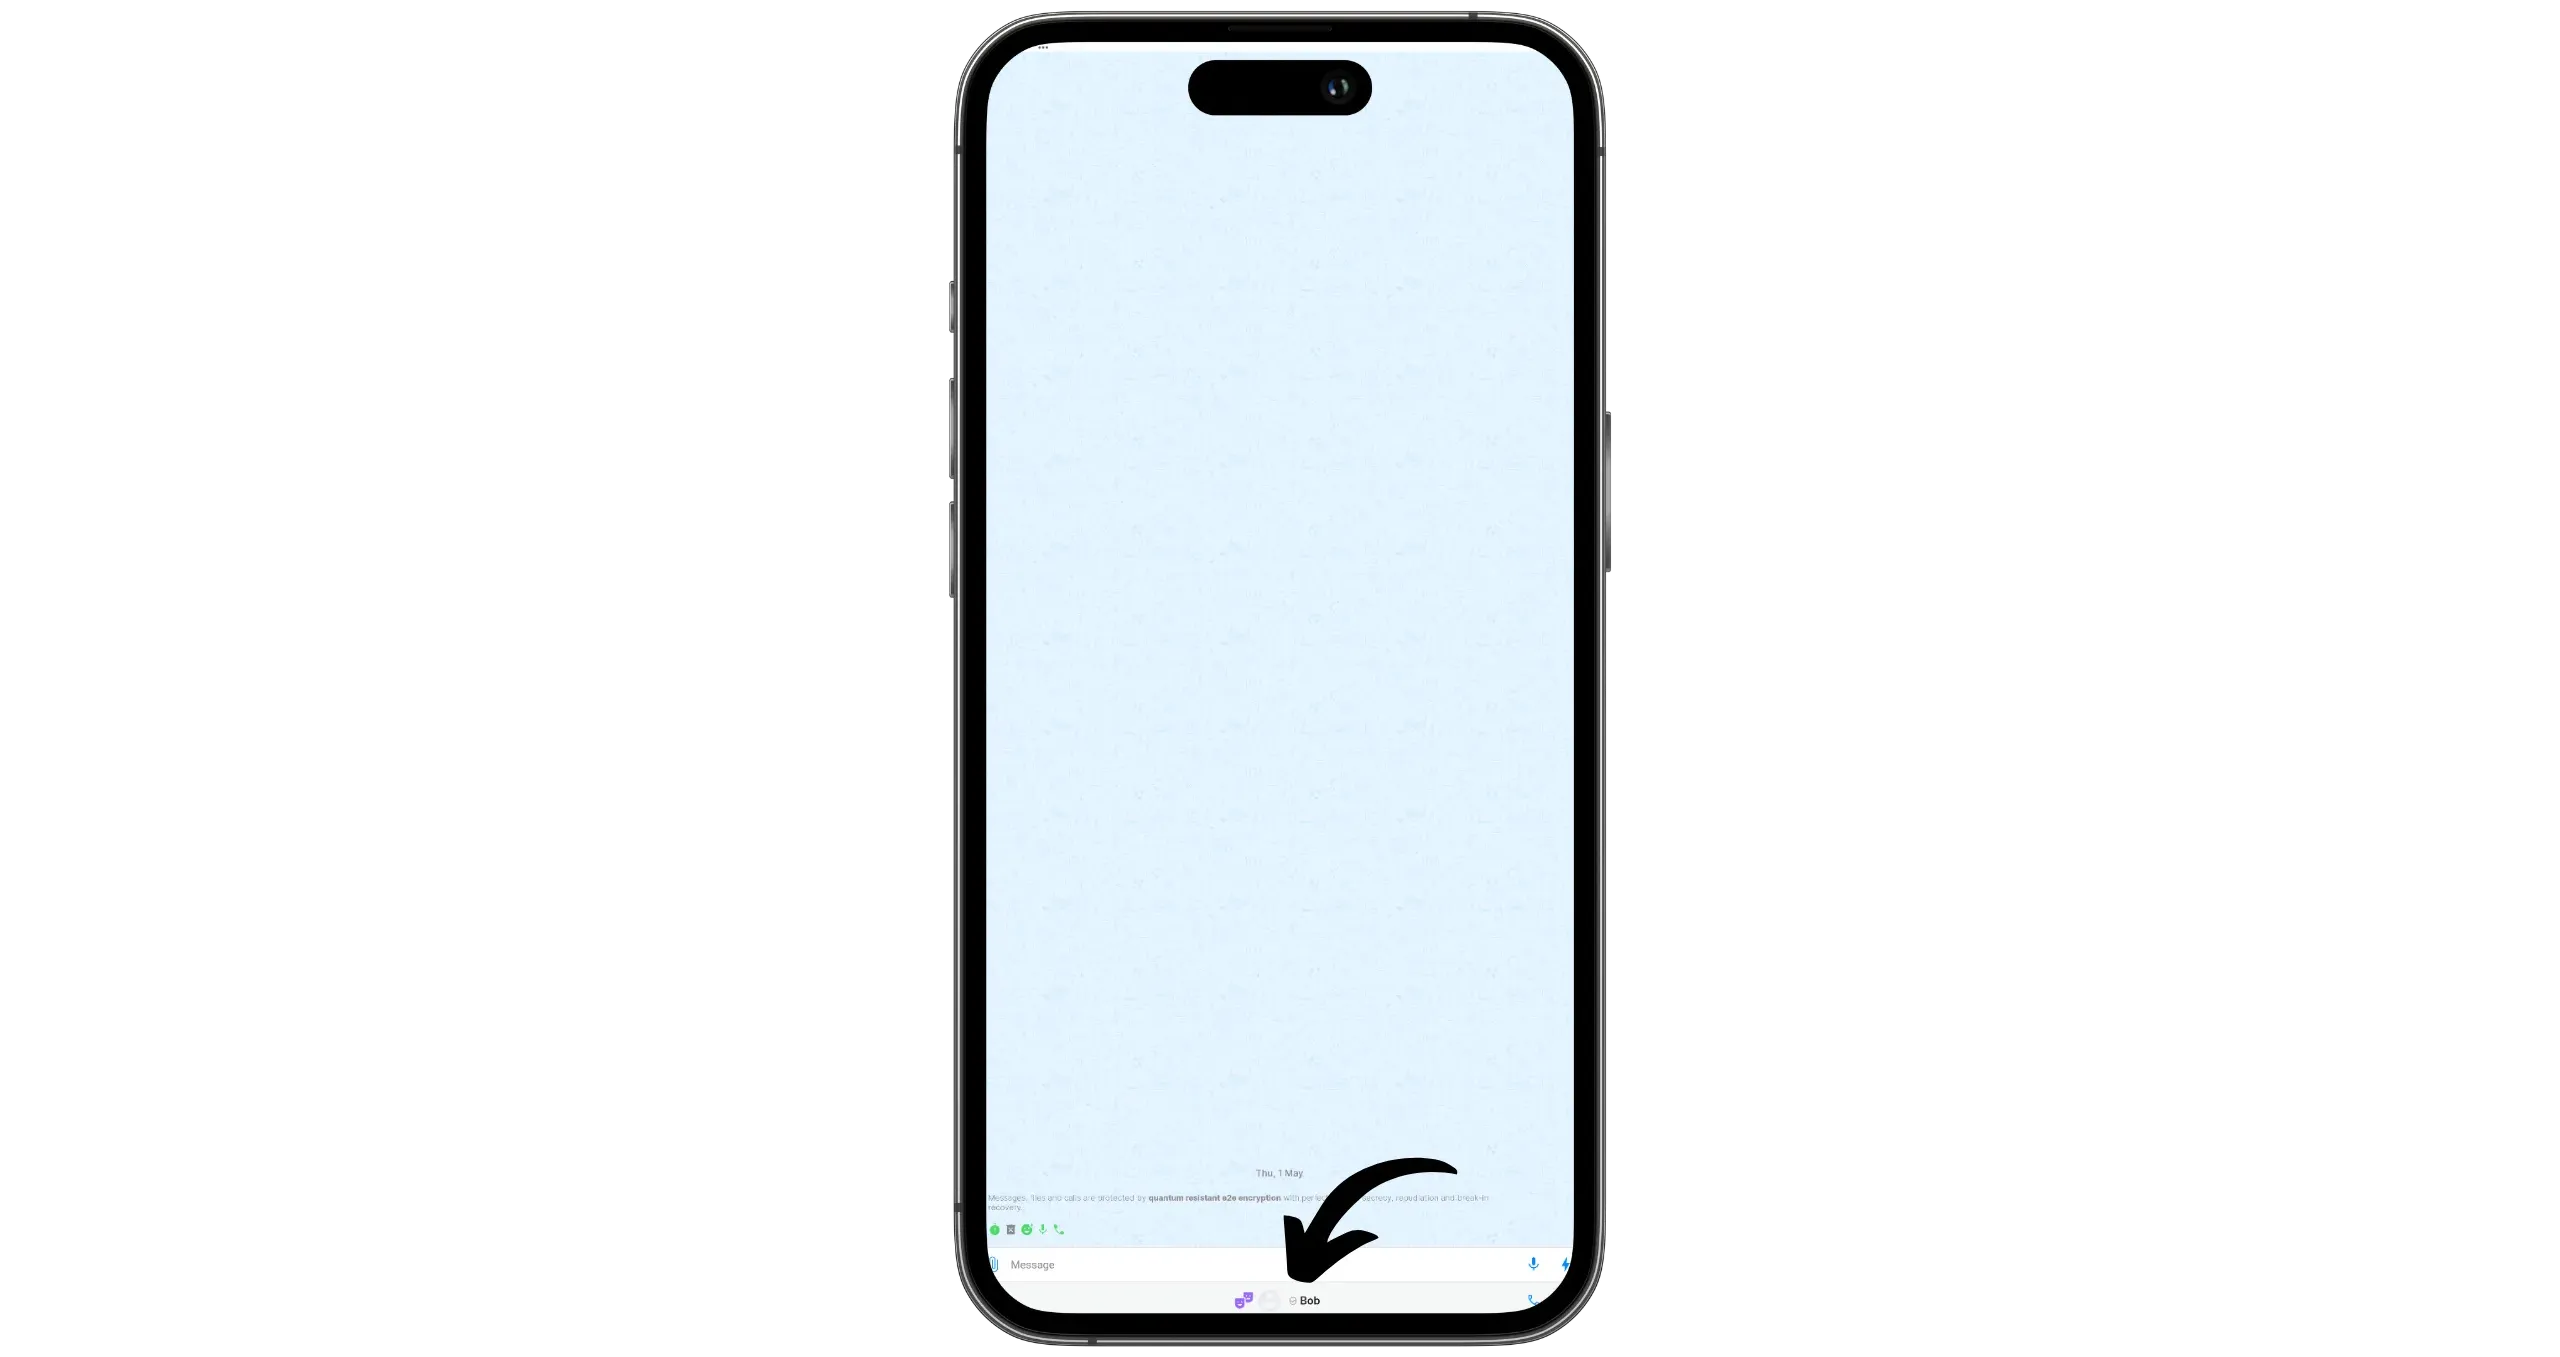
You can now freely exchange messages, calls and files with Bob, depending on the permissions you’ve set for this conversation.
Customize your SimpleX Chat profiles
One of SimpleX’s most powerful features is the ability to manage several completely separate user profiles, all accessible from the same local account. This allows you to separate your different identities neatly, without complicating message management.
For example, you could create:
- A profile with your real name and a real photo for your professional exchanges
- A profile with your real name and a funny photo for your family exchanges
- A profile with a fake photo and a pseudonym for your personal conversations
- Another pseudonymous profile for chatting with strangers
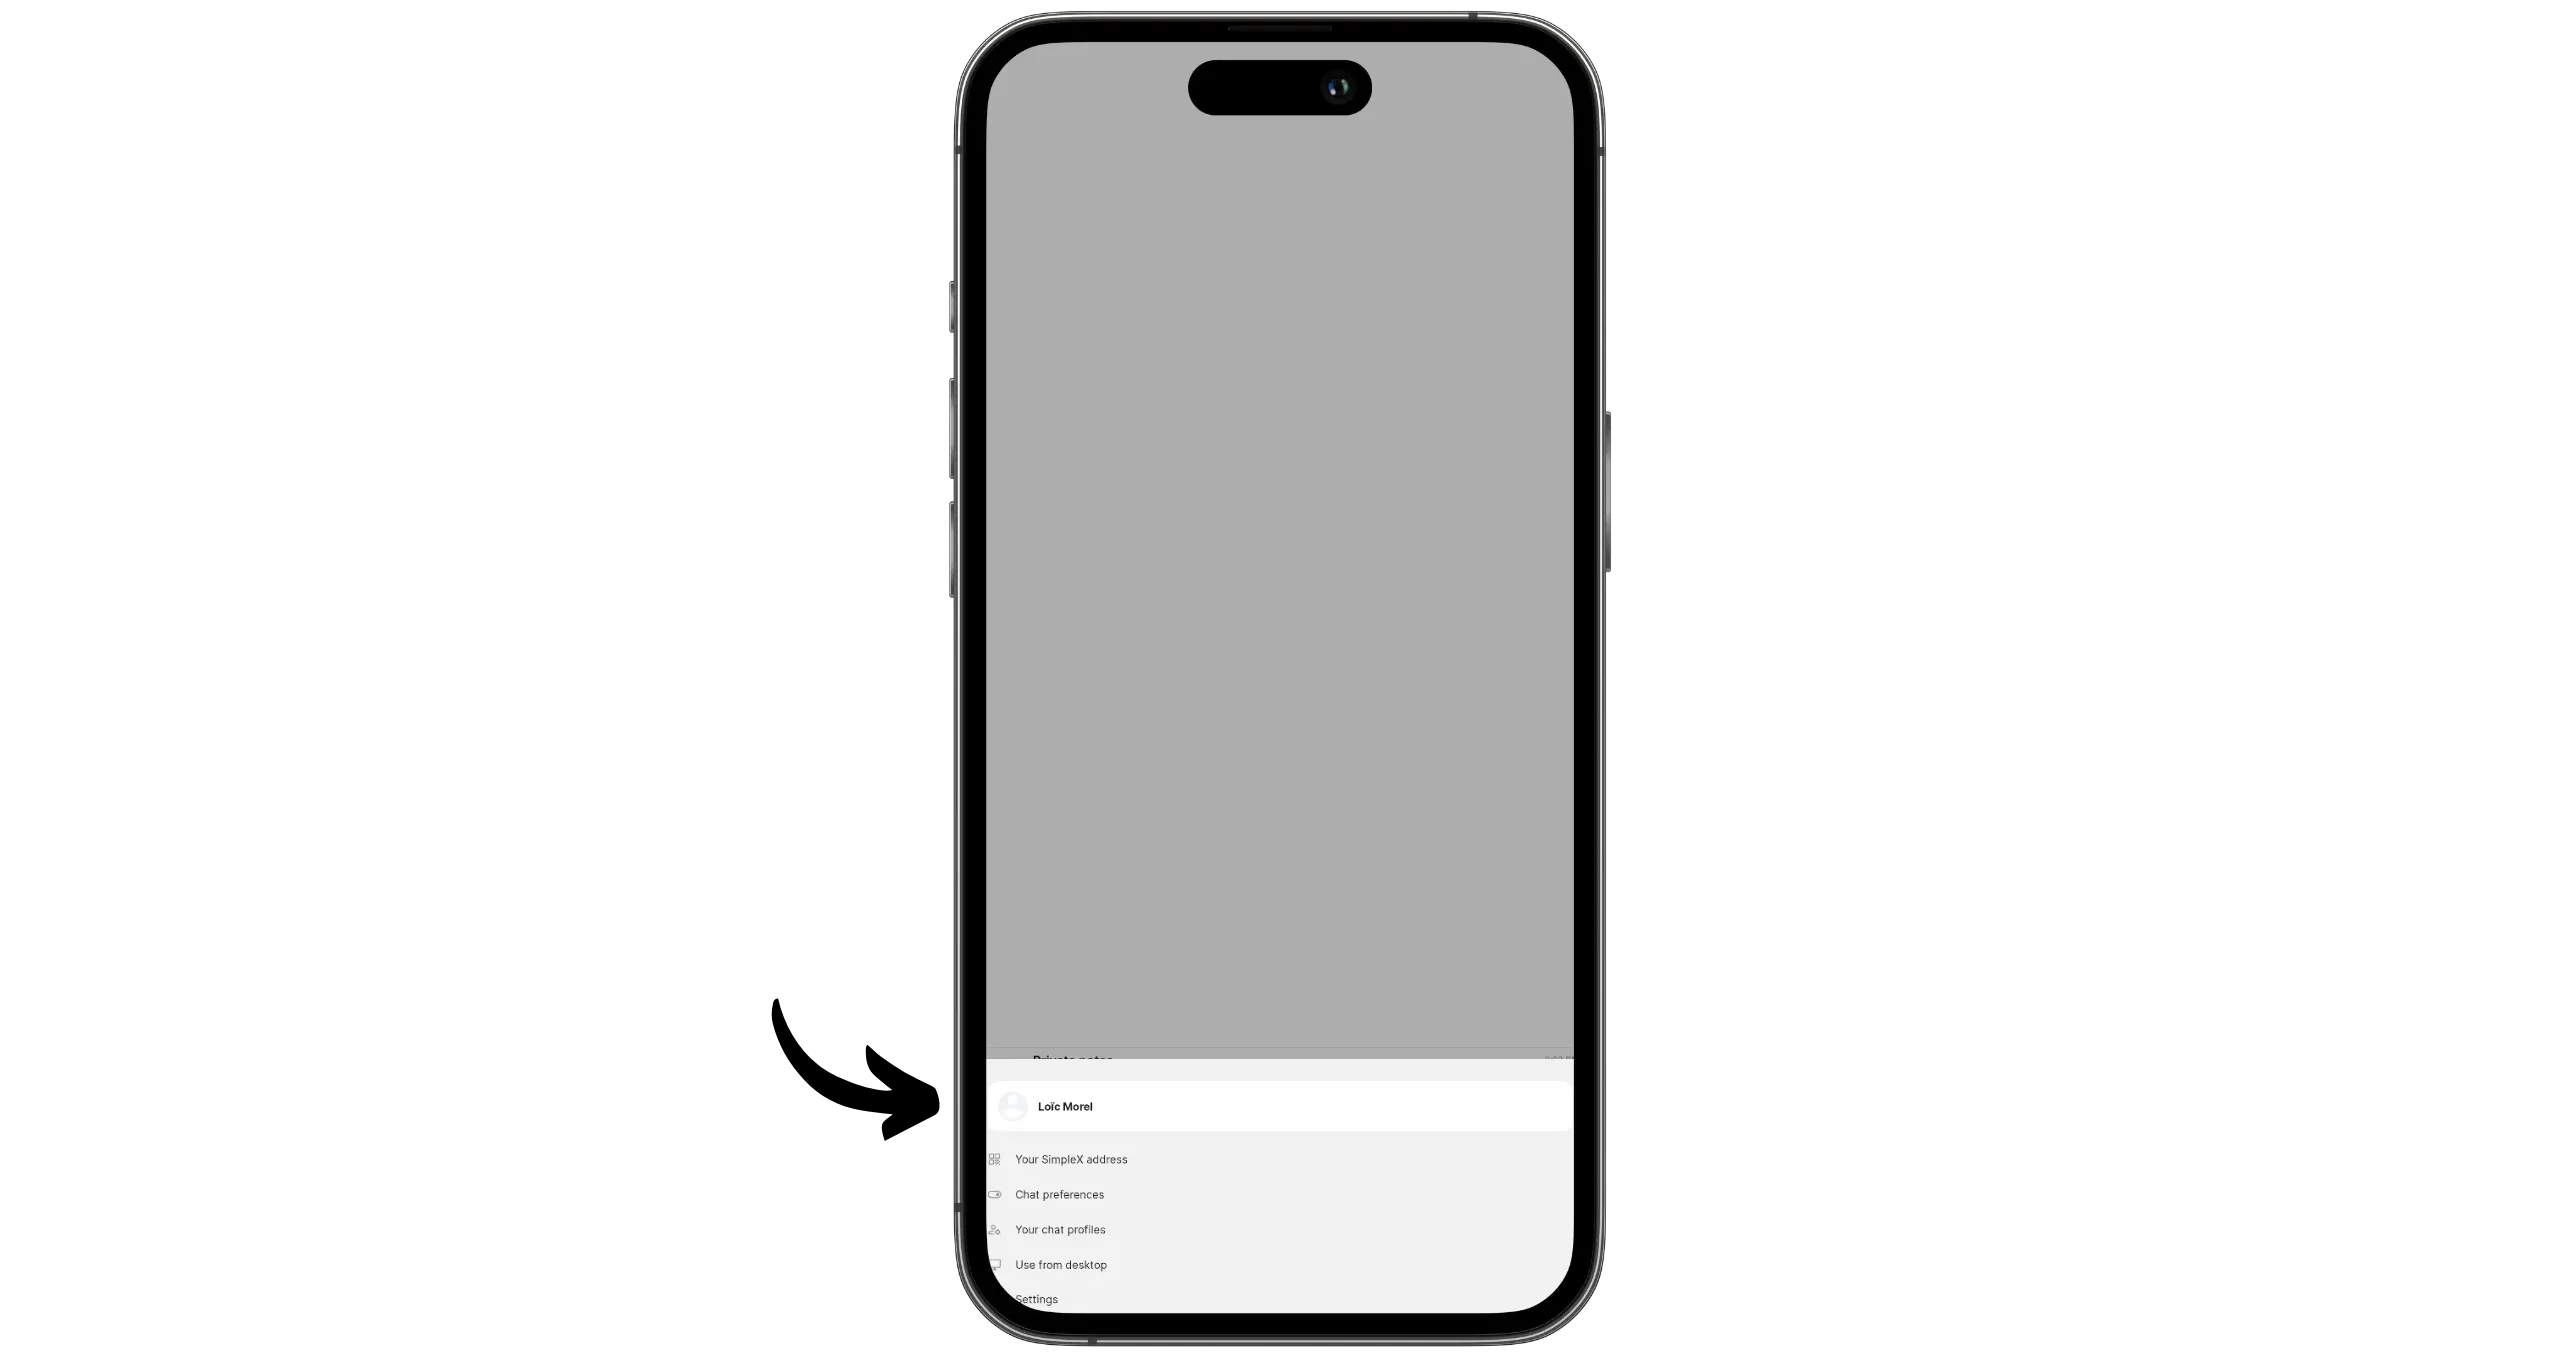
That’s what we’re going to do here. I start by configuring my main profile, the one linked to my real identity. To do this, I click on my profile photo in the bottom right-hand corner, then on my user name.
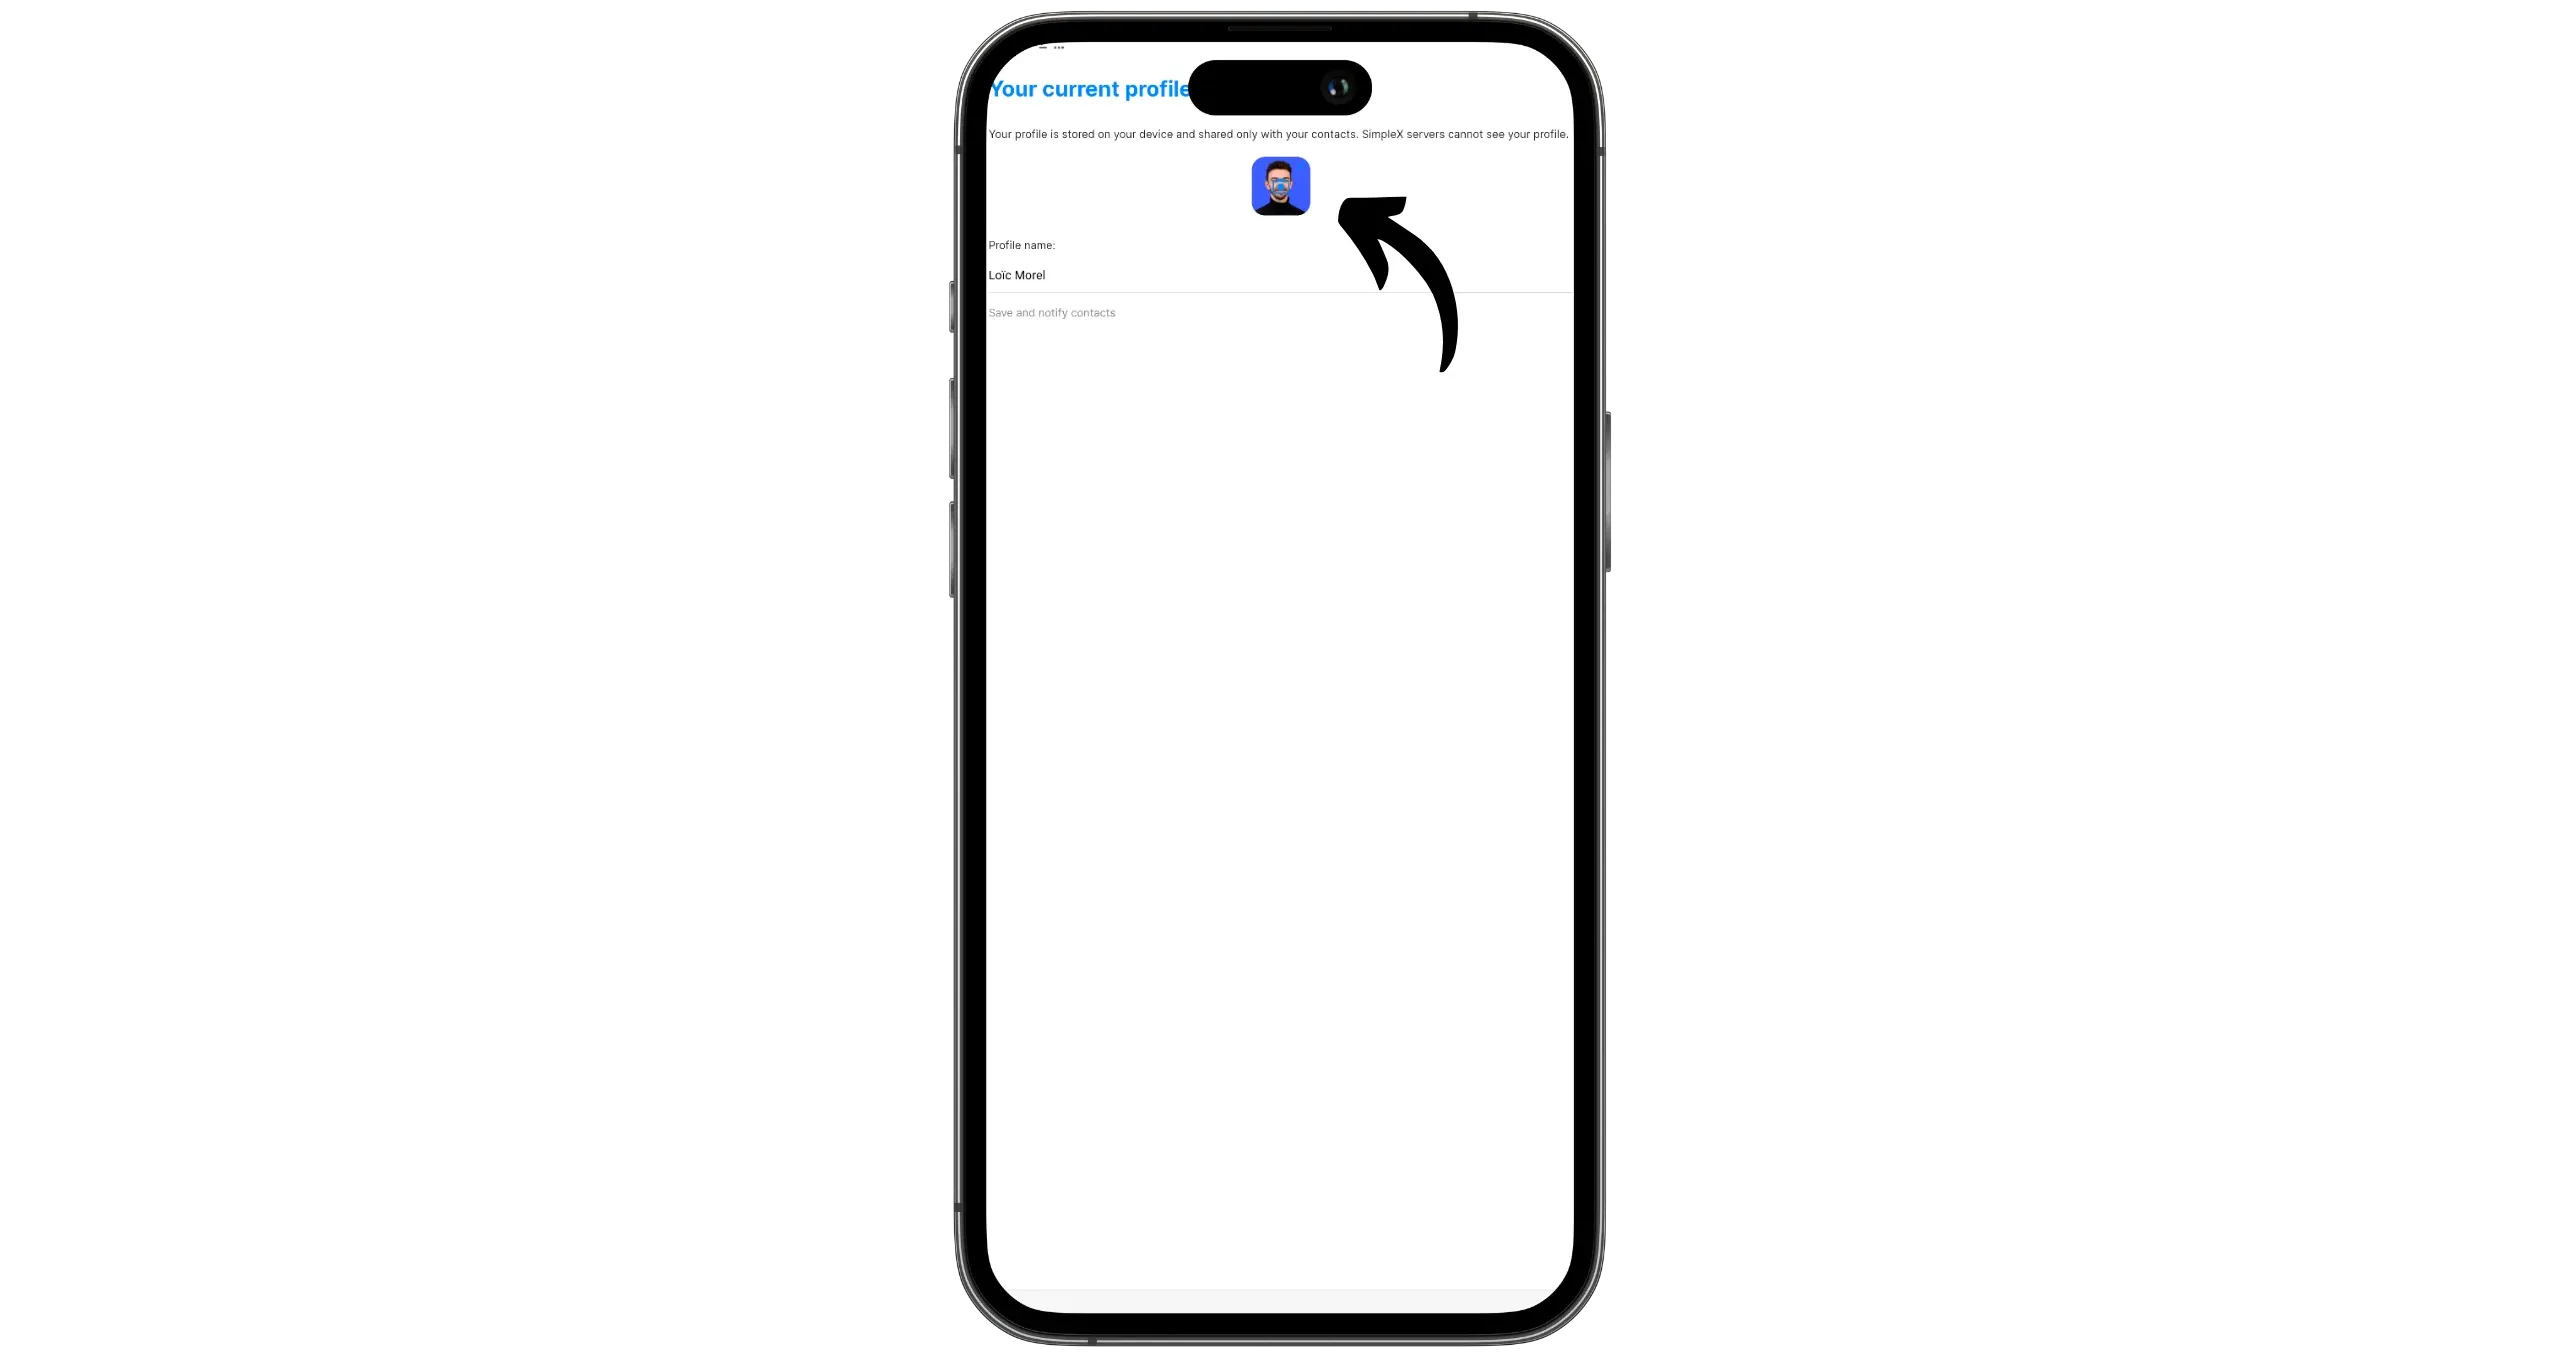
I then click on my profile photo to change it and add a new one.
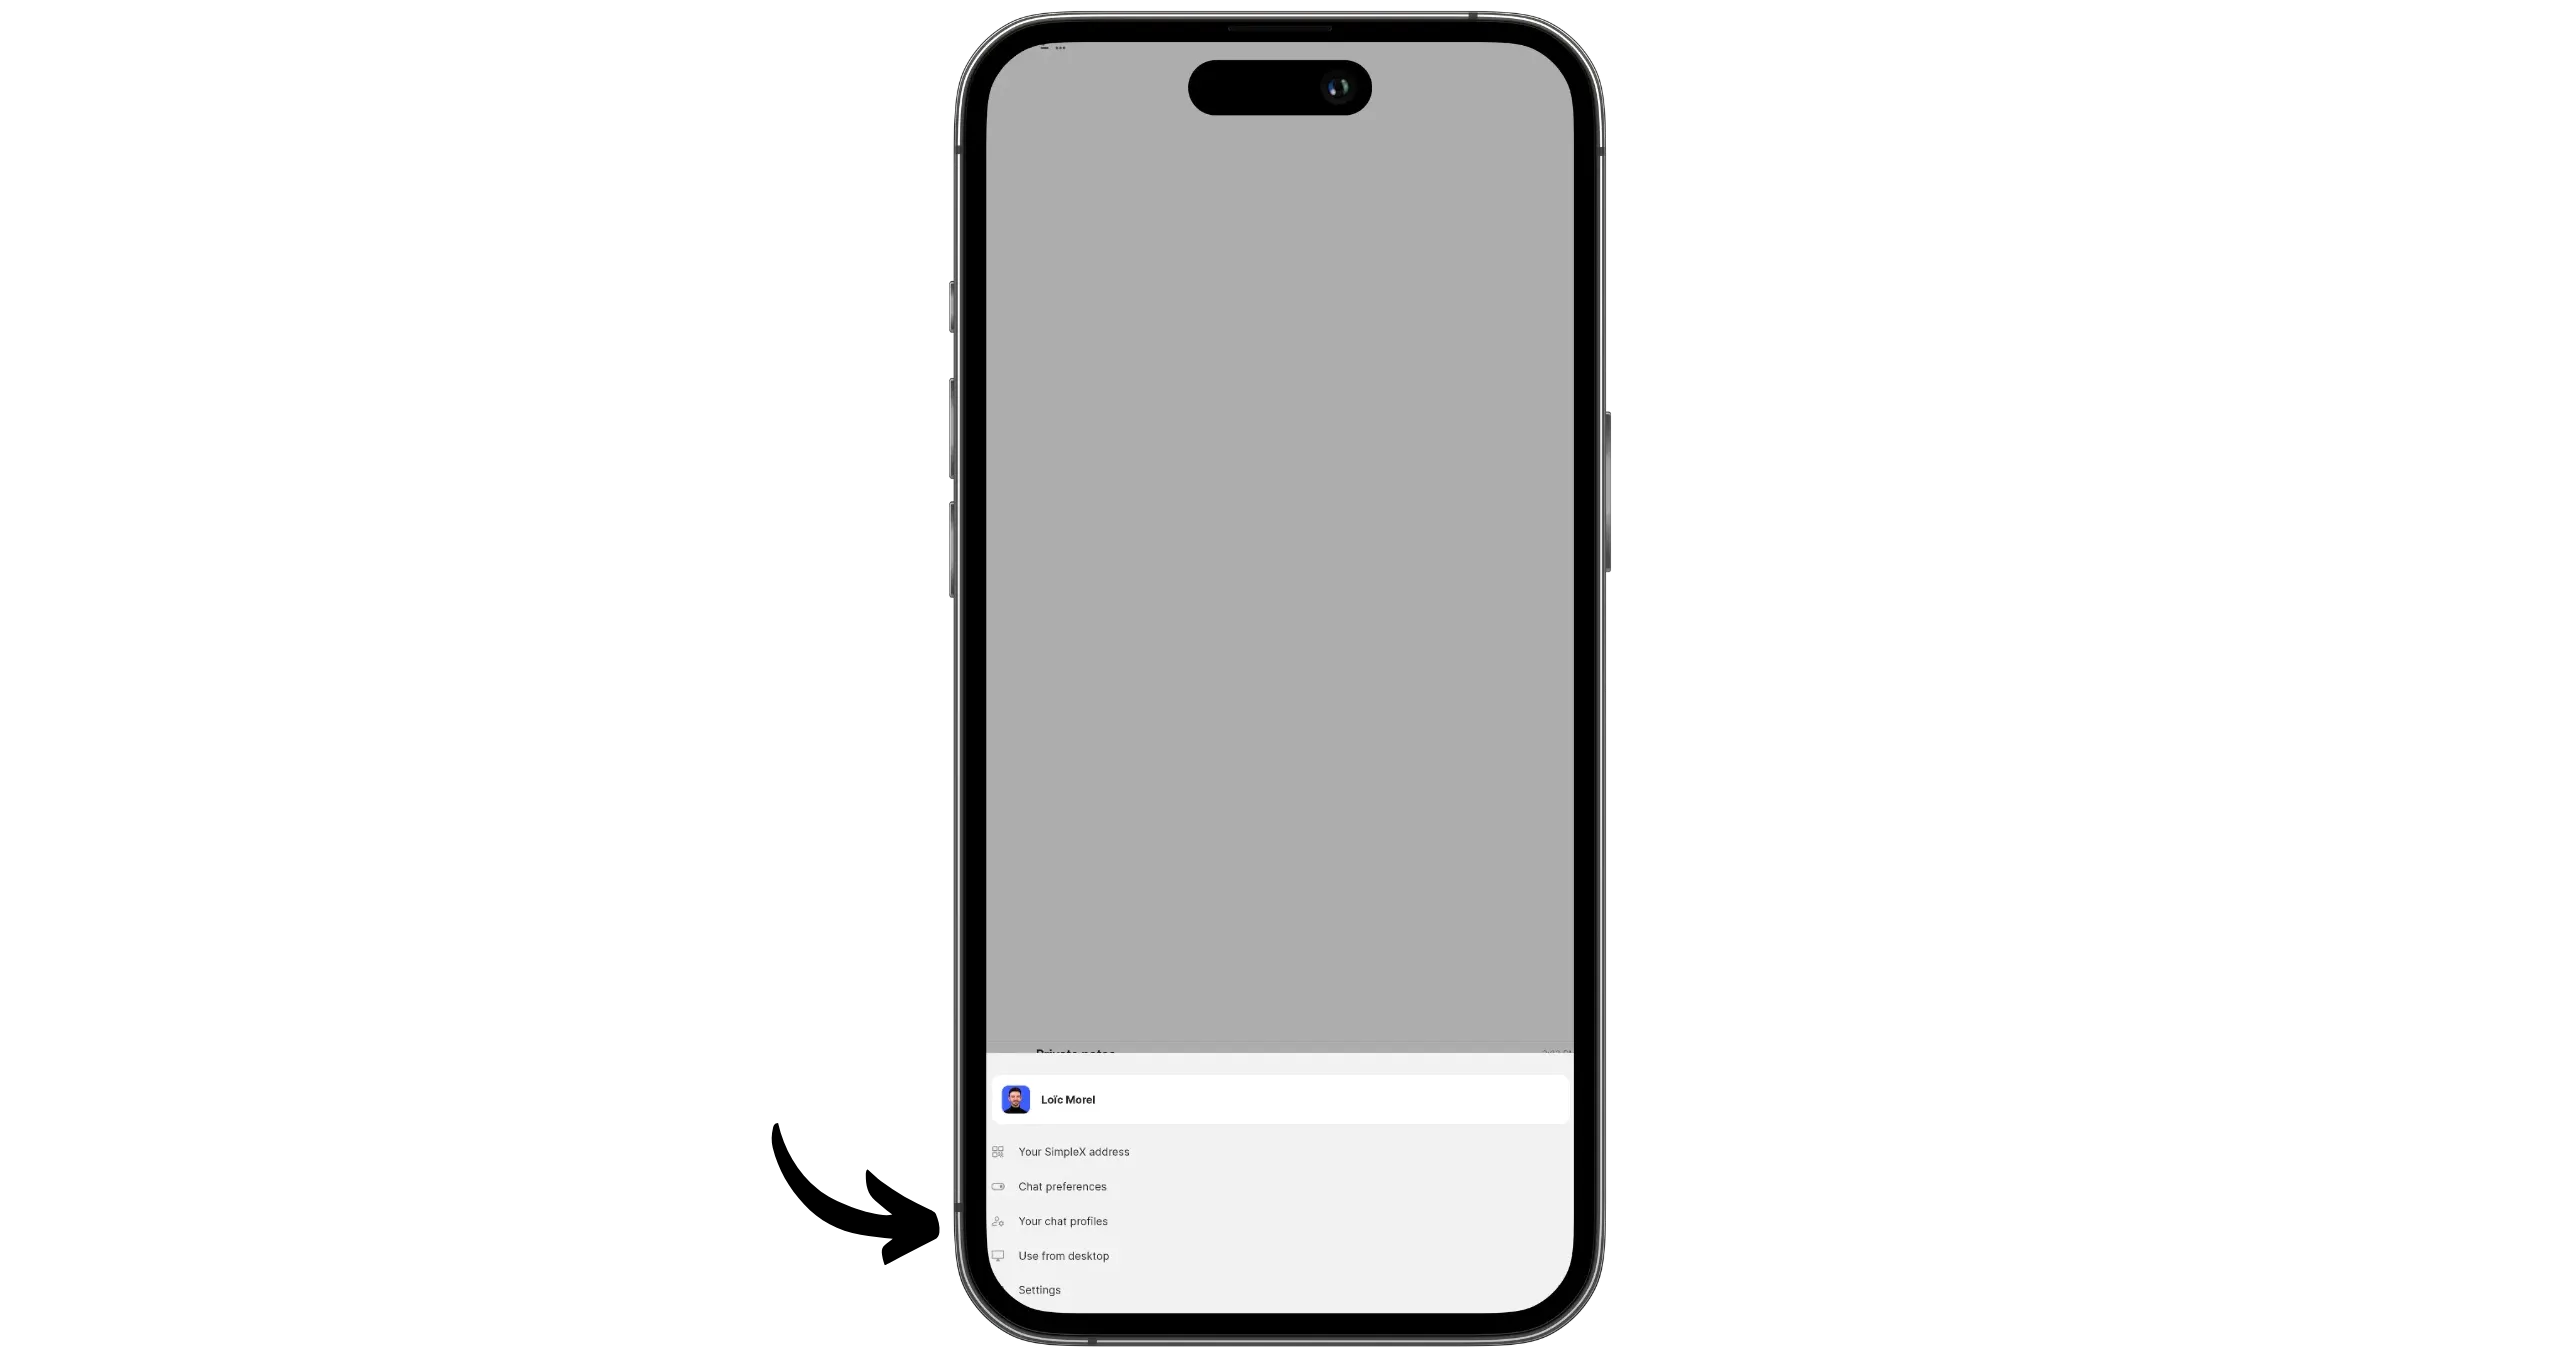
To add other profiles, click on the “Your chats profiles” menu.
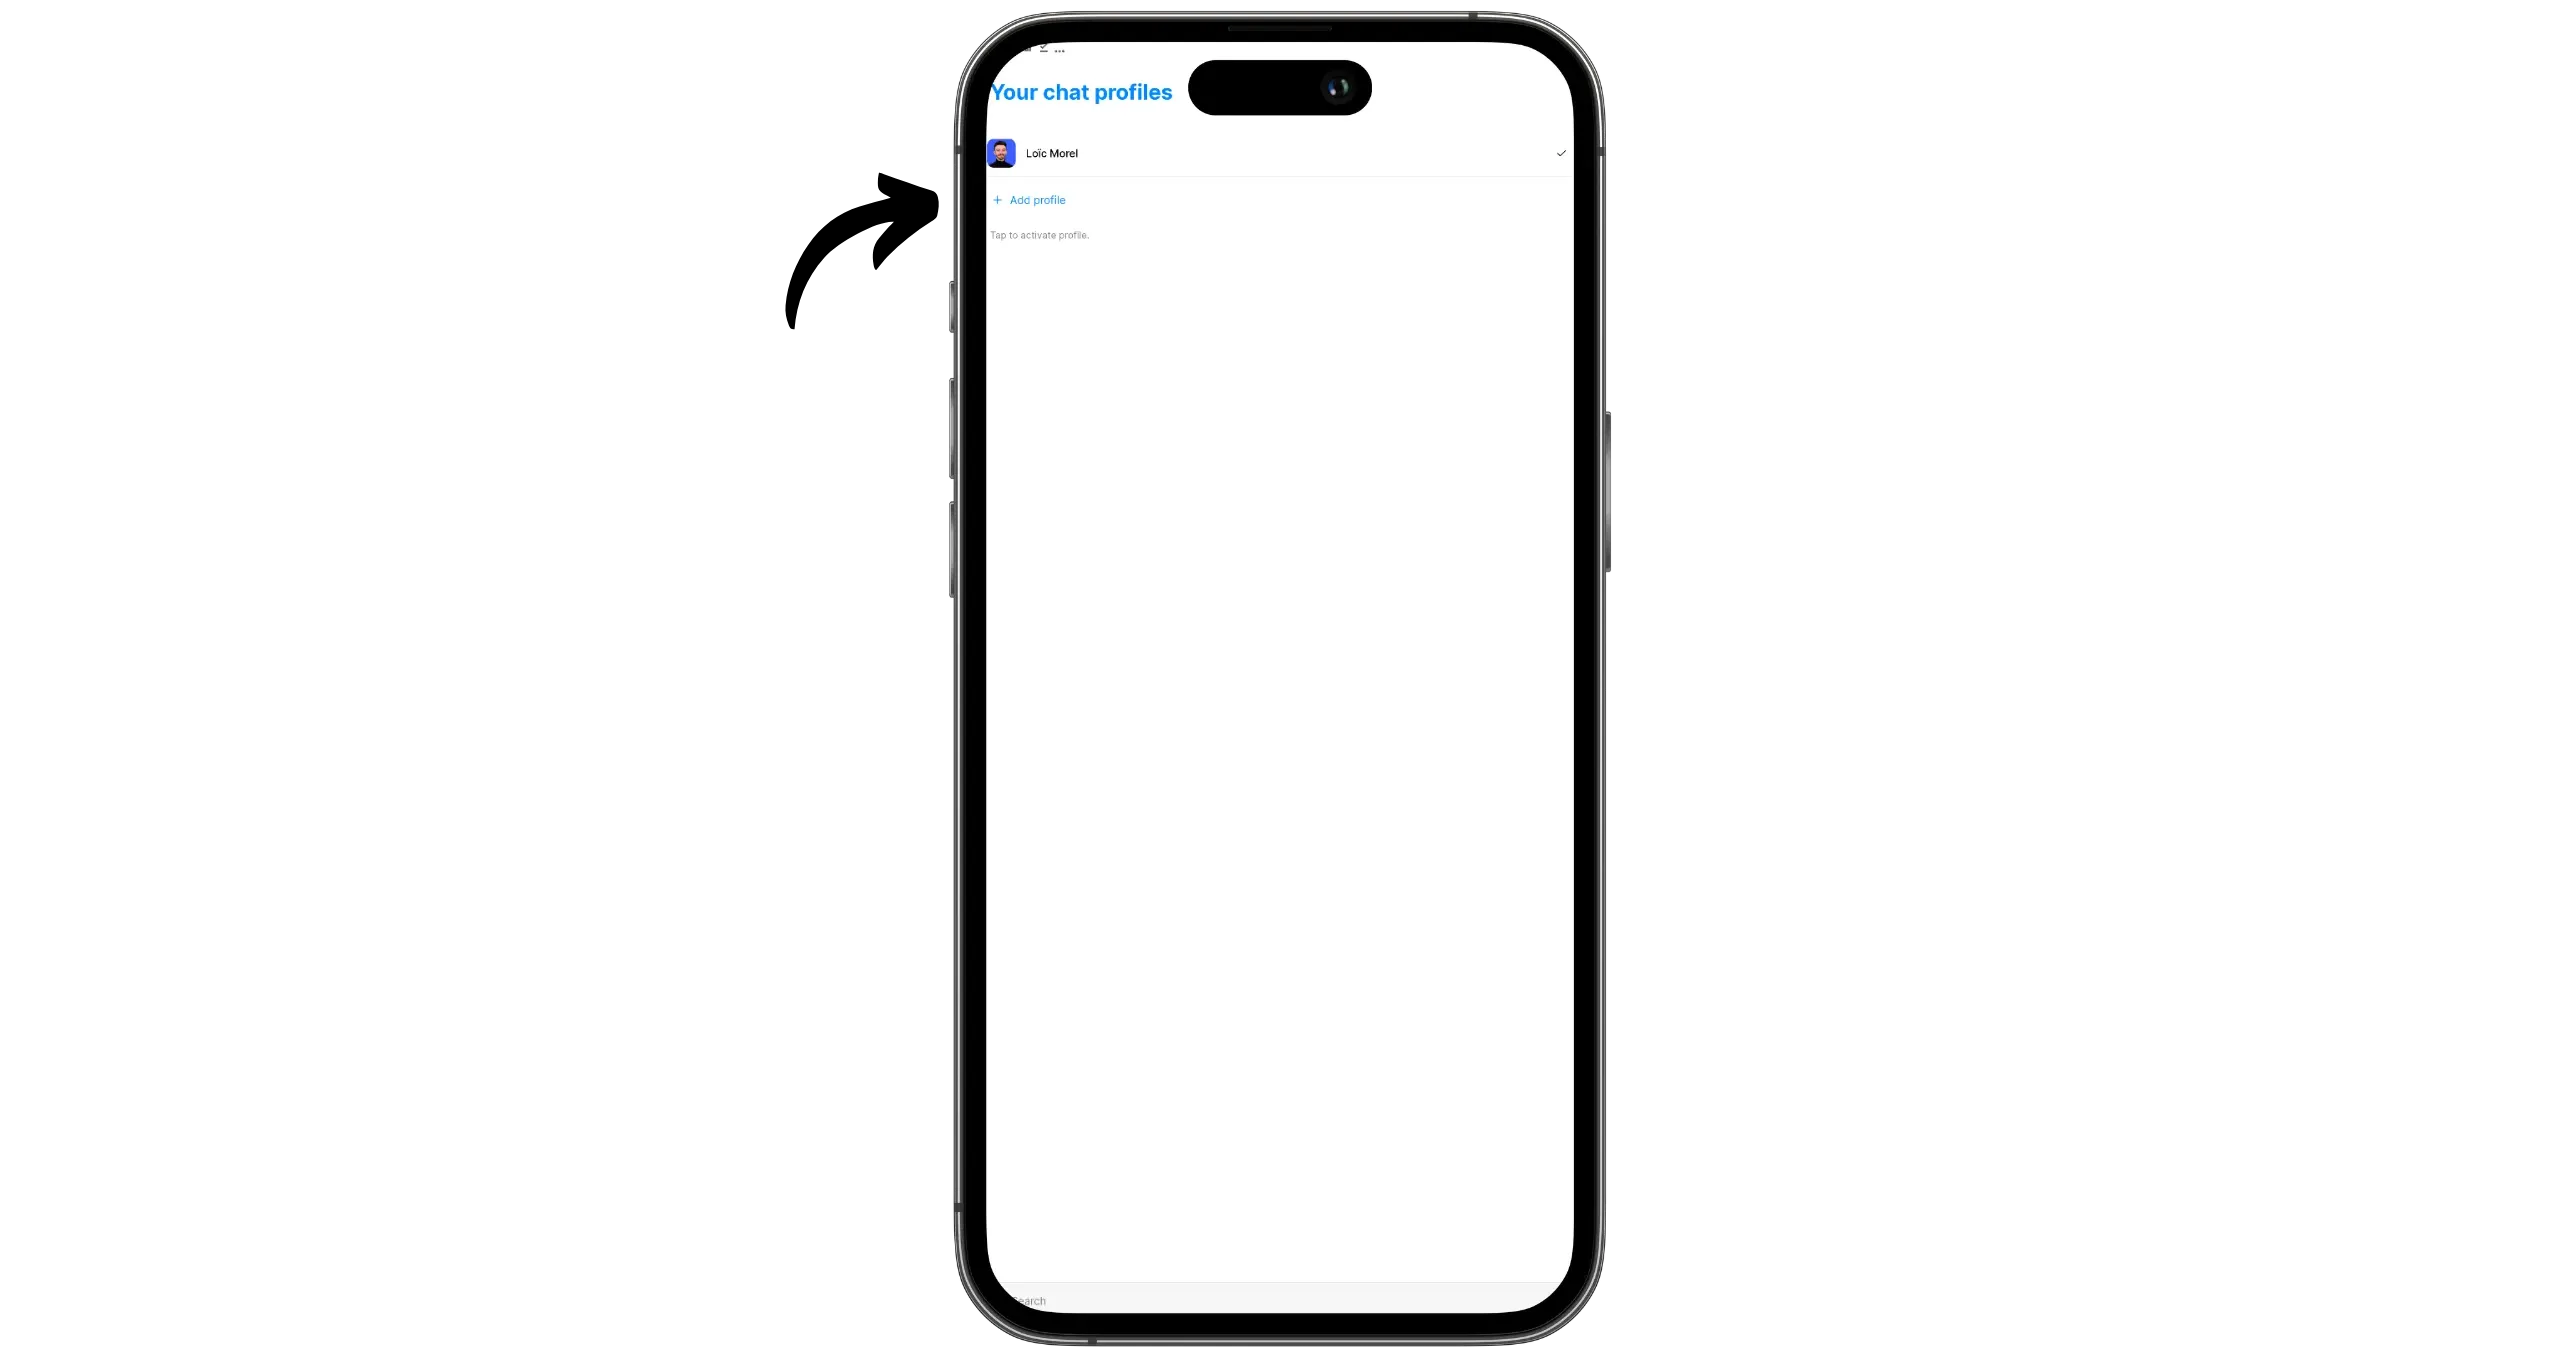
Here you’ll see all your profiles. Click on “Add profile” to create a new one.
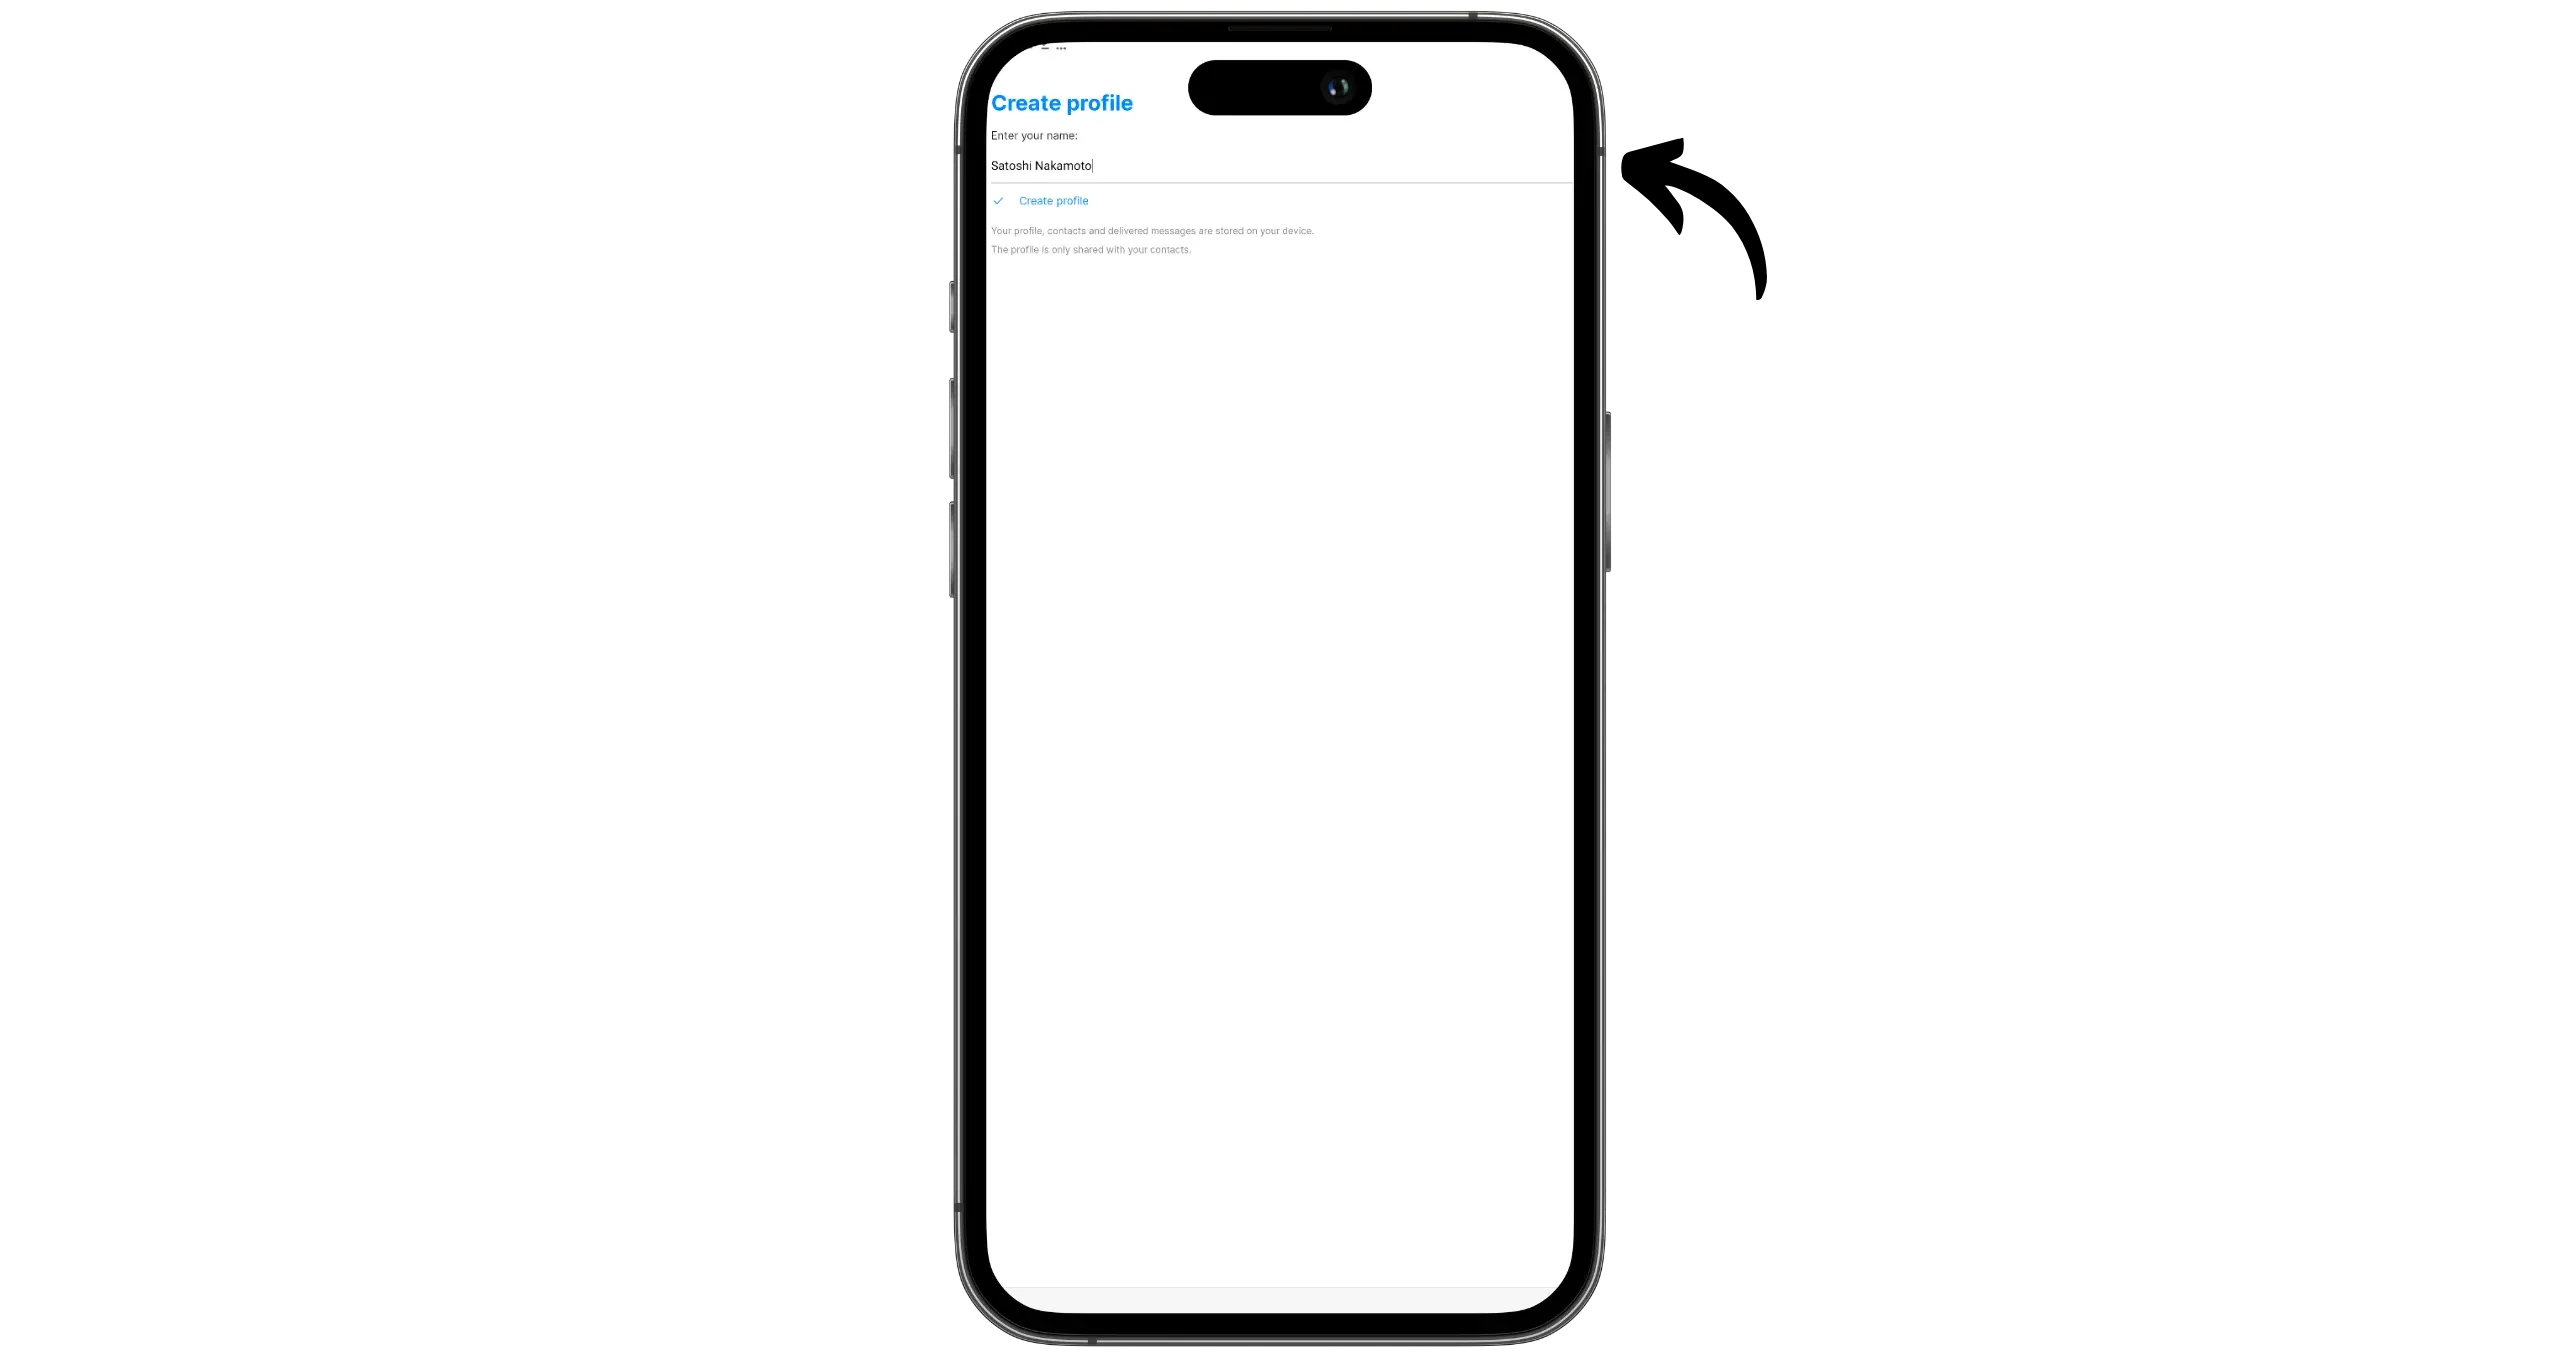
Then choose the information for your new profile: name, photo, etc. Here, I use a pseudonym and a different image to hide my real identity in certain exchanges.
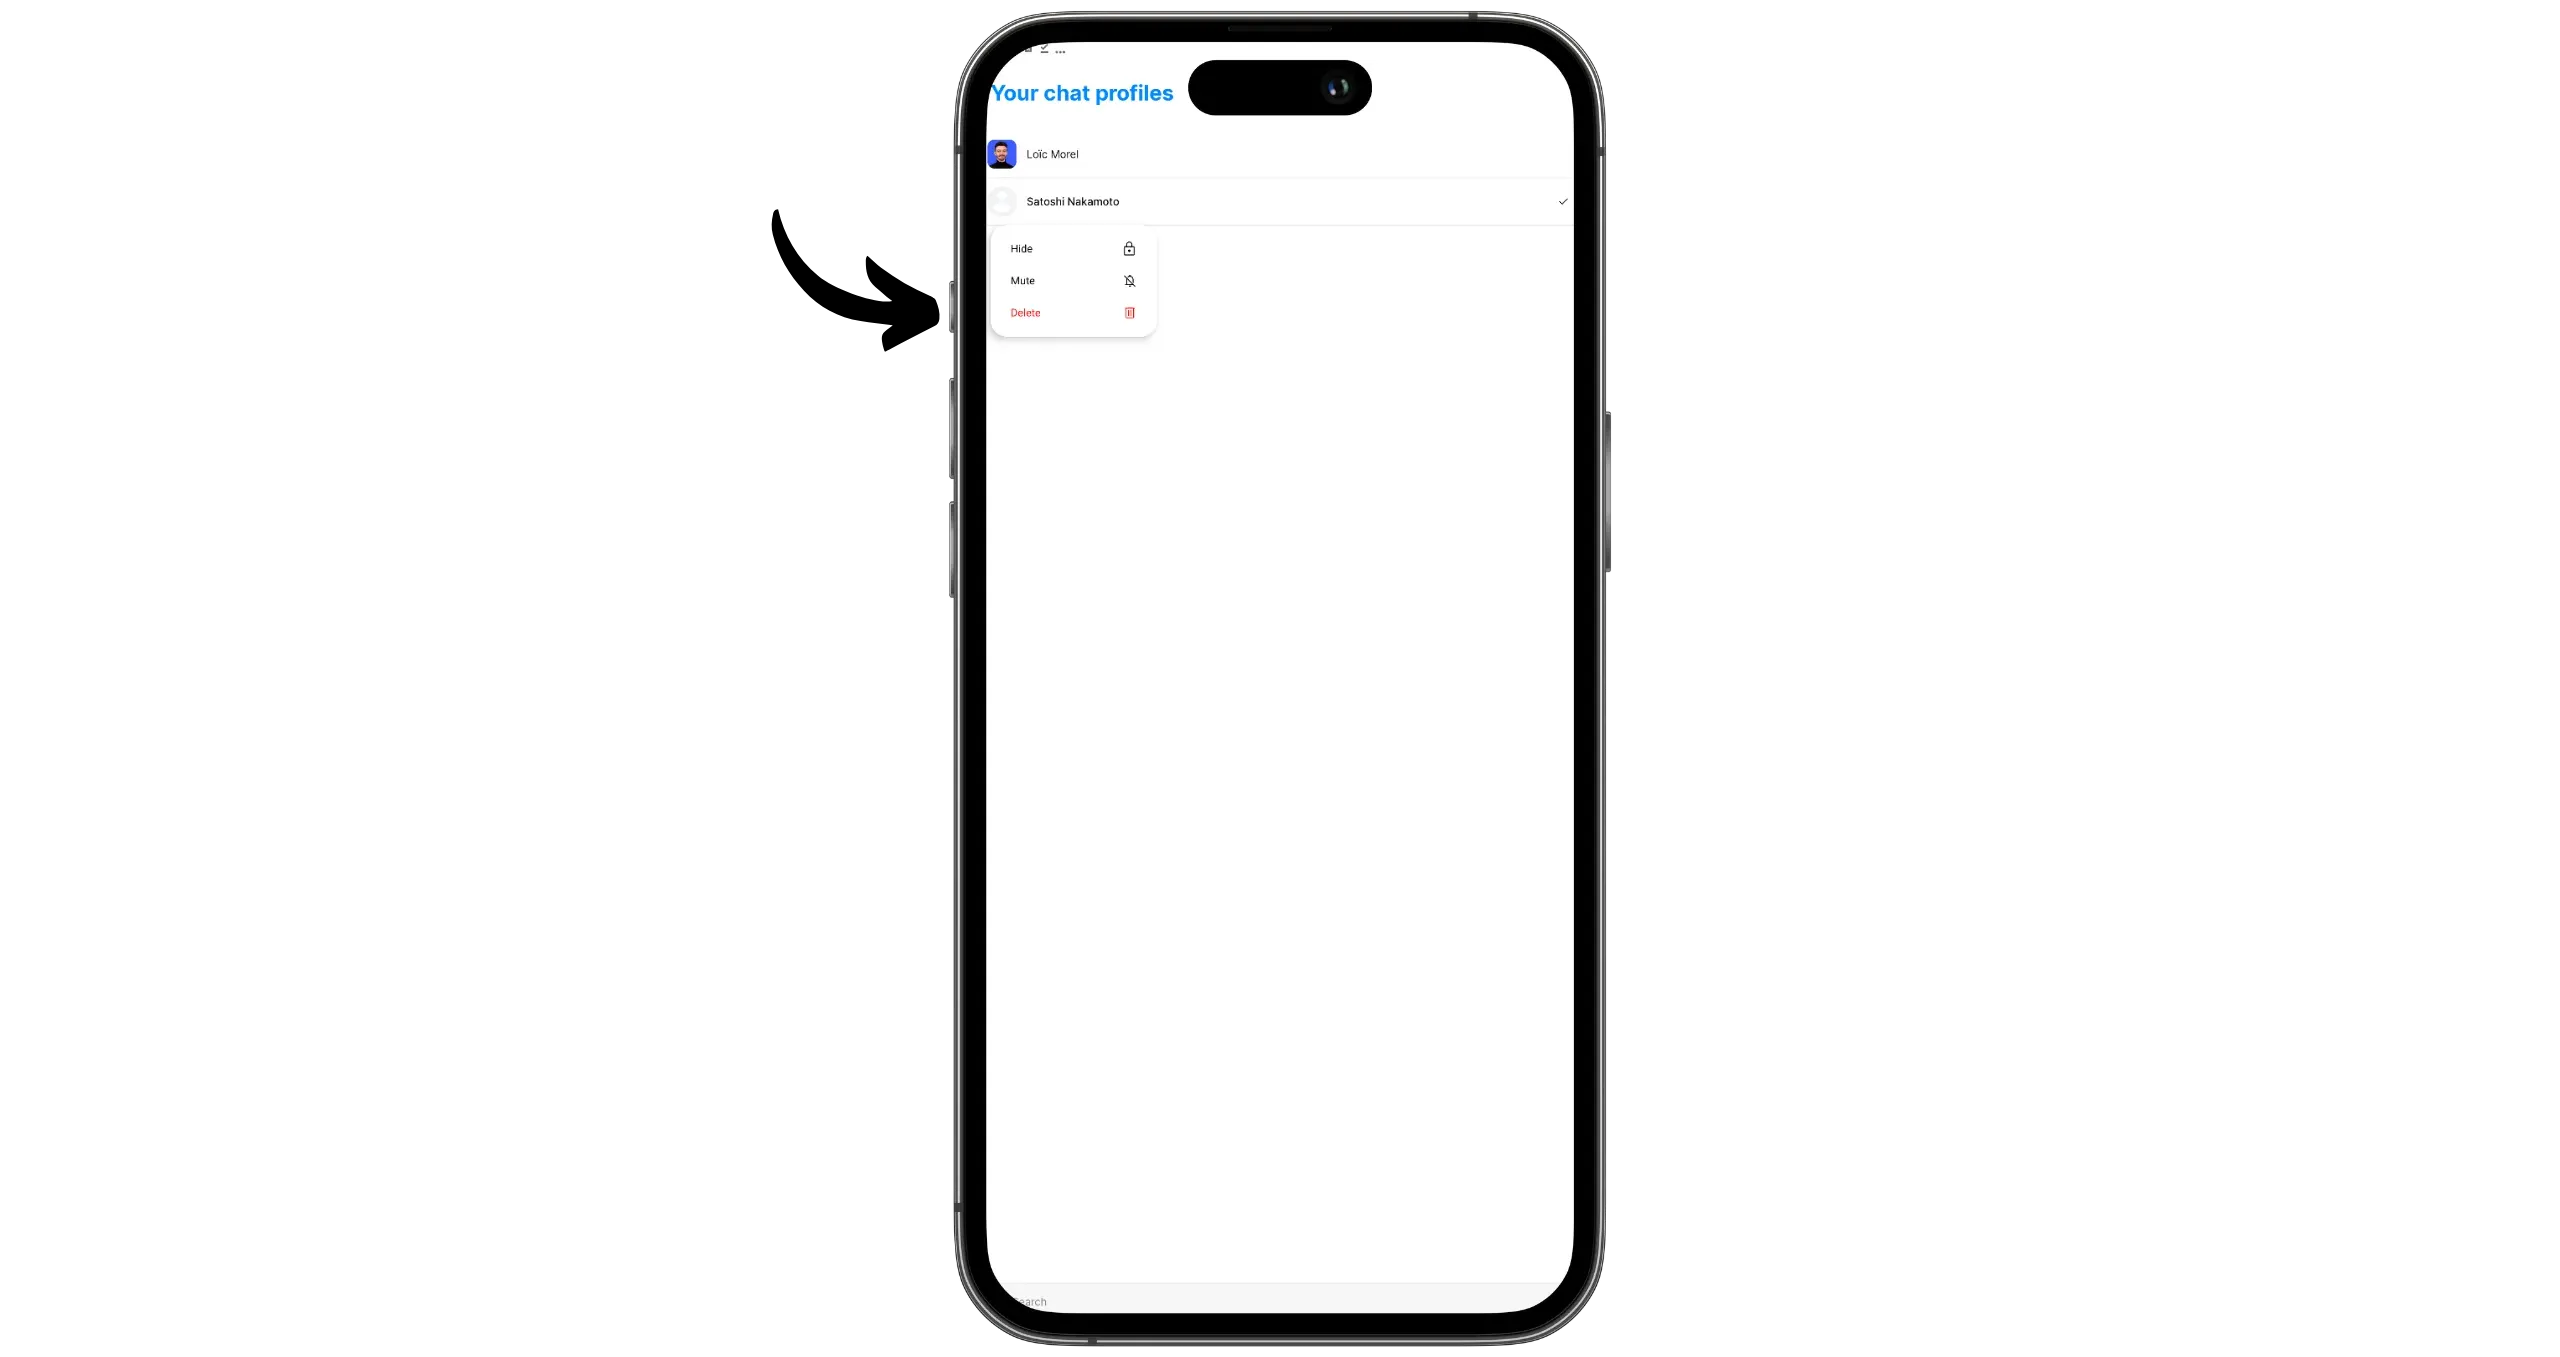
By holding your finger down on a profile, you can hide it. This will make it invisible in the application, along with all associated conversations. You can also choose to “Mute” it to stop receiving notifications.
Once you’ve created your profiles, you can manage them independently. From the home page, simply select the active profile to display.
When you create an invitation link or static address, you can now choose which profile to associate with it. For example, if I select the profile “Satoshi Nakamoto” to generate a link and send it to Alice, she will only see my pseudonymous identity “Satoshi Nakamoto”, without ever knowing my real identity “Loïc Morel”. Conversely, if I provide her with a link from my real profile, she’ll have no way of linking to my pseudonymous profile.
Congratulations, you’re now up to speed with SimpleX messaging.