Passport Core Guide (Envoy)
How to Set up and use a Passport with the Envoy application
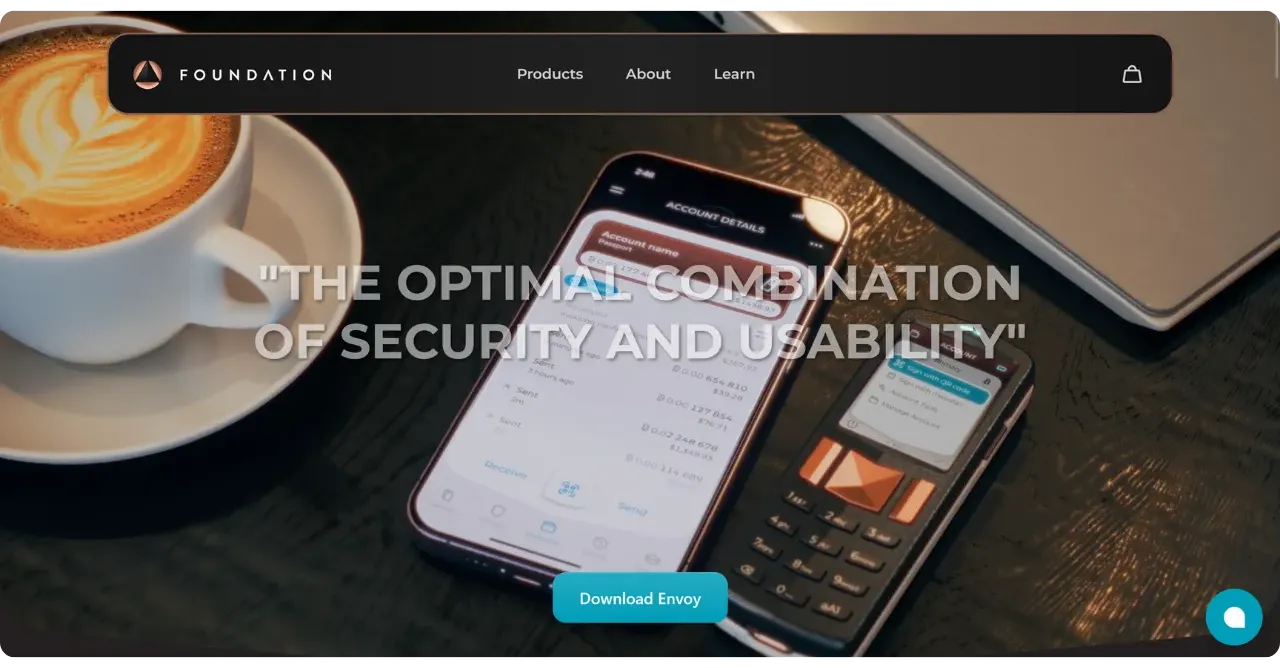
Envoy is a Bitcoin wallet management application developed by Foundation. It is specially designed for use with the Passport hardware wallet.
The Passport “Batch 2” presented in this tutorial with the Envoy app is the successor to the “Founder’s Edition”. It stands out with its premium design, high-definition color screen, and ergonomic physical keyboard. It operates in “Air-Gap” mode, ensuring that your wallet’s private keys remain completely isolated, with communication possible via a MicroSD card or QR codes. The device is equipped with a removable, rechargeable Nokia BL-5C battery with a capacity of 1200 mAh. This non-proprietary battery can be easily replaced, as the BL-5C model is widely available in stores.
As for connectivity, the Passport is equipped with a MicroSD port, a USB-C port for charging, and a rear camera for scanning QR codes.
In terms of security, the Passport incorporates a secure element, and the device’s source code is entirely open-source. It offers all the features expected of a good Bitcoin hardware wallet. Note that the Passport does not yet support miniscript, but this feature is planned for the second quarter of 2025.
Priced at USD 199, the Passport is positioned as a high-end hardware wallet, competing with the Coldcard Q, Jade Plus, Tezor Safe 5 and Ledger’s top-of-the-range models.
To manage your secure wallet on a Passport, you have several options. This hardware wallet is compatible with the majority of wallet management software on the market, including Sparrow Wallet, Specter Desktop, Nunchuk, Keeper, among others.
In this tutorial, which is aimed at beginners and intermediate users, we’re going to discover how to use the Envoy application with your Passport. It’s the easiest way to get the most out of your hardware wallet.
If you’re an advanced user and want to explore more complex features, I recommend you check out this other tutorial where we configure Passport with Sparrow Wallet.
Unboxing the Passport
When you receive your Passport, make sure the box and seal on the carton are intact to confirm that the package has not been opened.
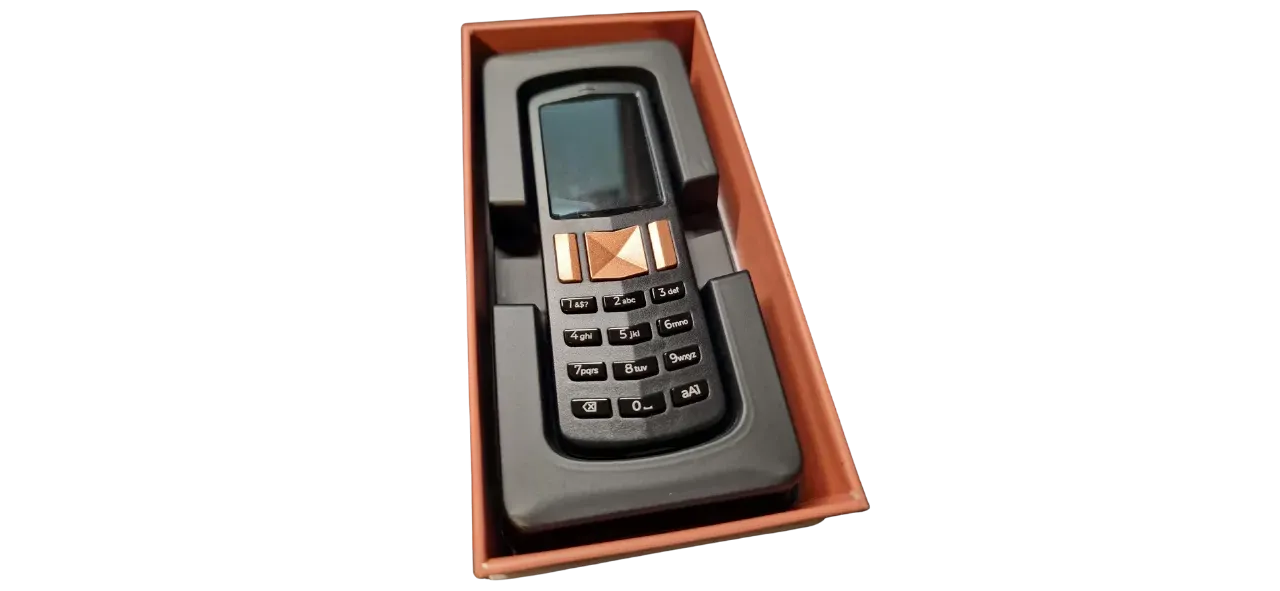
If the box or seal shows signs of tampering, stop setup and contact the seller to avoid using a compromised device.
Box contents include:
- Passport;
- A piece of cardboard to write down your mnemonic phrase;
- A USB-C cable for charging;
- MicroSD card;
- Two MicroSD to Lightning or USB-C adapters;
- Stickers.
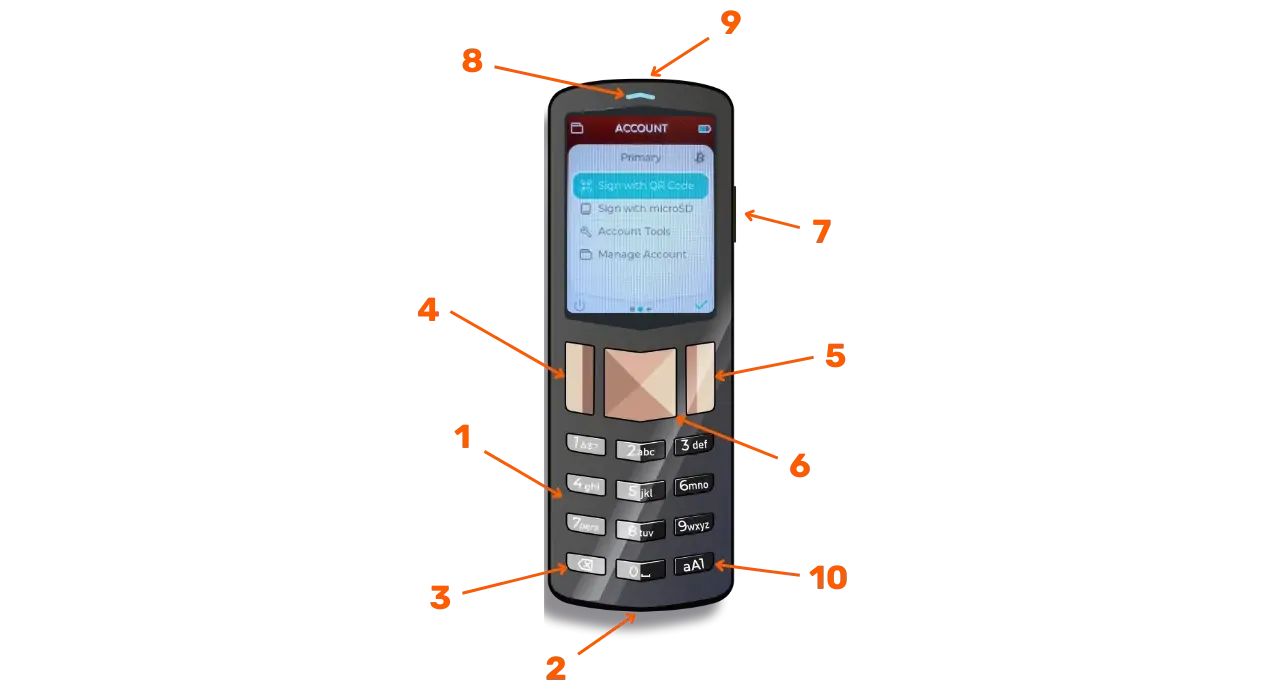
On the device, you will find:
- A keyboard (1);
- USB-C port (2);
- A delete button (3);
- A return button (4);
- A confirmation button (5);
- Directional pad (6);
- On/off button (7);
- A status indicator (8);
- MicroSD port (9);
- A button to change mode aA1 (10);
- A rear camera.
A software authenticity and integrity check is performed during setup to confirm the device is genuine.
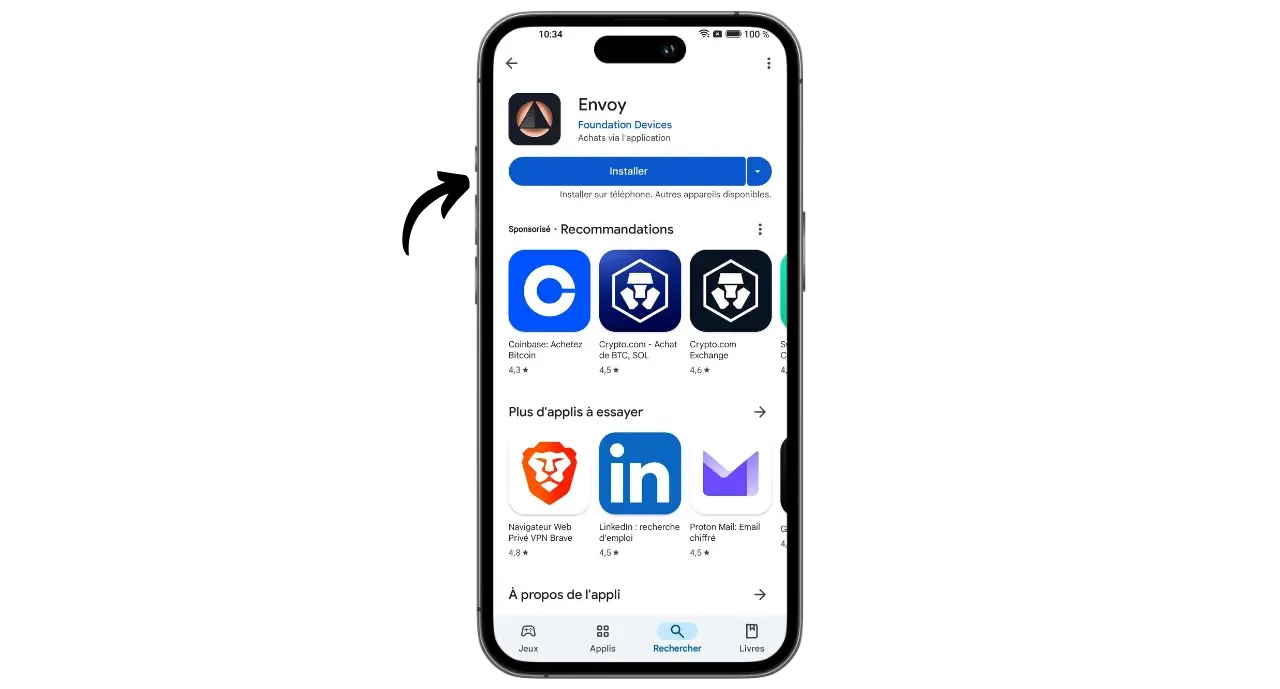
Download Envoy application
Go to your app store to download Envoy:
- On the Google Play Store;
- On the App Store;
- On F-droid.
You can also download the APK file directly from Foundation’s GitHub repository.

If installing via APK, verify signatures and hashes from the release page to reduce supply‑chain and tampering risks.
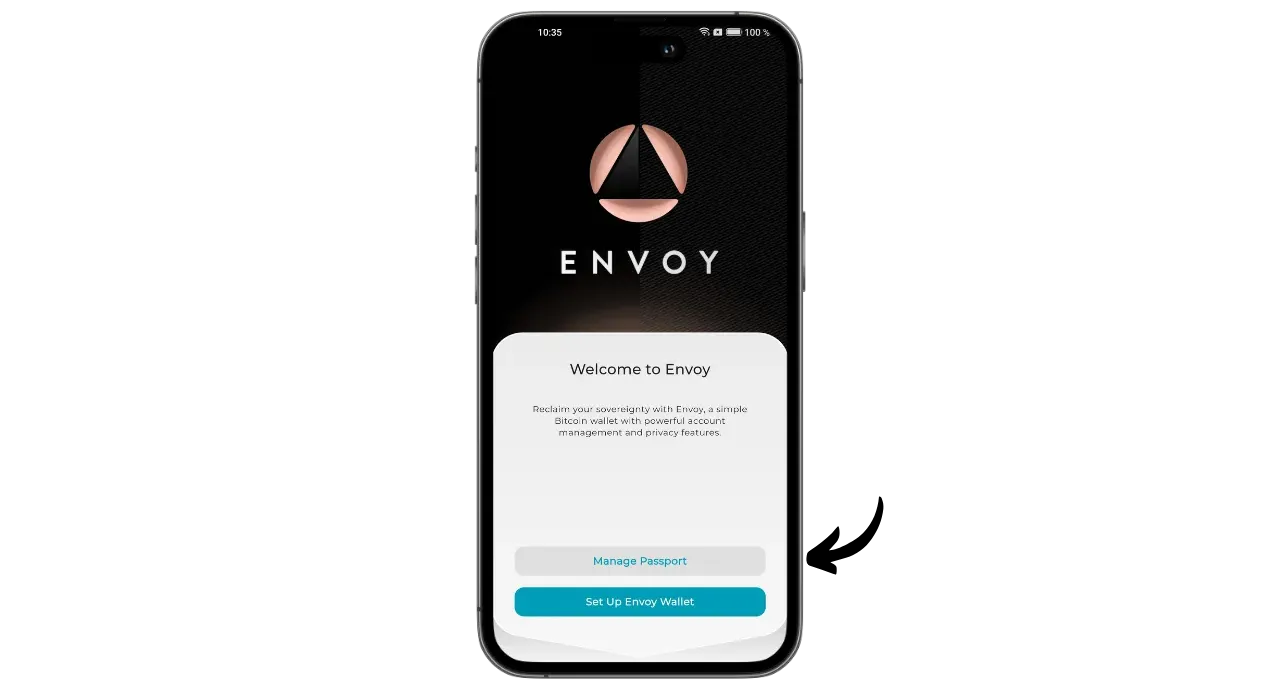
Once the application is open, select “Manage Passport”.
Choose whether you want to activate the Tor connection, then press “Continue”.
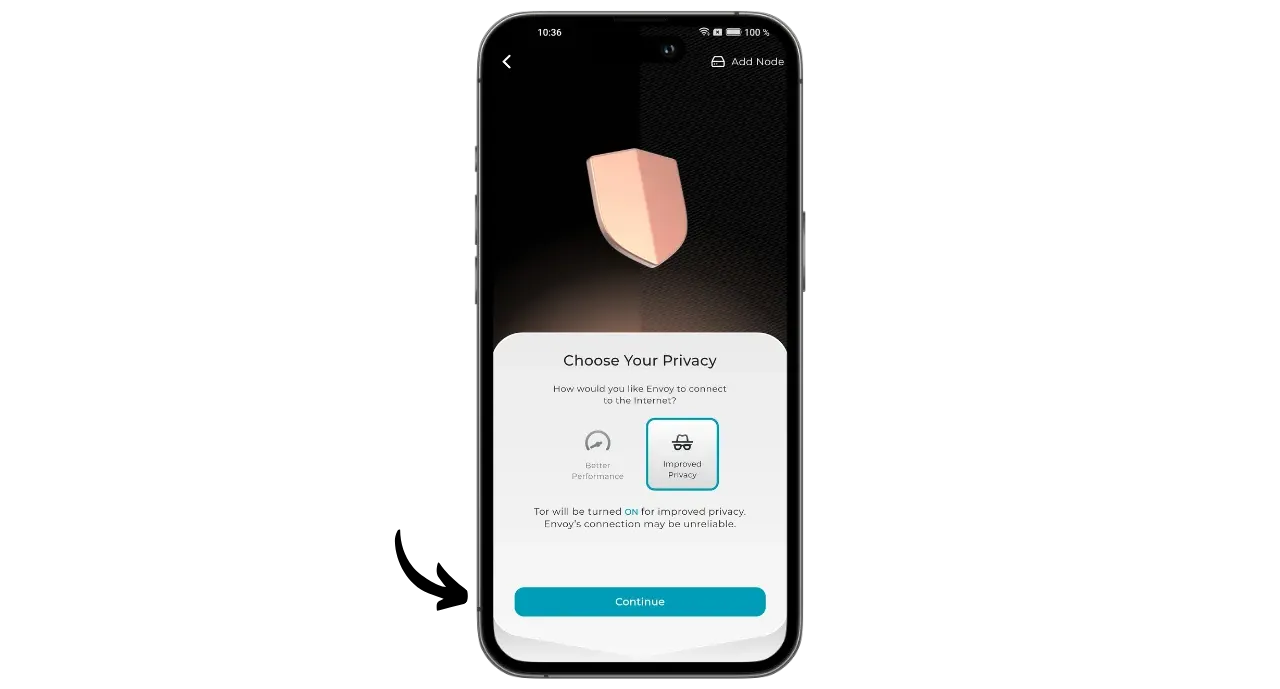
Enabling Tor helps protect your network privacy when using Envoy.
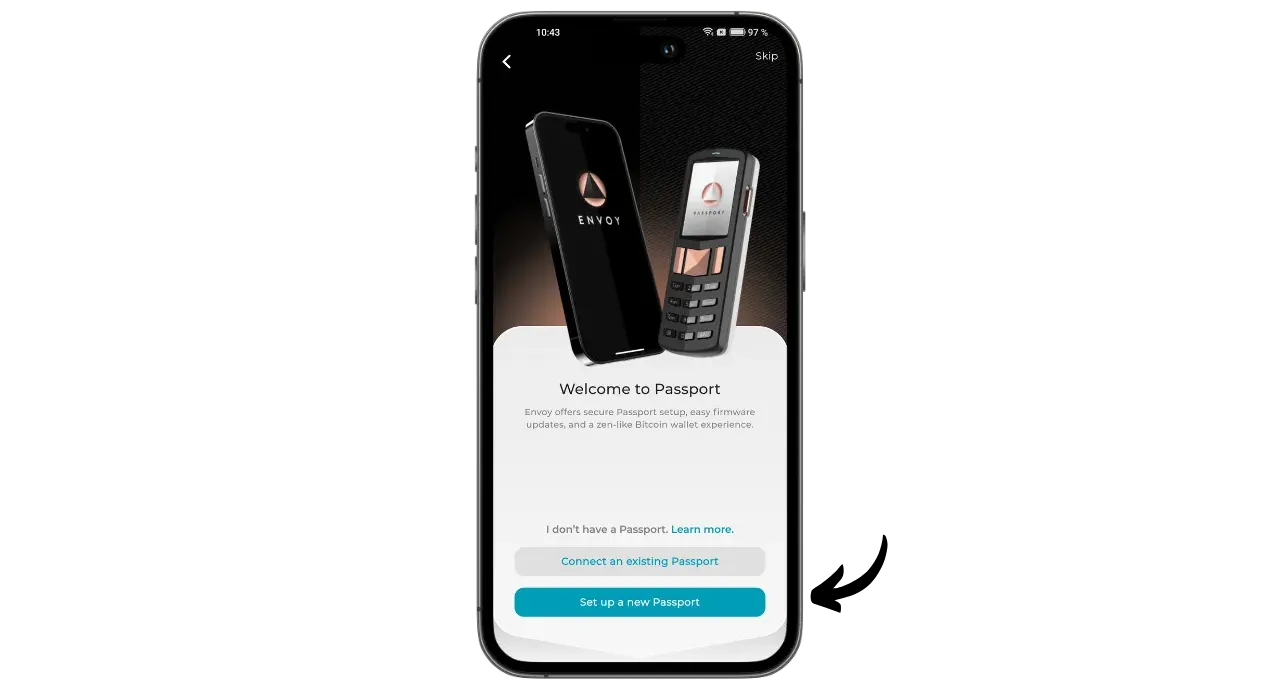
Choose “Connect an existing Passport” if your Passport is already configured, or “Set up a new Passport” if you’re initializing your hardware wallet for the first time.
Accept the terms of use.
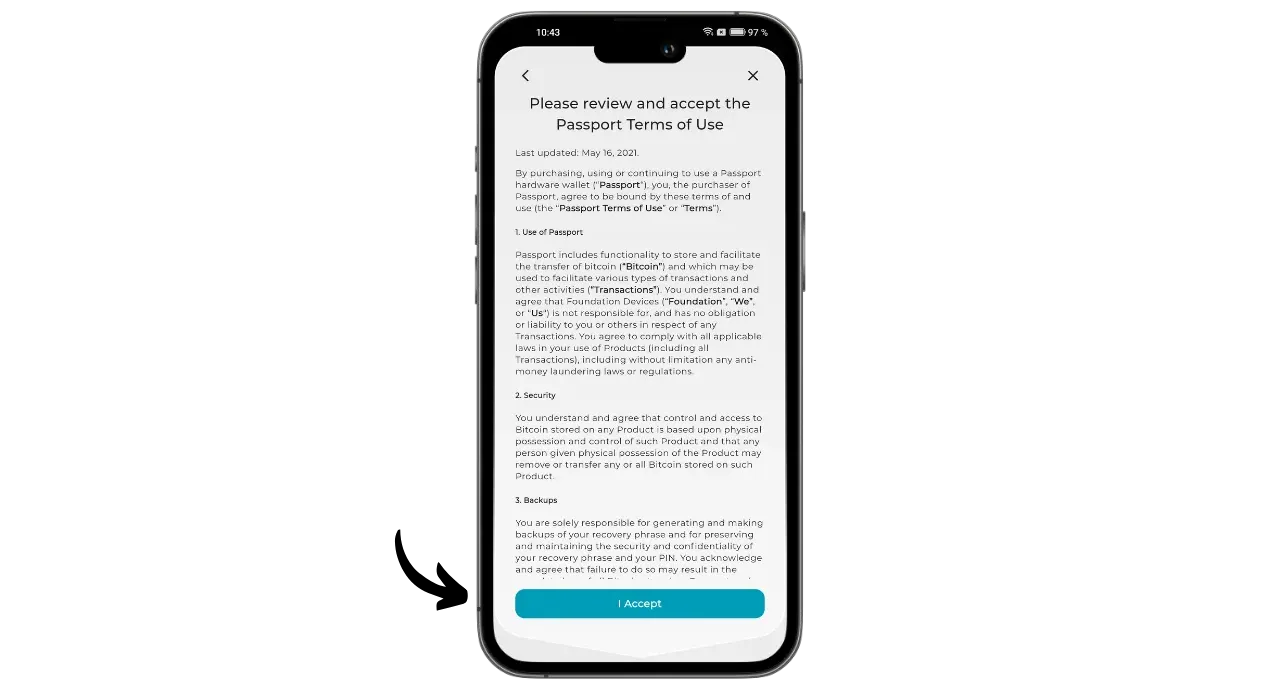
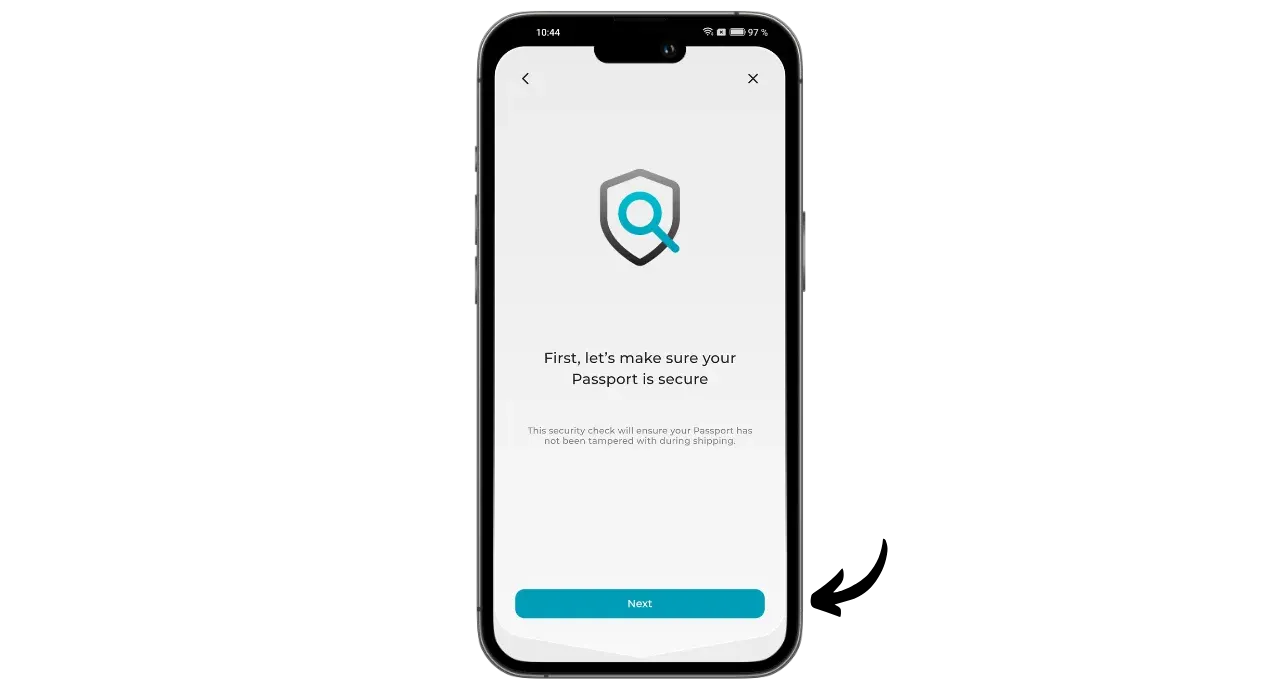
You will then be asked to verify the authenticity of the Passport. Click on “Next”.
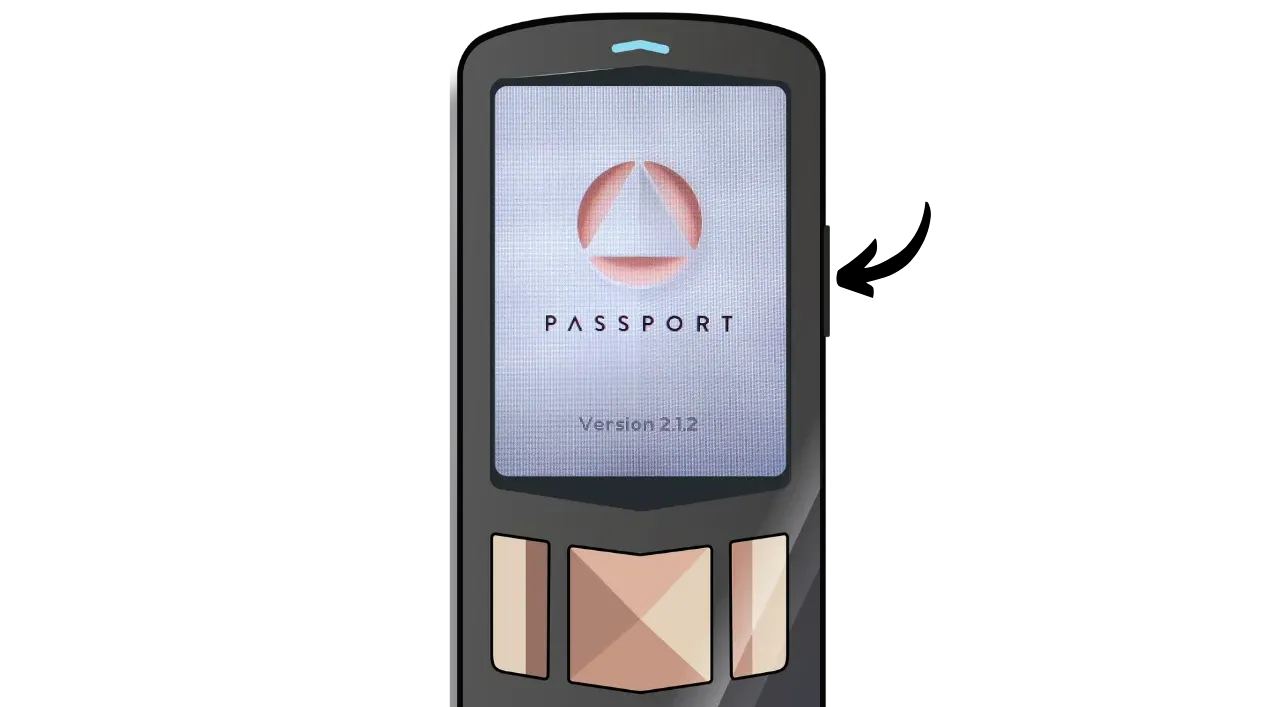
Starting Passport
Press the on/off button on the side of the unit to start it up.
Press the confirmation button to access the next menu.
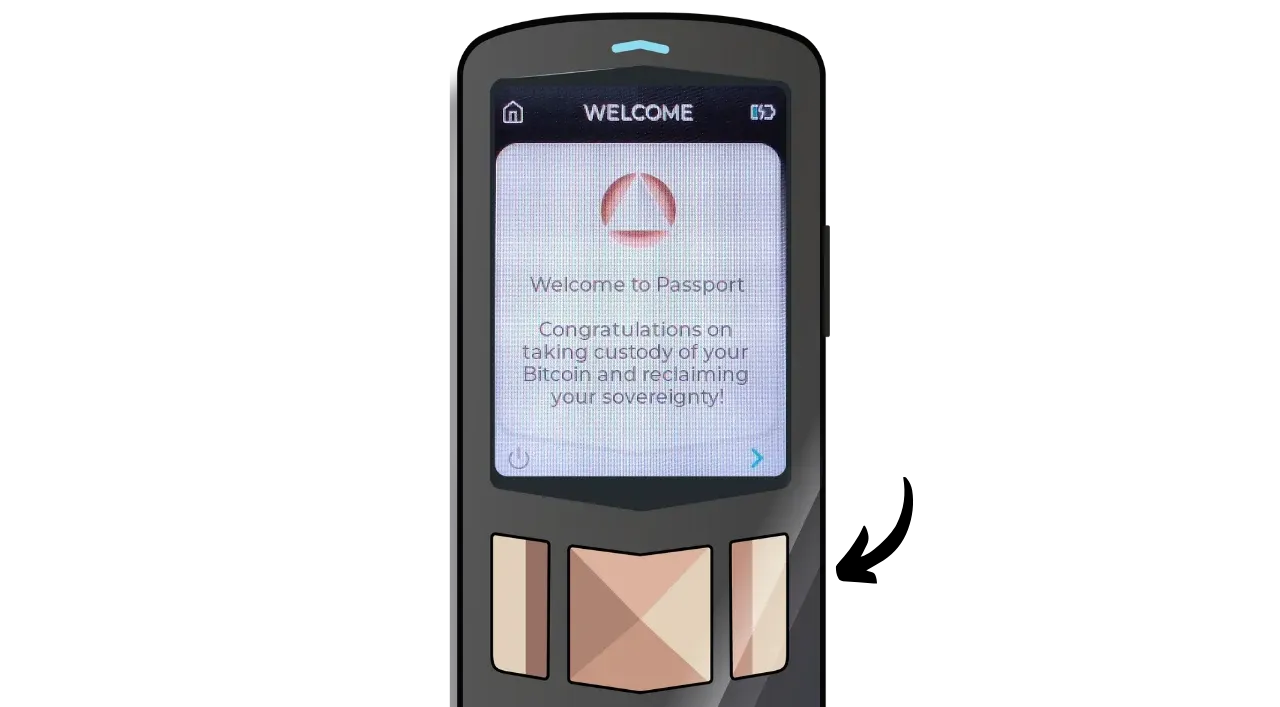
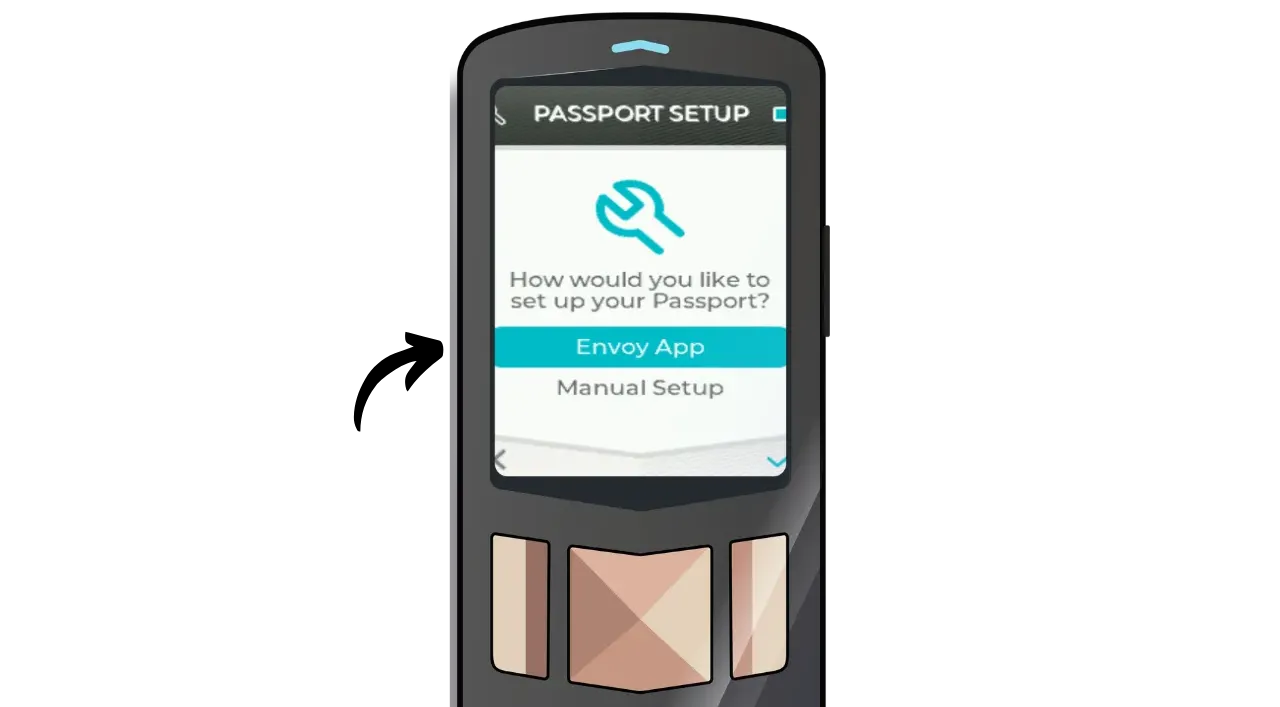
In this tutorial, we’ll use Envoy to manage the Passport-secured wallet. Select “Envoy App”.
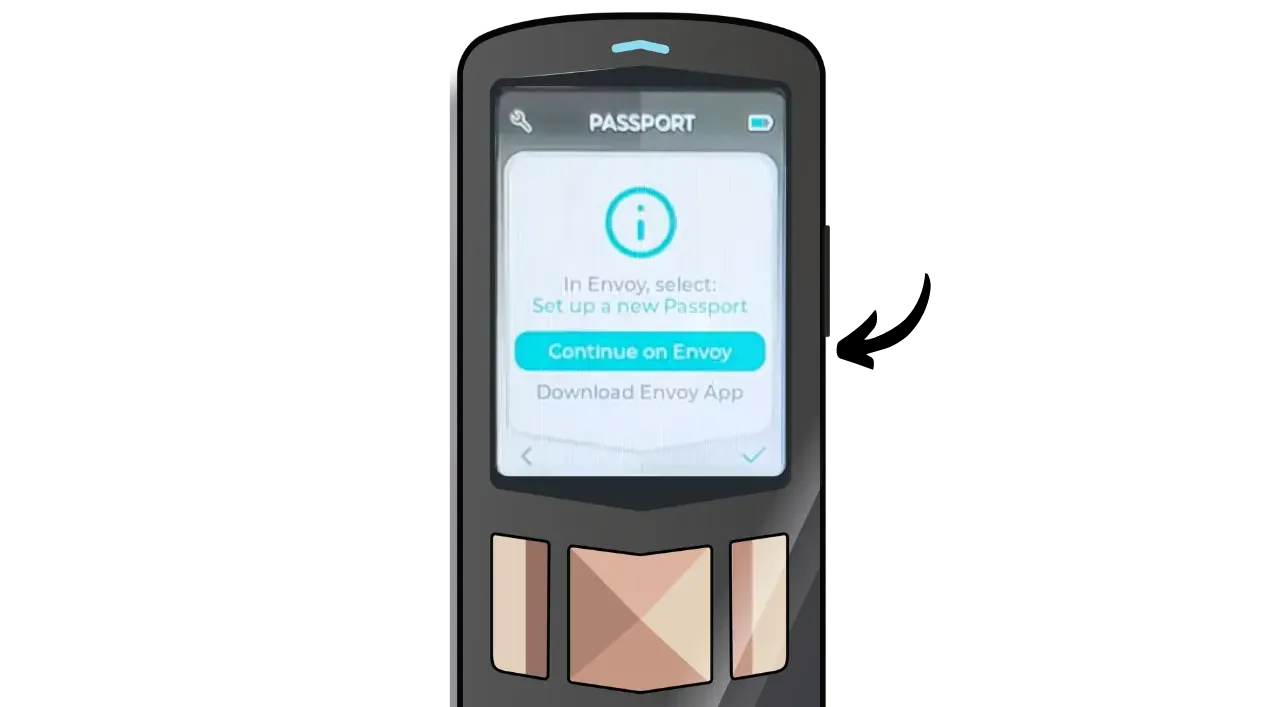
Click on “Continue on Envoy”.
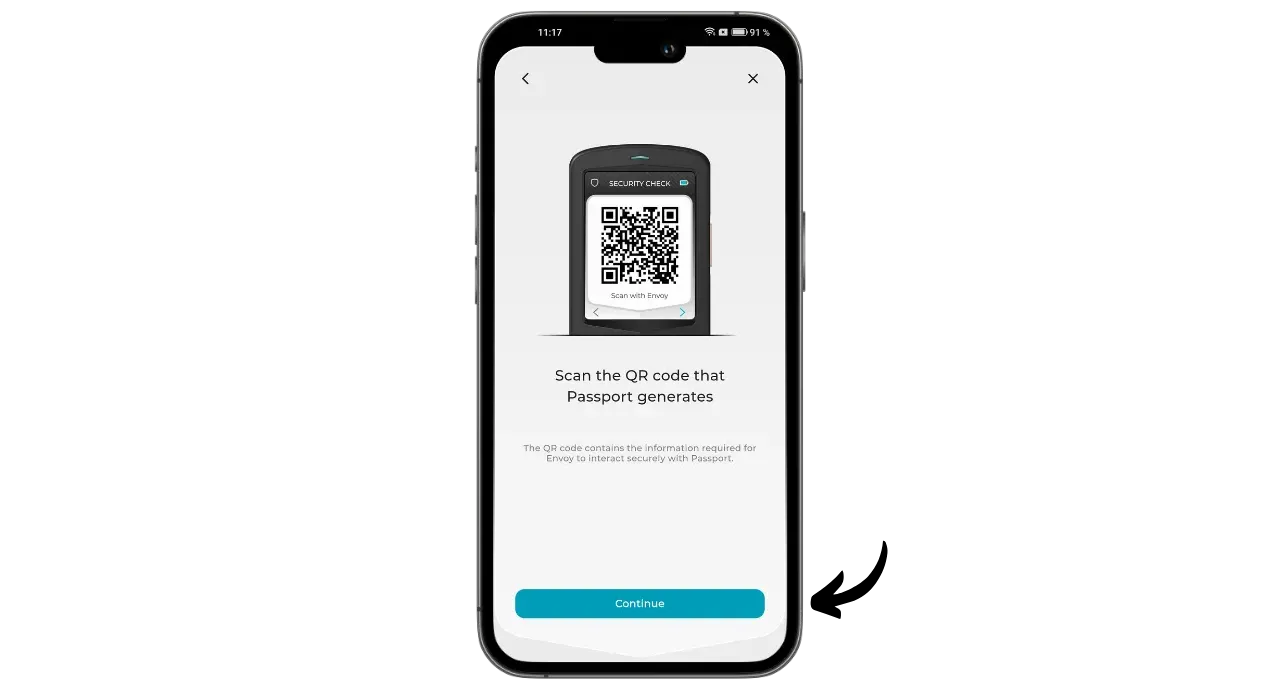
The next step is to check your device. This confirms the authenticity of your Passport and ensures that it has not been tampered with in transit. You will be asked to scan a QR code.
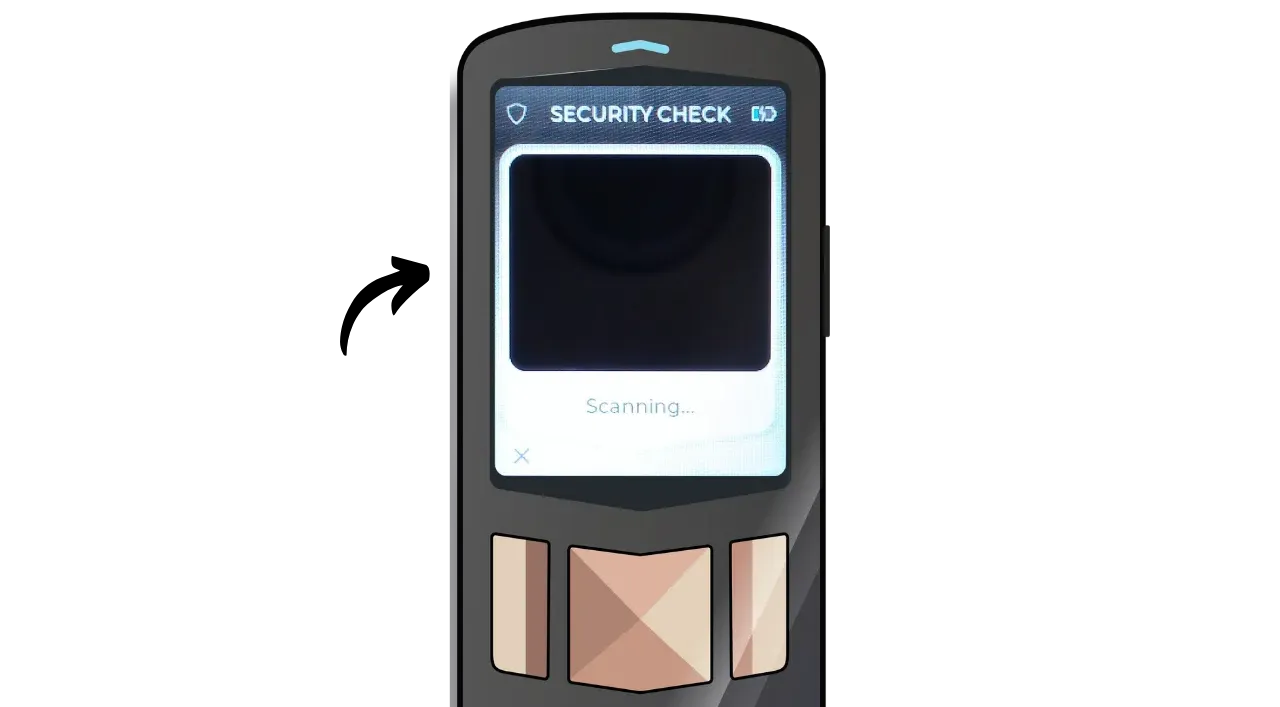
Scan the dynamic QR codes displayed in the application with your Passport. When scanning is complete, click on “Next”.
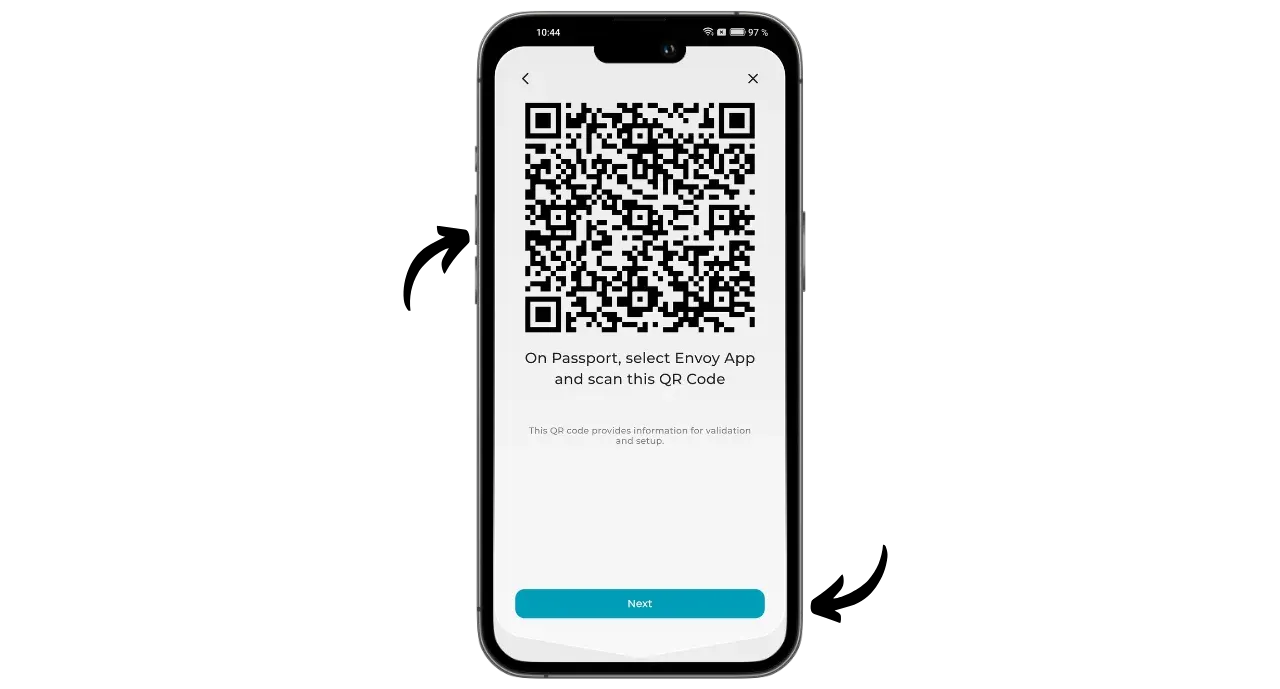
Then use your phone to scan the QR code displayed on your Passport.
If the authenticity check fails, do not proceed — contact Foundation support. A compromised device can lead to fund loss.
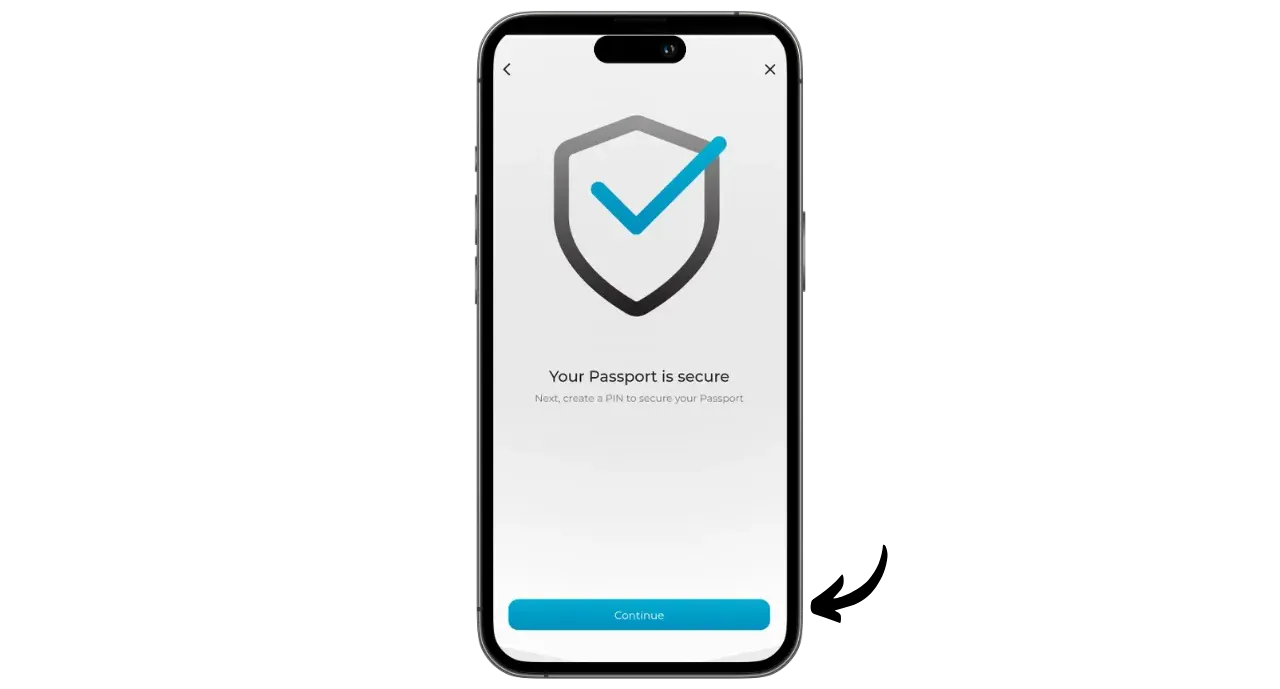
If the message “Your Passport is secure” appears, this confirms that your hardware wallet is genuine. You can now use it to secure a Bitcoin wallet.
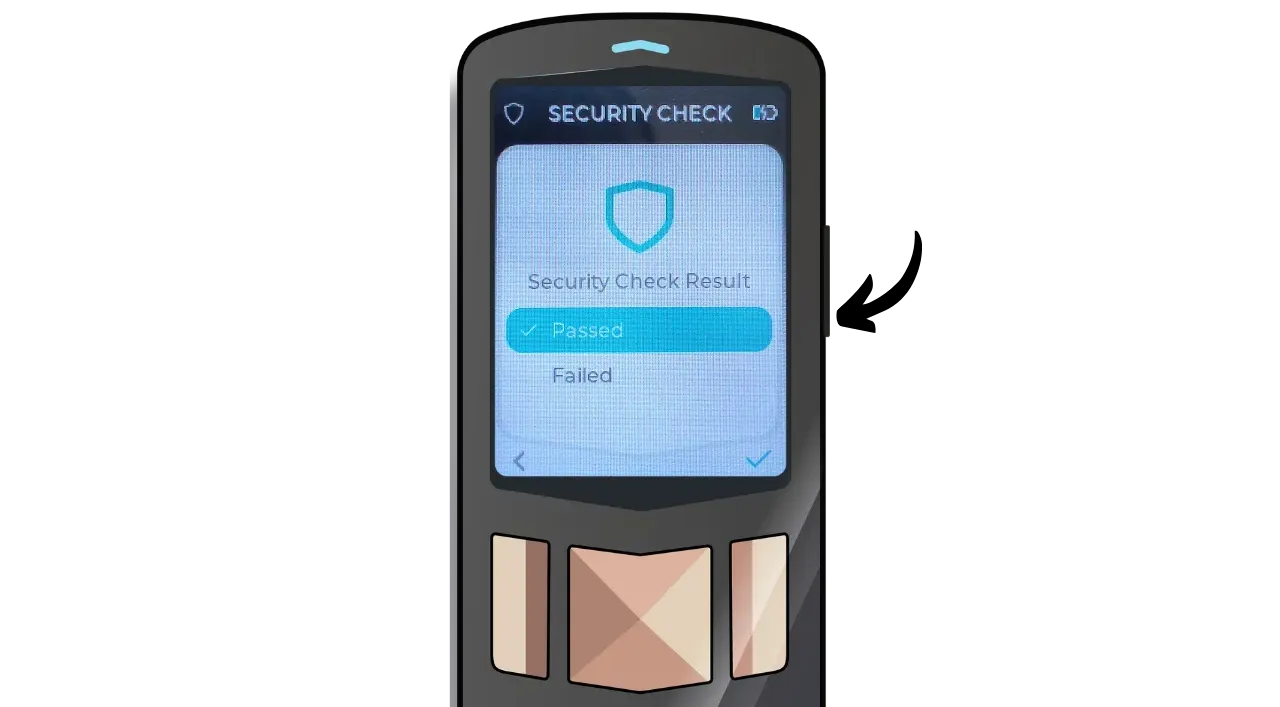
Confirm the test result on your Passport.
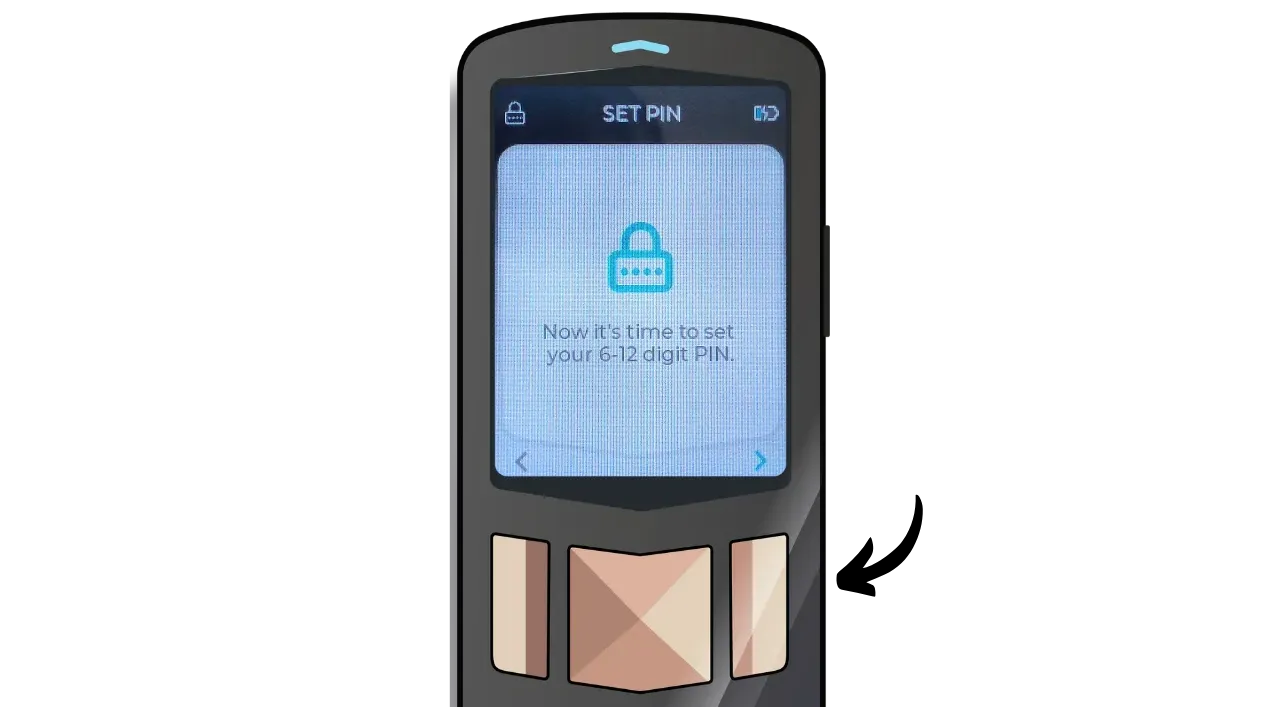
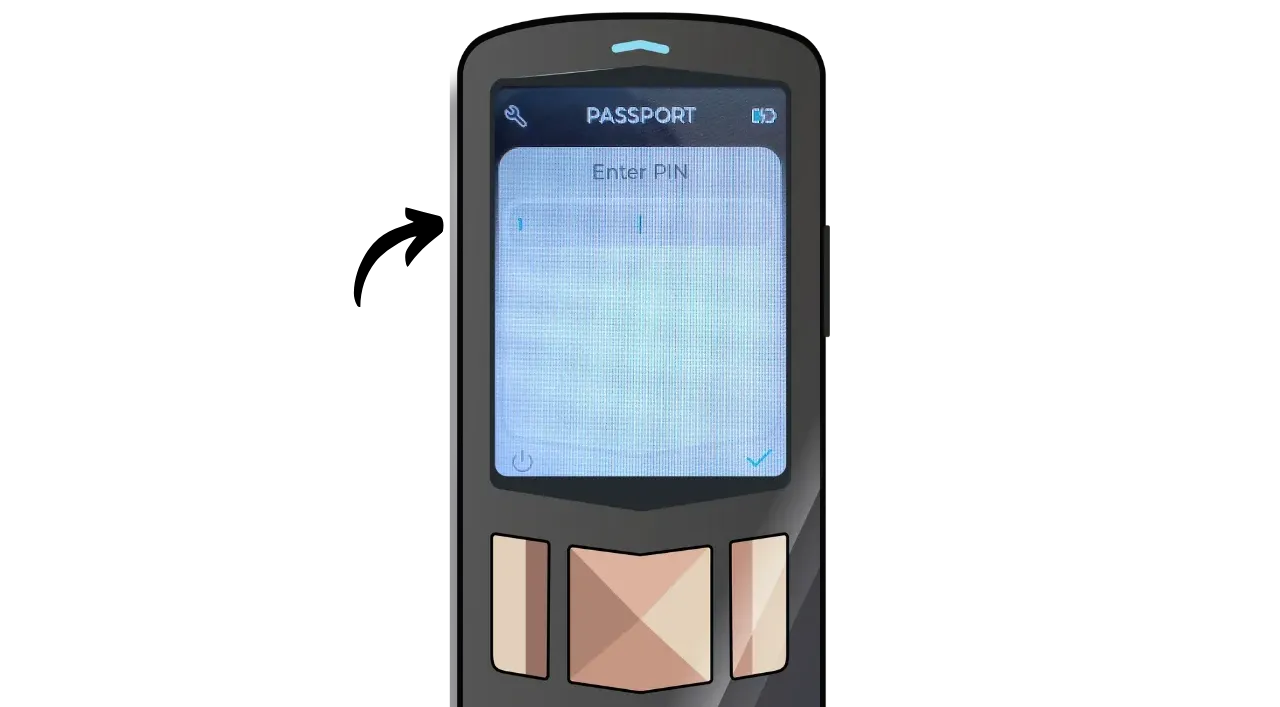
Setting the PIN code
Next comes the PIN code step. The PIN code unlocks your Passport. It therefore provides protection against unauthorized physical access.
The PIN does not derive keys. With the mnemonic (and any passphrase), funds are recoverable even without the PIN.
We recommend choosing a PIN code that is as random as possible. Also, be sure to save this code in a separate place from where your Passport is stored (e.g. in a password manager).
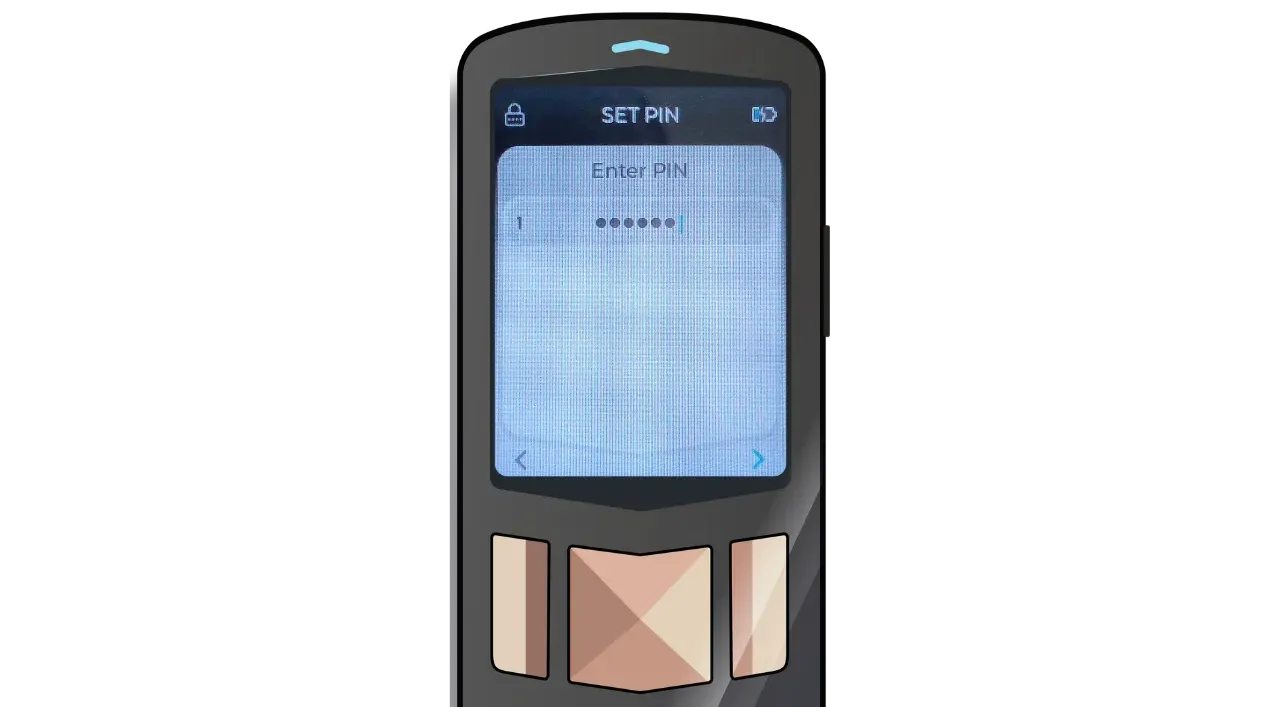
You can choose a PIN code between 6 and 12 digits. I advise you to make it as long as possible.
Use the keypad to enter your PIN numbers. When you’ve finished, click on the confirmation button.
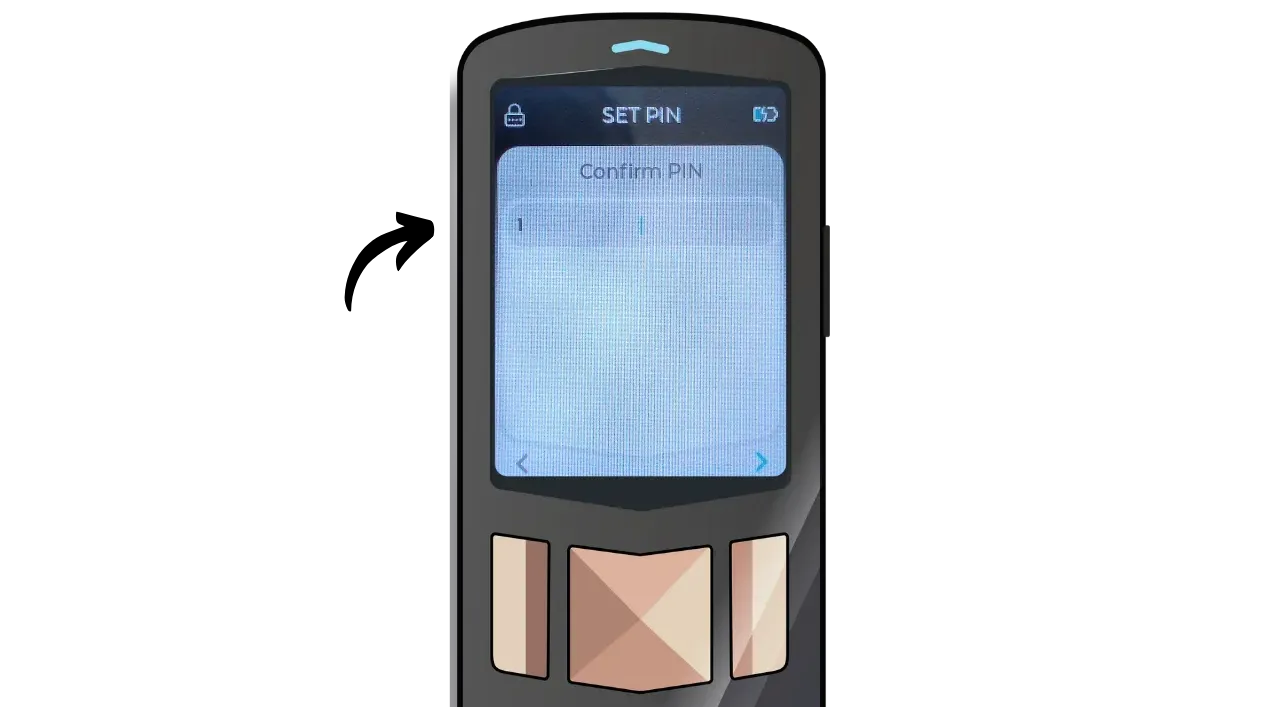
Confirm your PIN a second time.
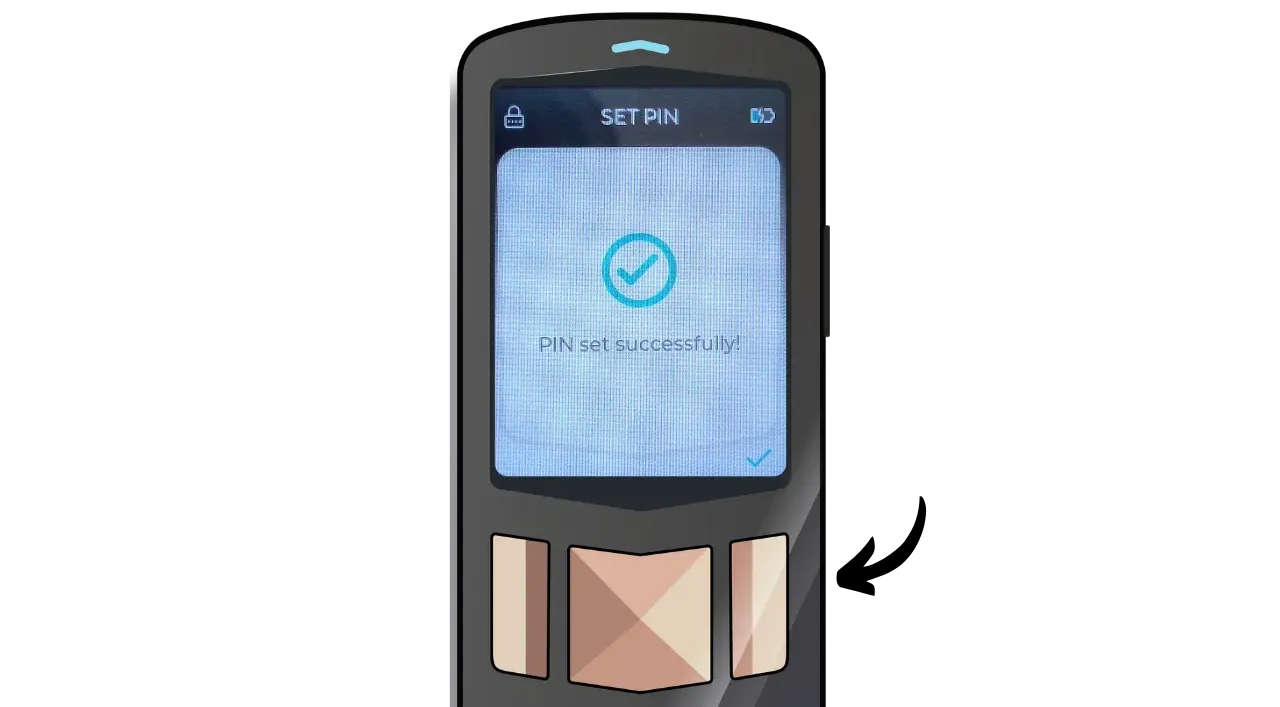
Your PIN code has been registered.
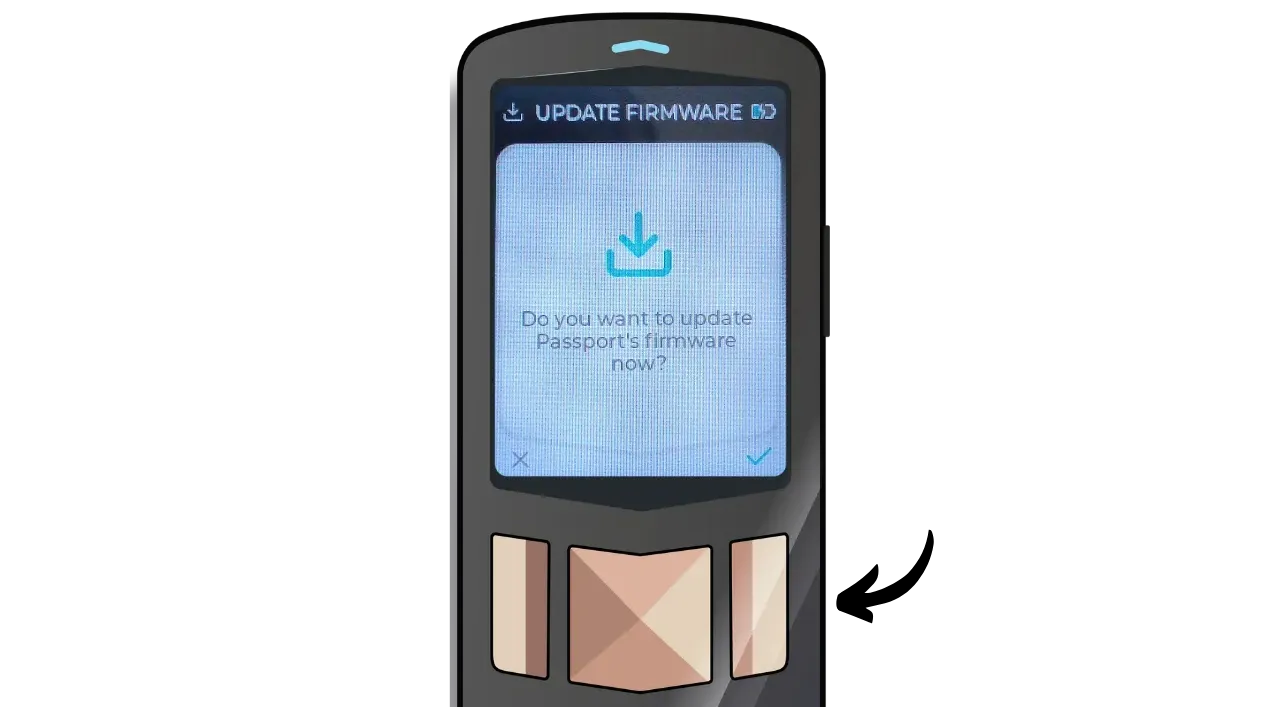
Update Passport firmware
Your hardware wallet suggests that you update its firmware. I recommend that you update immediately to benefit from the improvements and fixes brought by the latest versions. To continue, click on the confirmation button on the right.
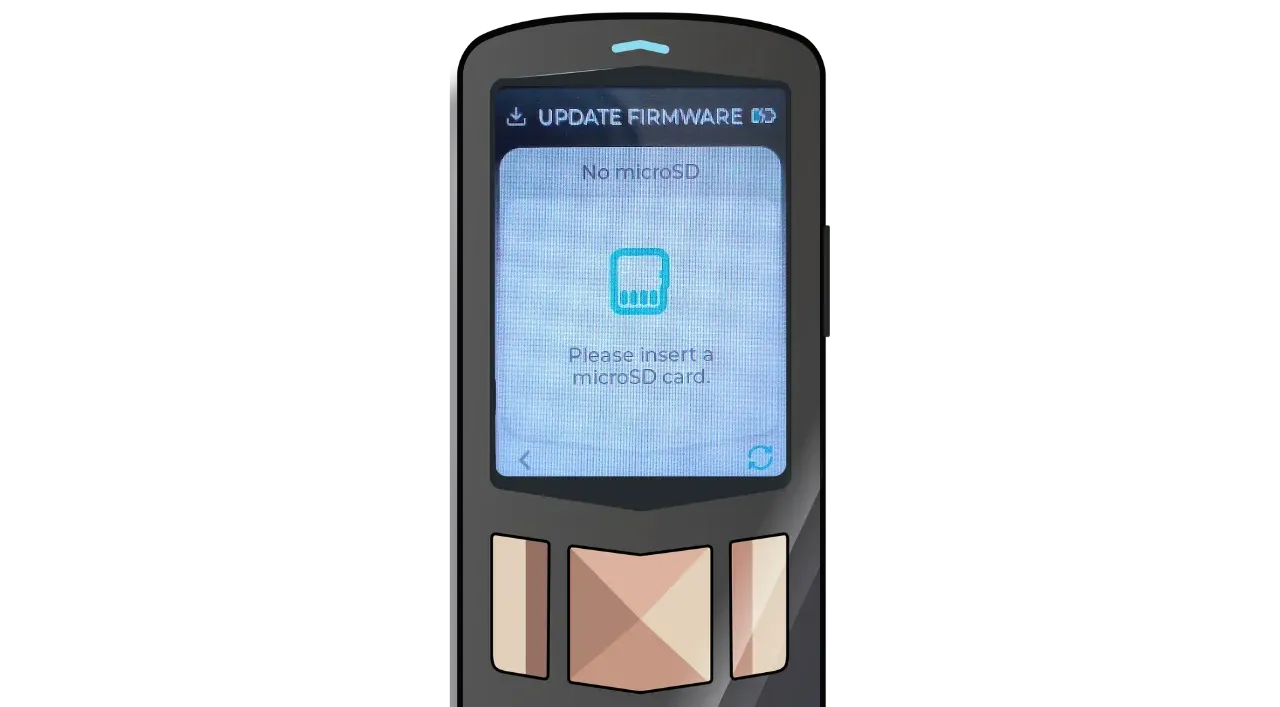
Your Passport is ready to receive the new firmware via a MicroSD card.
Without Envoy application
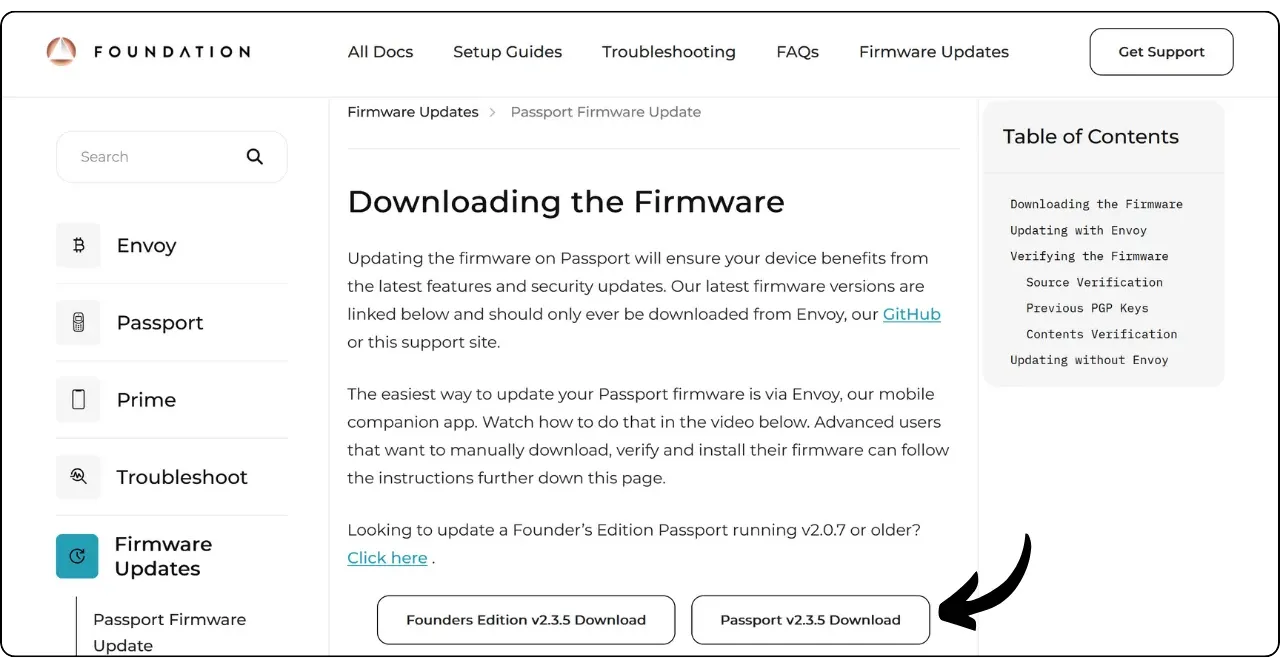
To do this, use the MicroSD card included in your Passport box (or another one), and insert it into your computer. Download the latest firmware version from the Foundation documentation site or their GitHub repository.
Verify firmware signatures and hashes before installing; never install unverified firmware.
Before installing it on your device, consult this tutorial.
With the Envoy application
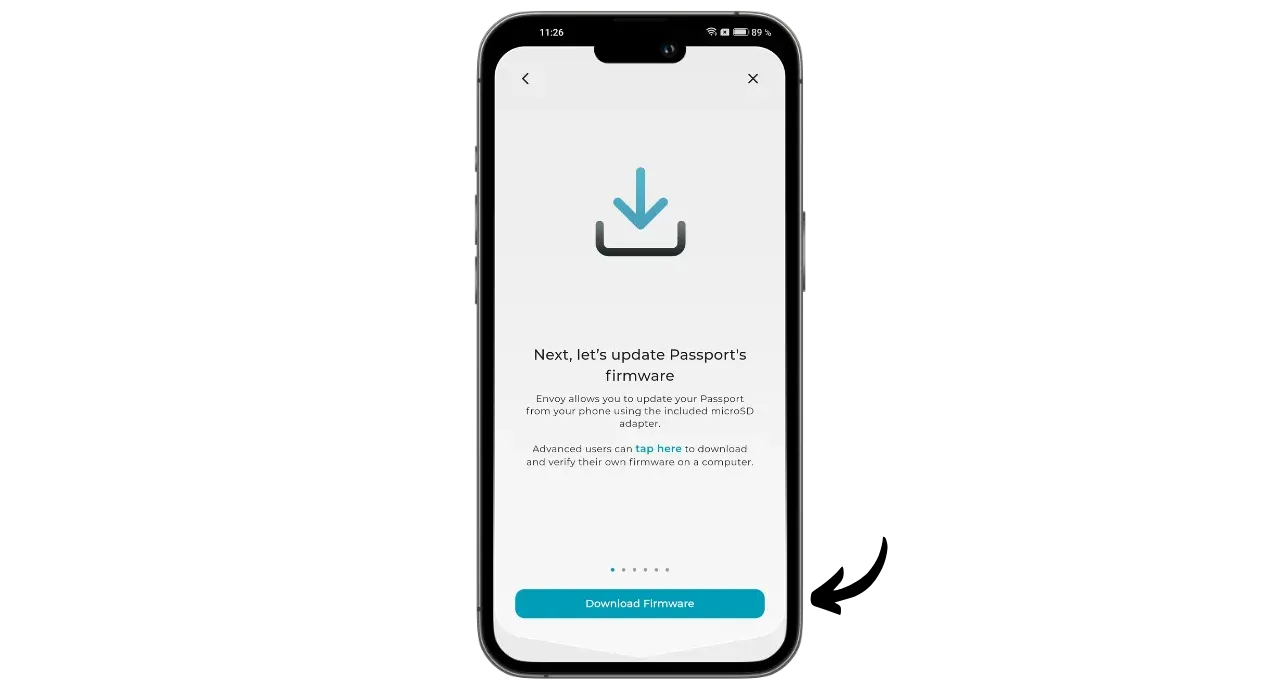
The other, simpler option is to use the Envoy application directly. Click on “Download Firmware”.
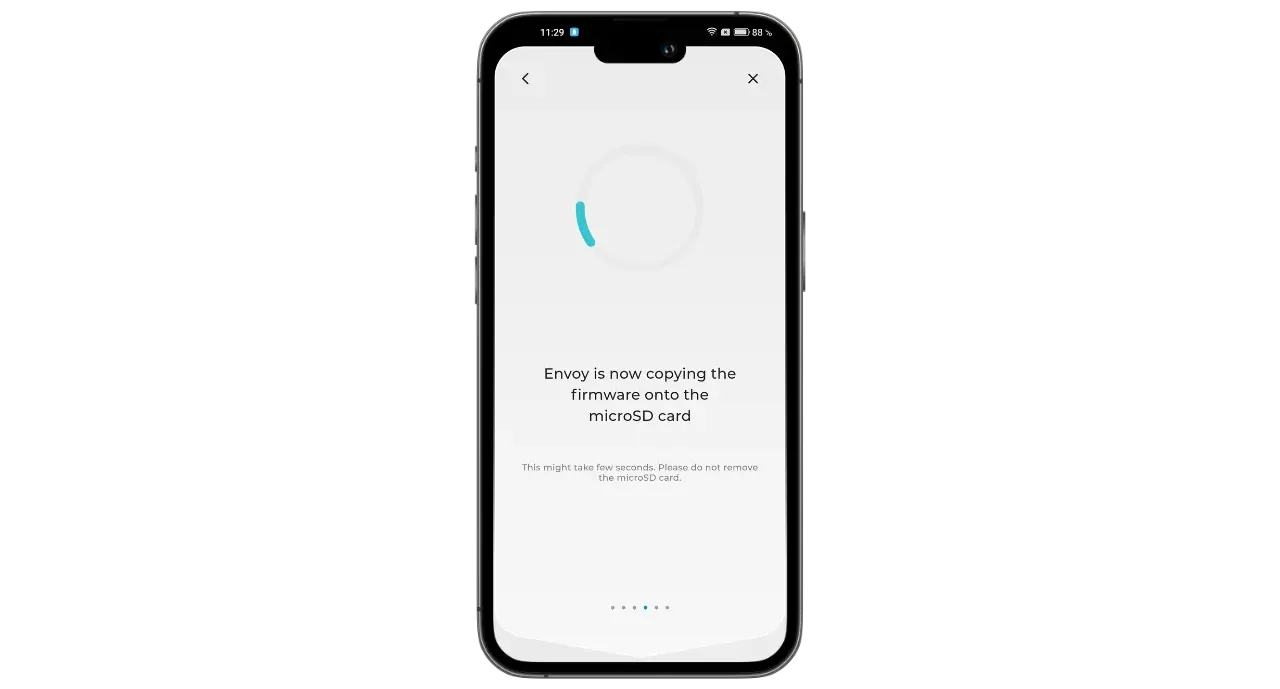
Use the adapter supplied with your Passport to connect the MicroSD card to your phone.

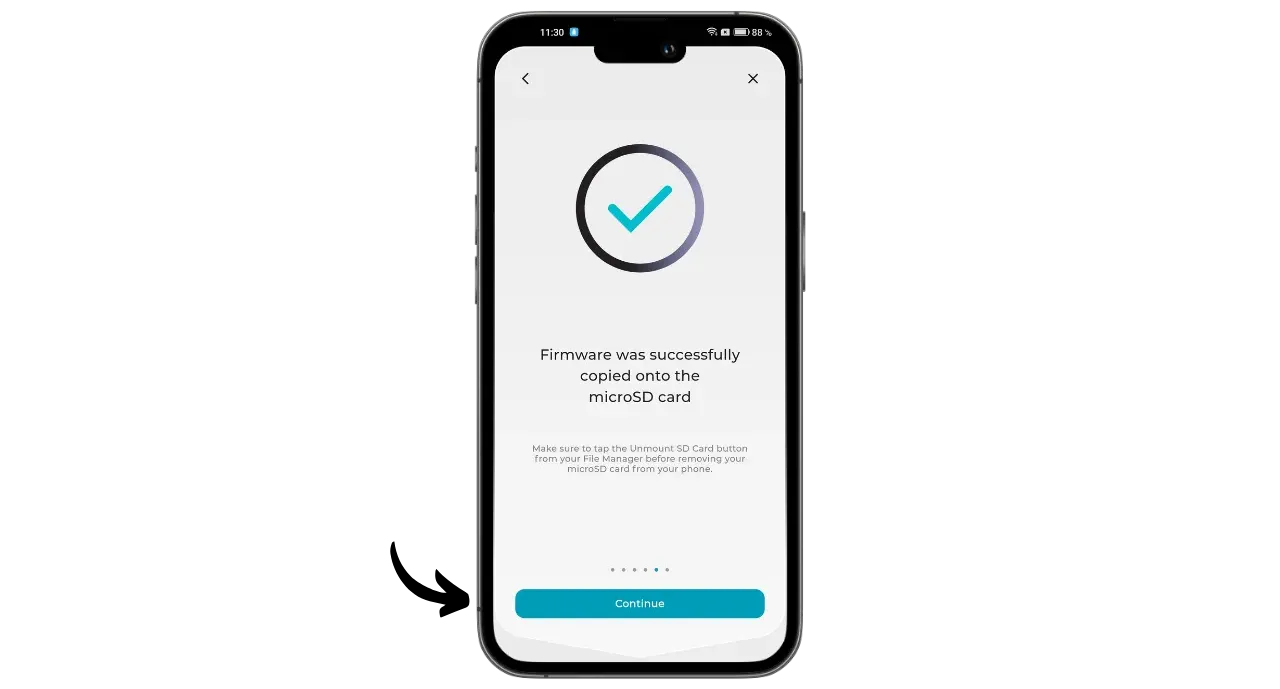
Select the MicroSD card in your file explorer to save the firmware.
The firmware is now saved. Remove the MicroSD from your smartphone and insert it into the Passport.
The Passport file explorer will open. Select the file vN.N.N-passport.bin.
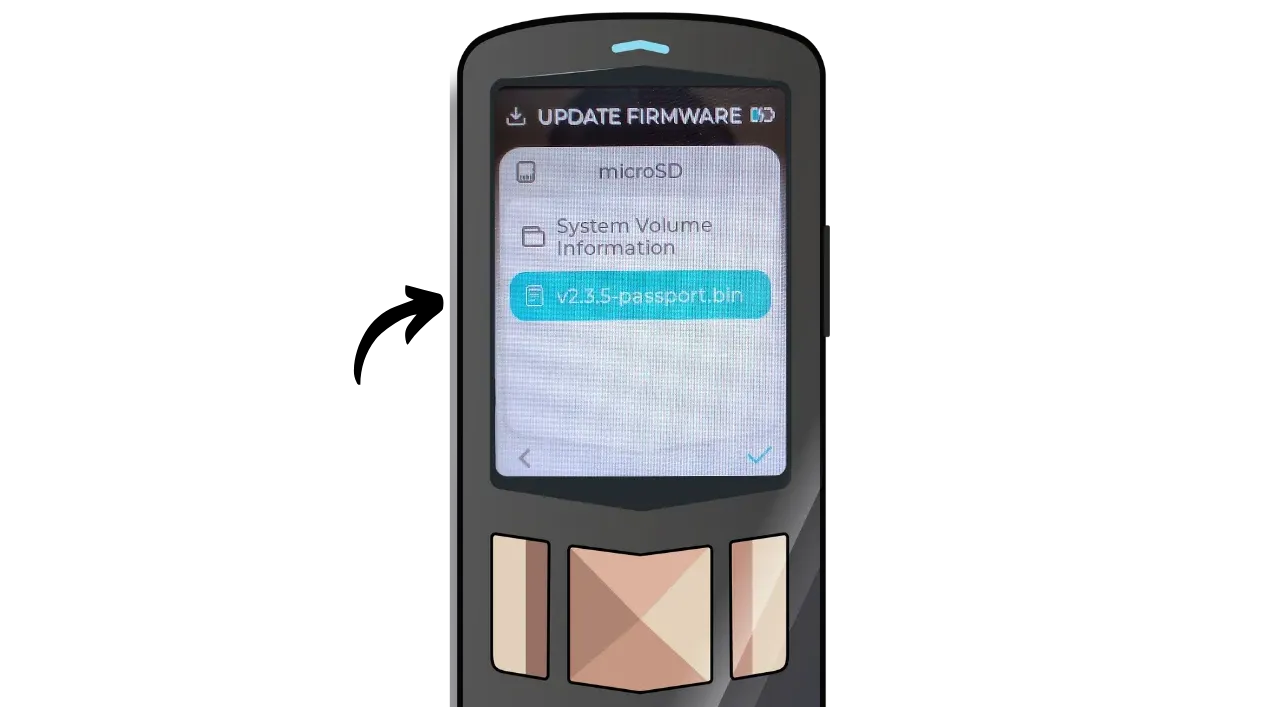
Click on “Select”.

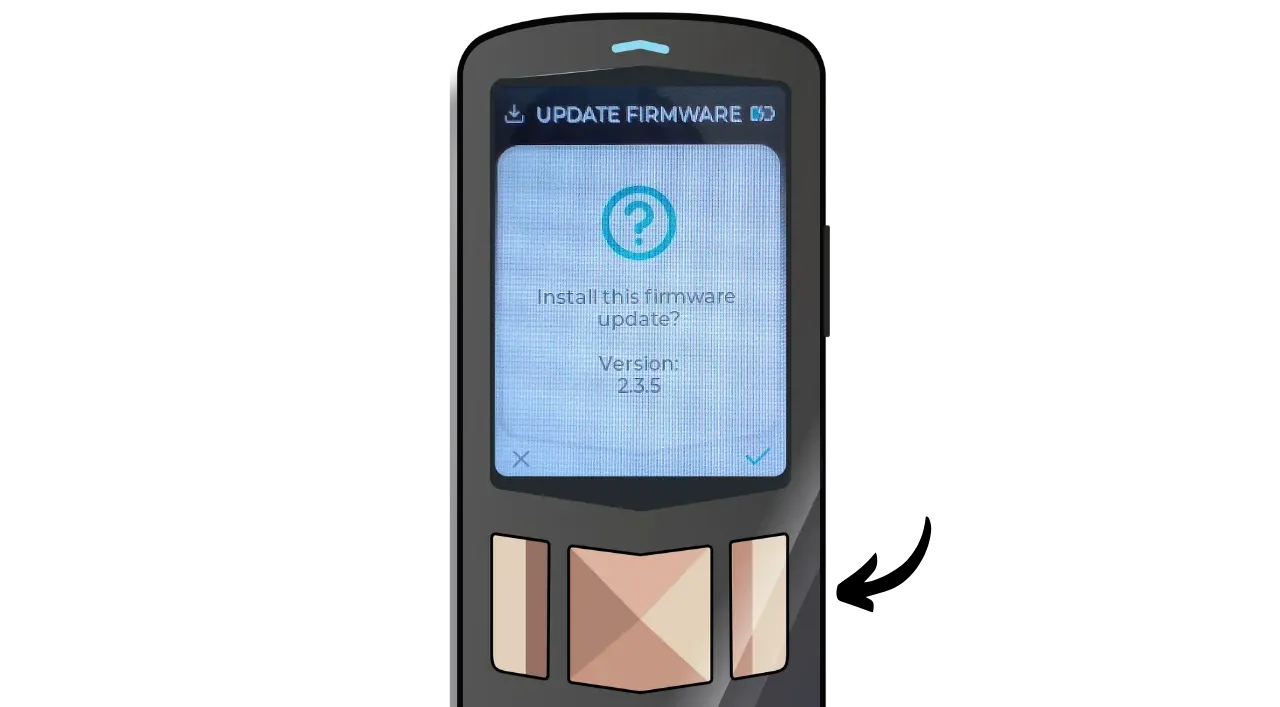
Then confirm firmware installation.
Please wait for the update to complete.
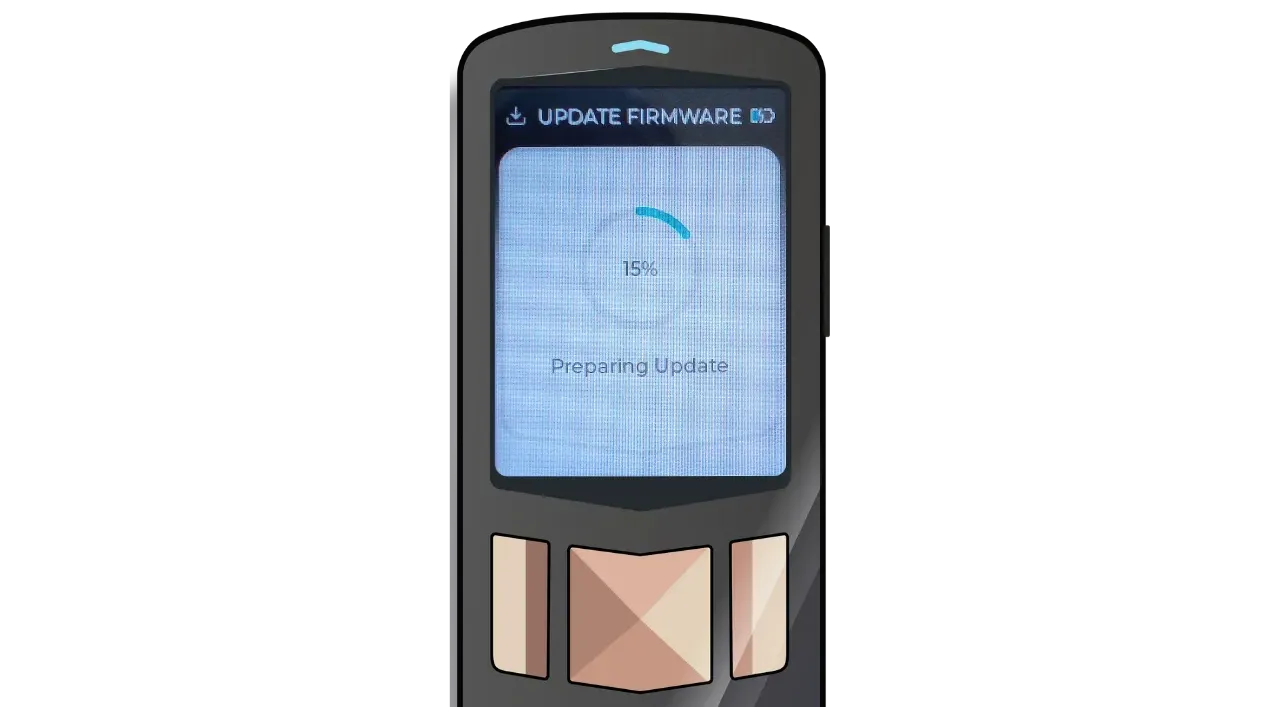
Once the update is complete, enter your PIN code to unlock the device and continue configuration.
If you already have a wallet on Passport, ensure your mnemonic (and any passphrase) is backed up and tested before updating — a failed update without backups can mean permanent loss.
Create a new Bitcoin wallet
Now it’s time to create a new Bitcoin wallet. Click on the confirmation button.

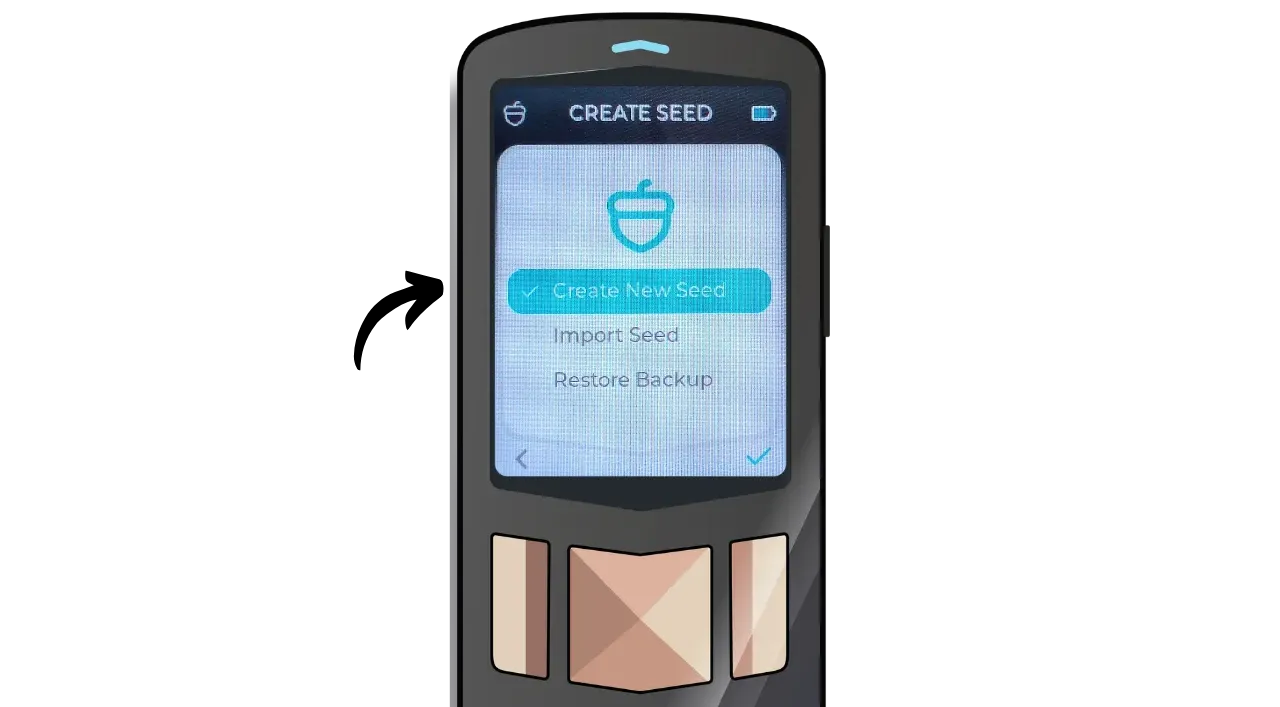
To create a new wallet, click on “Create New Seed”.
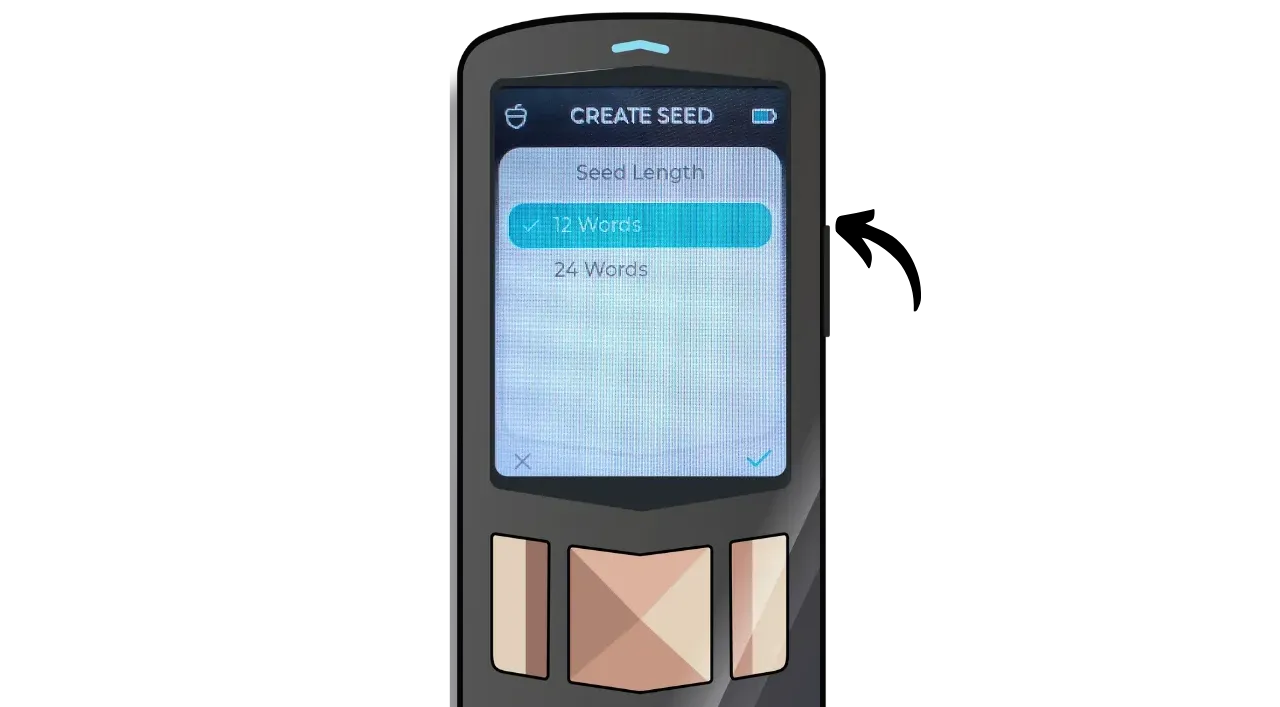
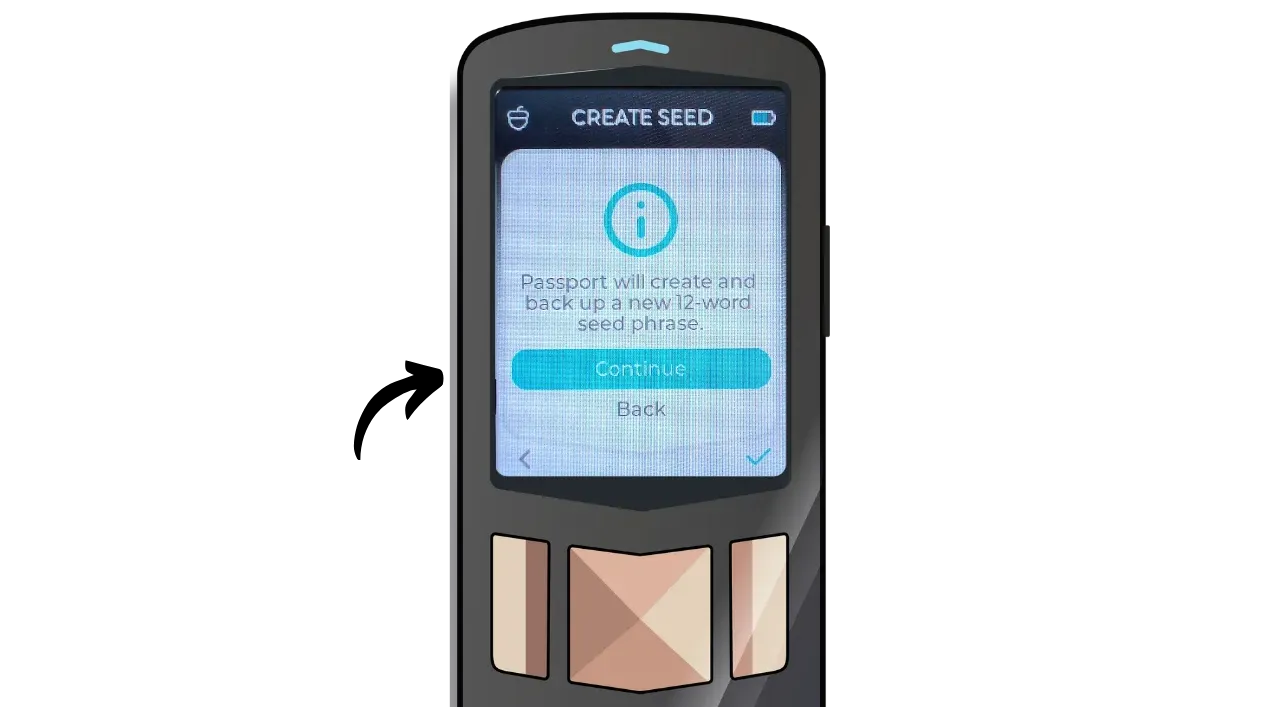
You can choose between a 12- or 24-word mnemonic phrase. The security offered by both options is similar, so you can opt for the one that’s easiest to save, i.e. 12 words.
Click on “Continue”.
Your Passport will now generate your “Backup Code”. This is a series of numbers that can be used to decrypt a backup of your wallet stored on a MicroSD. This backup system, specific to Foundation devices, constitutes an additional backup to your mnemonic phrase.
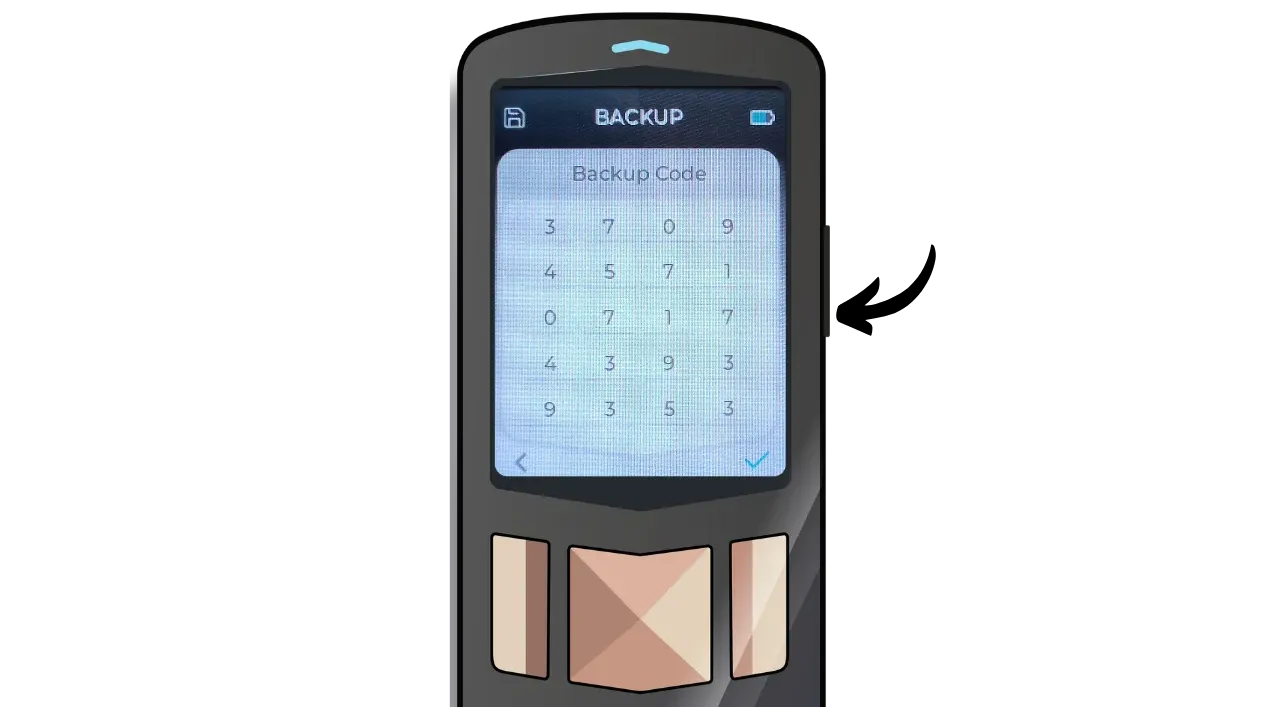
The Backup Code is device‑specific and not compatible with other wallet software; store it separately from the MicroSD containing the encrypted backup.
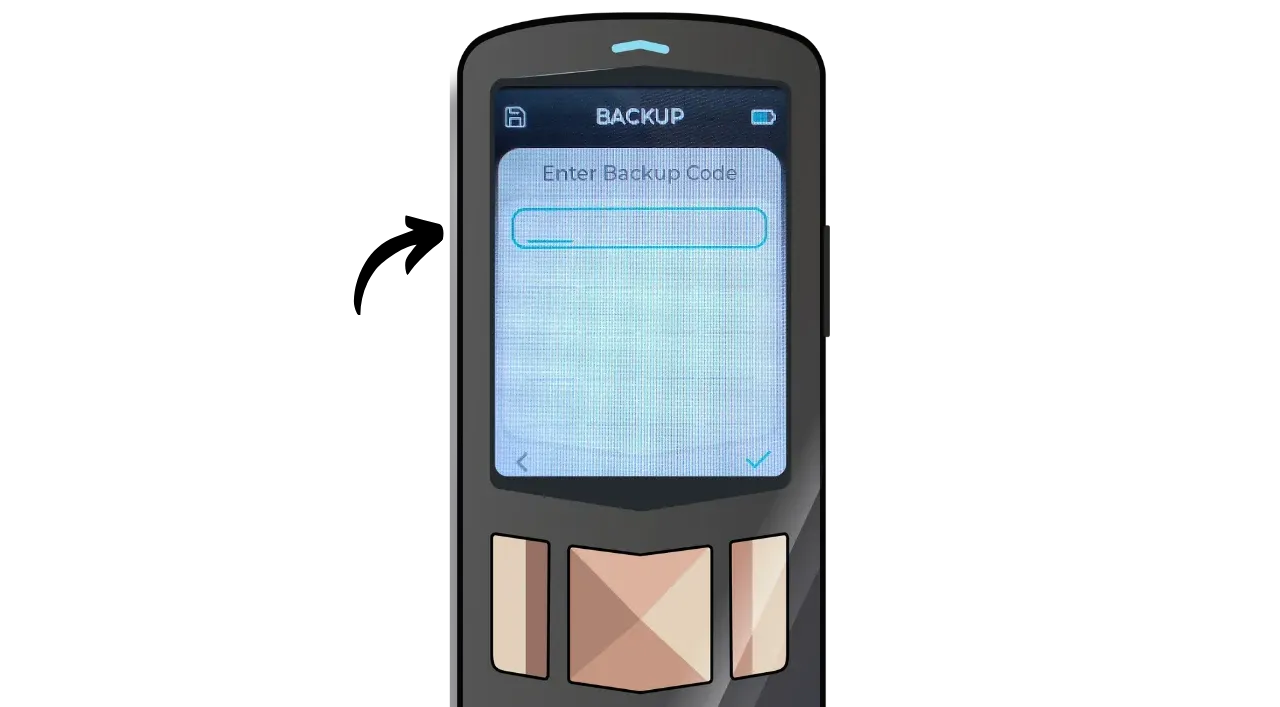
Enter your “Backup Code” to confirm that you have saved it correctly.
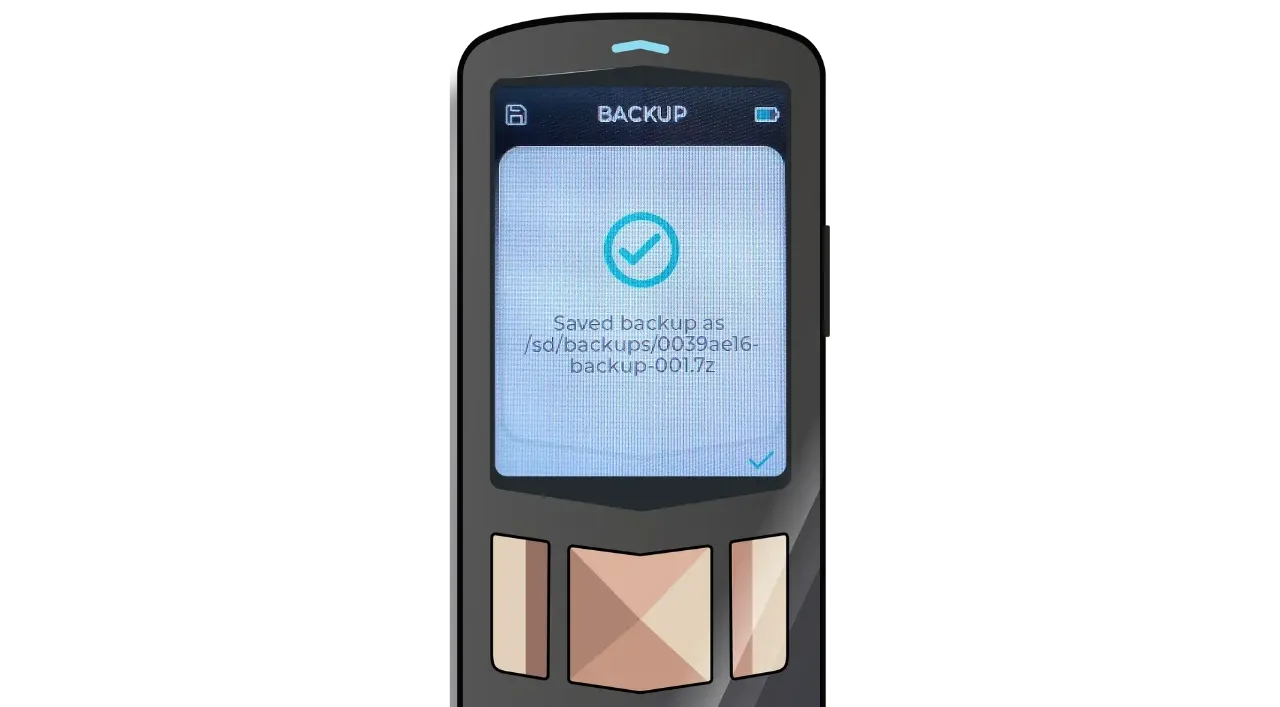
If a MicroSD has been inserted, the encrypted backup of your wallet has been saved there.
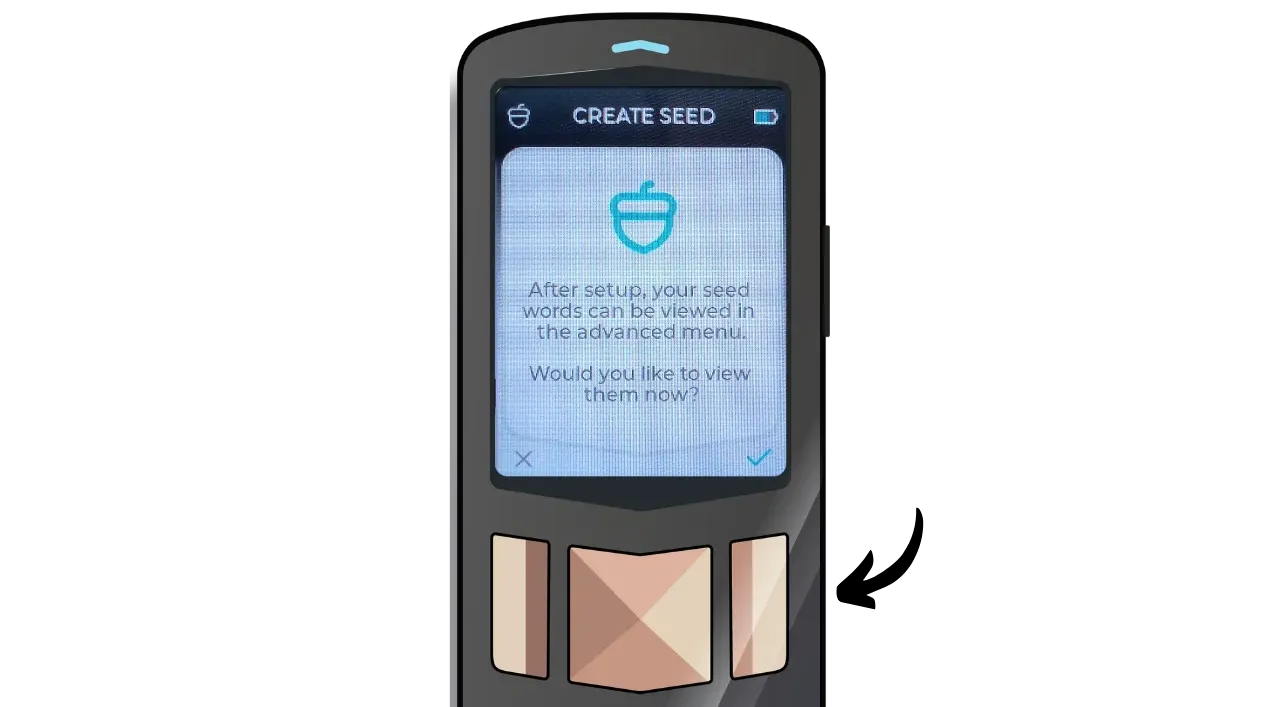
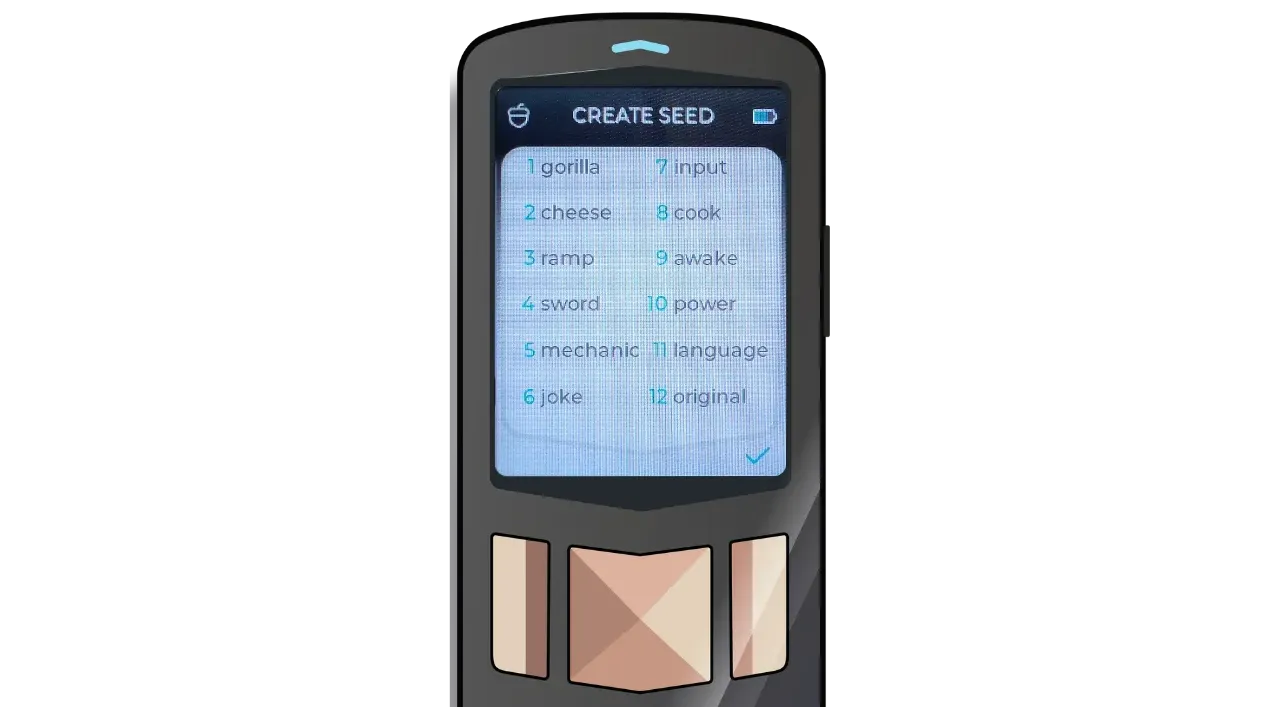
Your Passport will display your 12-word mnemonic phrase.
Your mnemonic grants full, unrestricted access to your bitcoin. Never digitize it (no photos, files, cloud). Anyone with the words can steal your funds.
The 12-word phrase restores access to your bitcoins in the event of loss, theft or breakage of your Passport. It is therefore very important to save it carefully and store it in a secure location.
You can write it on the cardboard supplied in the box, or for added security, I recommend engraving it on a stainless steel base to protect it from fire, flood or collapse.
Click on the confirmation button to see your mnemonic phrase.
For more information on the proper way to save and manage your mnemonic phrase, I highly recommend following this other tutorial, especially if you’re a beginner.
Of course, you must never share these words on the Internet, as I’m doing in this tutorial. This sample wallet will be used only on Testnet and will be deleted at the end of the tutorial.
Make a physical backup of this sentence.
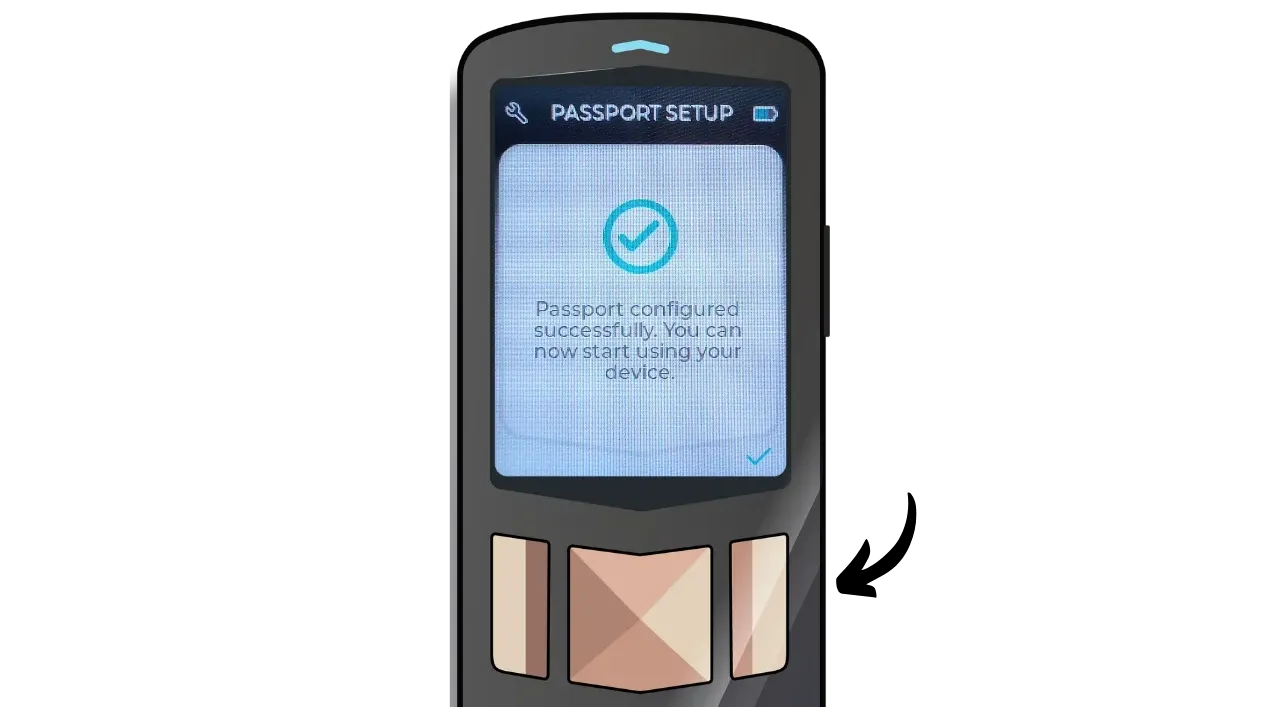
Your Passport has been successfully configured. Click on the confirmation button to continue.
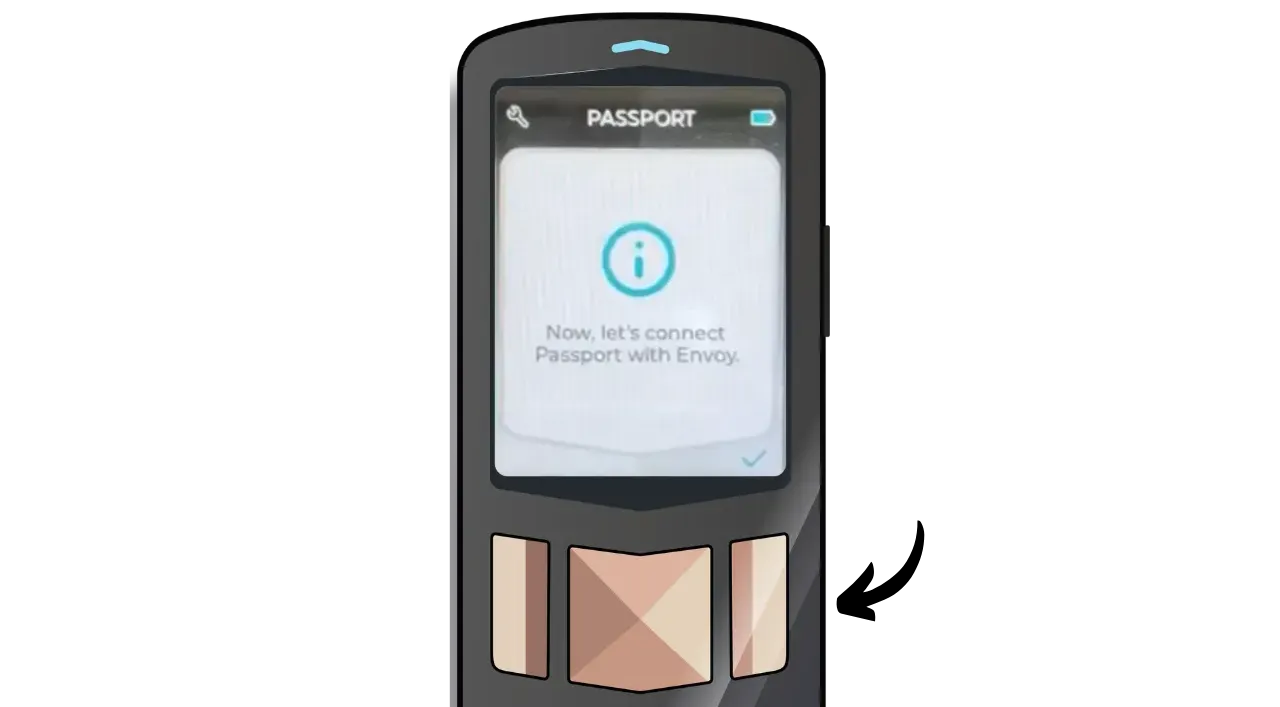
Setting up the wallet on Envoy
In this tutorial, I’ll show you how to use the Passport with the Envoy application. However, this hardware wallet is also compatible with Sparrow Wallet, Keeper, BlueWallet, Nunchuk, Specter, and many others…
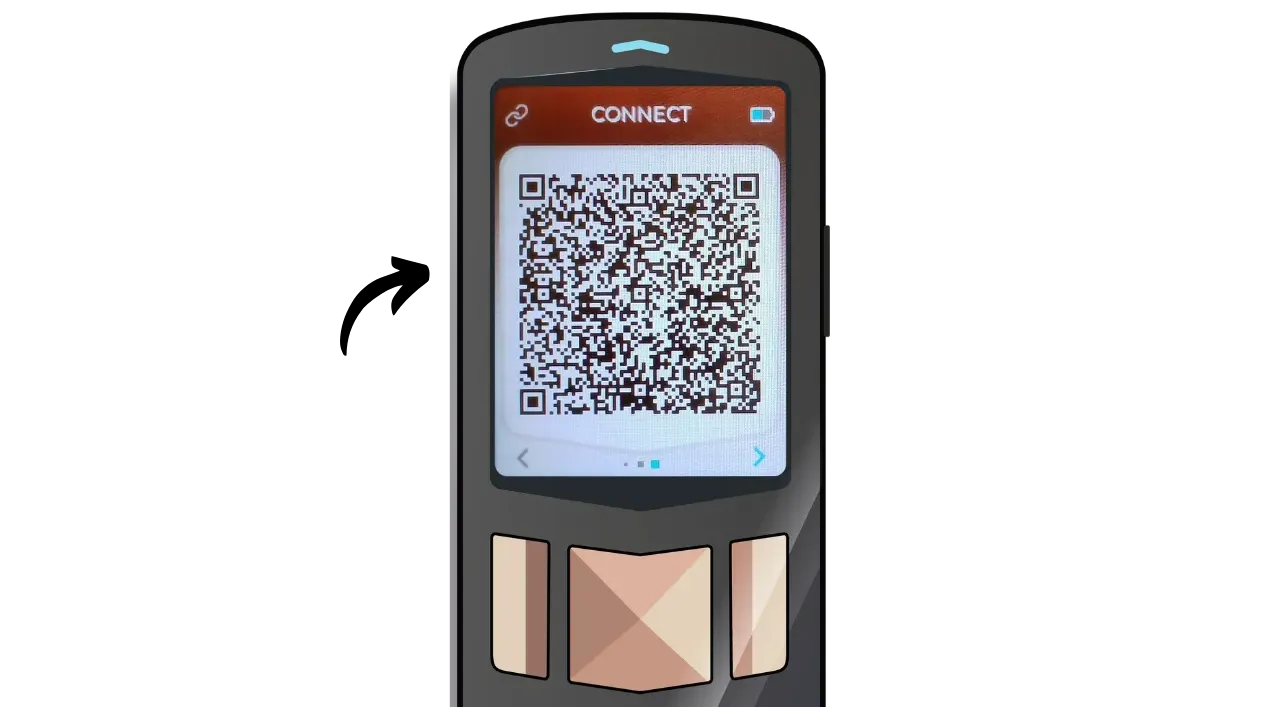
Use the Envoy application to scan the QR code displayed on your Passport.
Your public keys are now imported into the application. Click on “Validate receive address”.
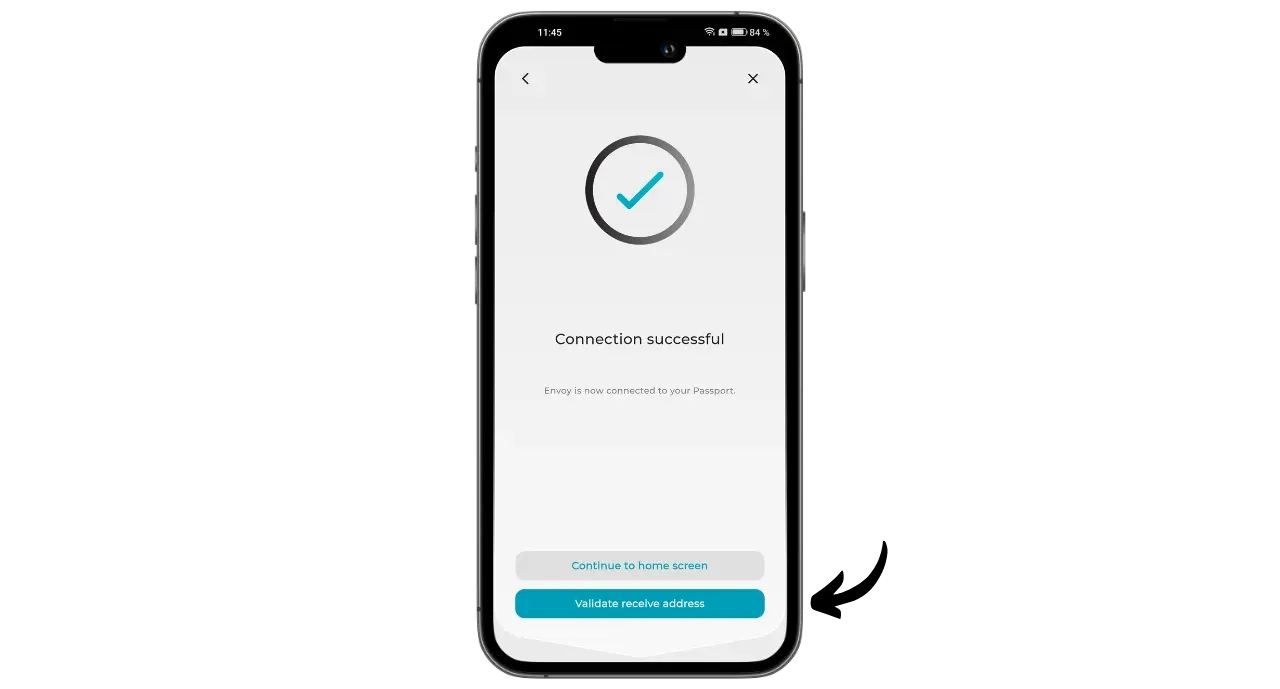
Use your Passport to scan the address displayed on Envoy.

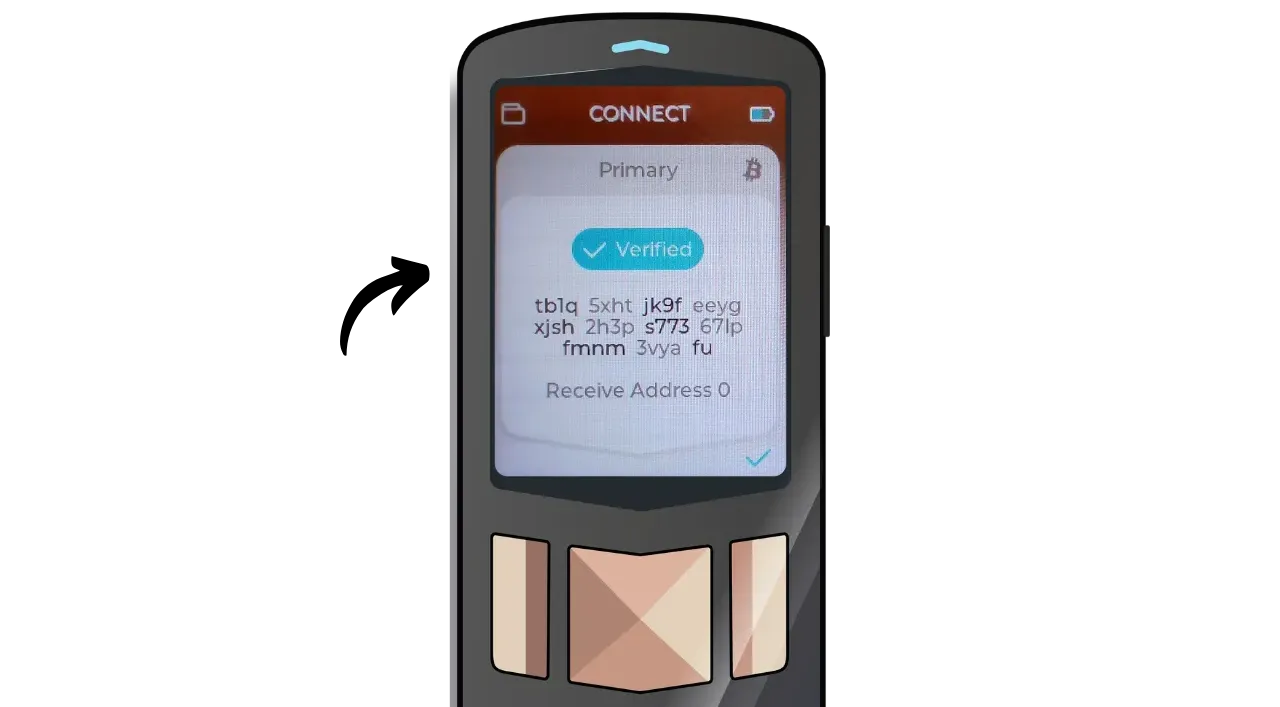
Your Passport will confirm whether the wallet imported on Envoy is valid. Confirm it in the application.
Always validate receive addresses on Passport before using them; wrong addresses mean irreversible loss.
You can now access your wallet’s public information on Envoy, but to spend bitcoins, you’ll need to use your Passport.

Discover Passport menus
Your Passport interface has three main menus:
- “Account”;
- “More”;
- “Settings”.
To navigate between these menus, use the left and right arrows on the directional pad.
“Account” menu
In the “Account” menu, you’ll find the main features of your Bitcoin wallet. You can sign a transaction either via the camera or via the MicroSD port.
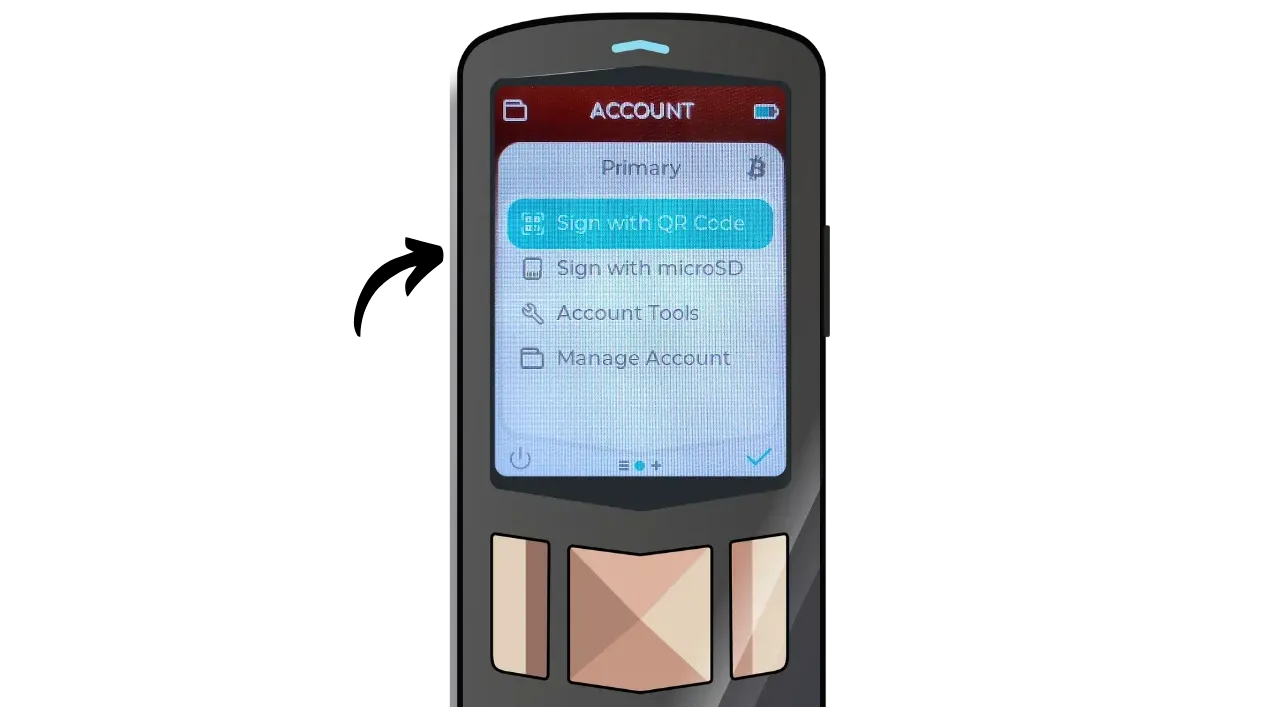
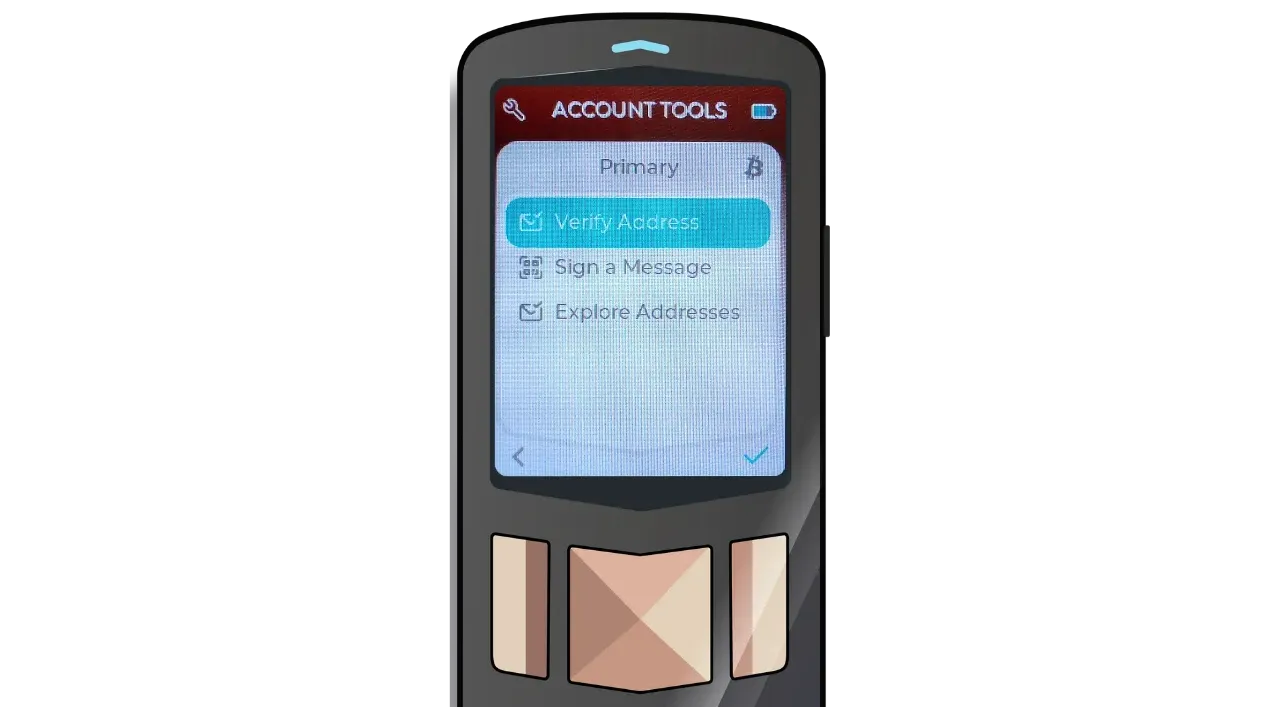
The “Account Tools” submenu offers options such as verifying an address, signing a message, or consulting the addresses in your wallet.
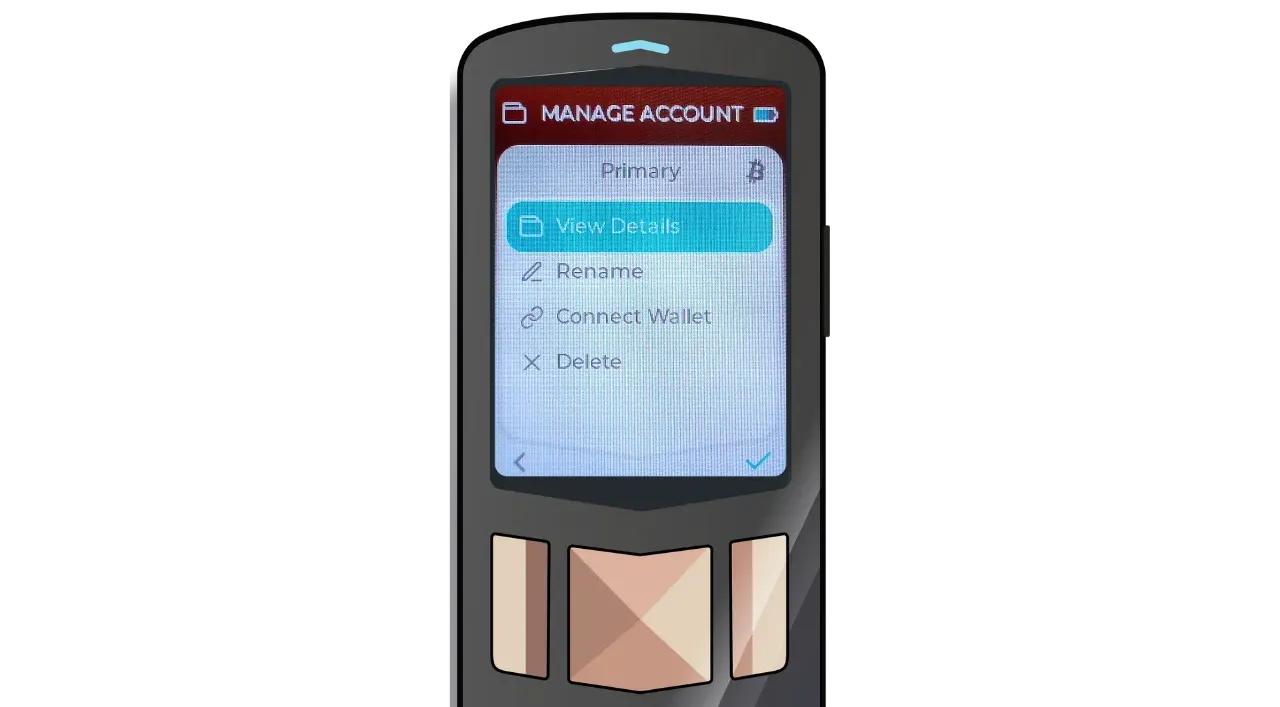
In the “Manage Account” submenu, you can connect your Bitcoin wallet to a wallet management software (which we’ll cover in the next steps of this tutorial), or view and rename your account.
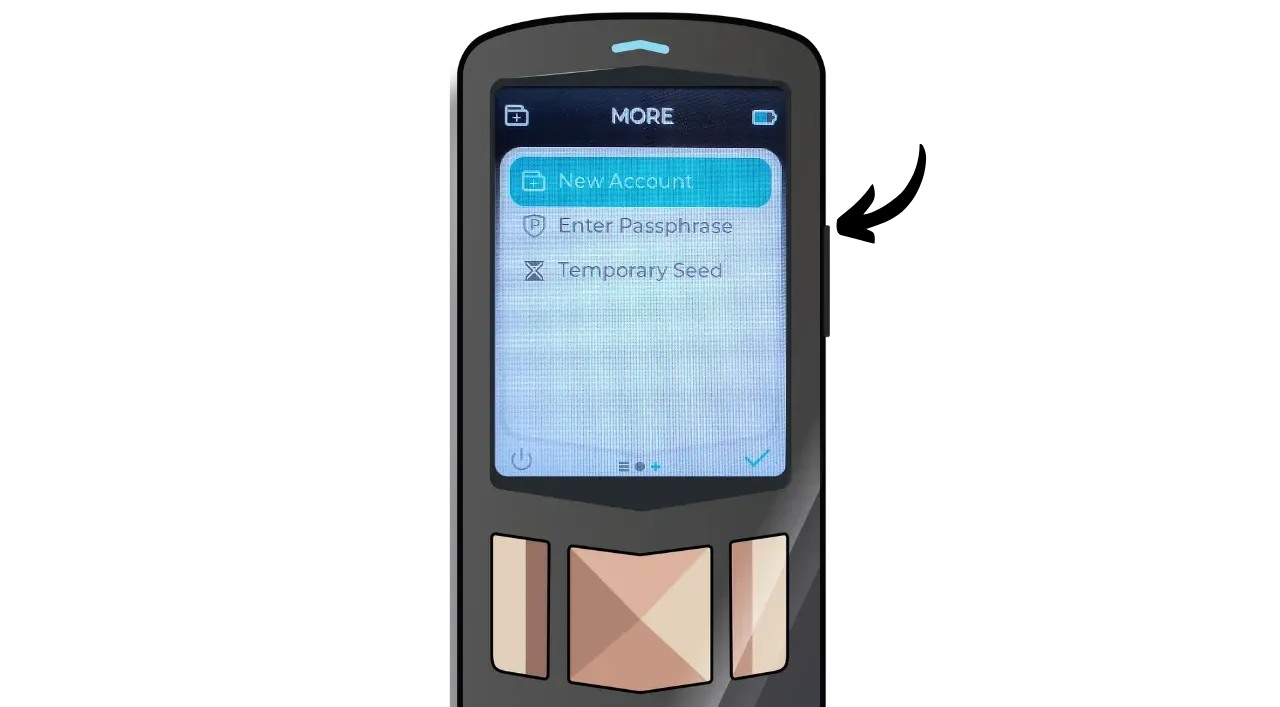
More” menu
In the “More” menu, you can create a new account in your wallet, linked to the same mnemonic phrase.

You can also enter a BIP39 passphrase or use a temporary seed.
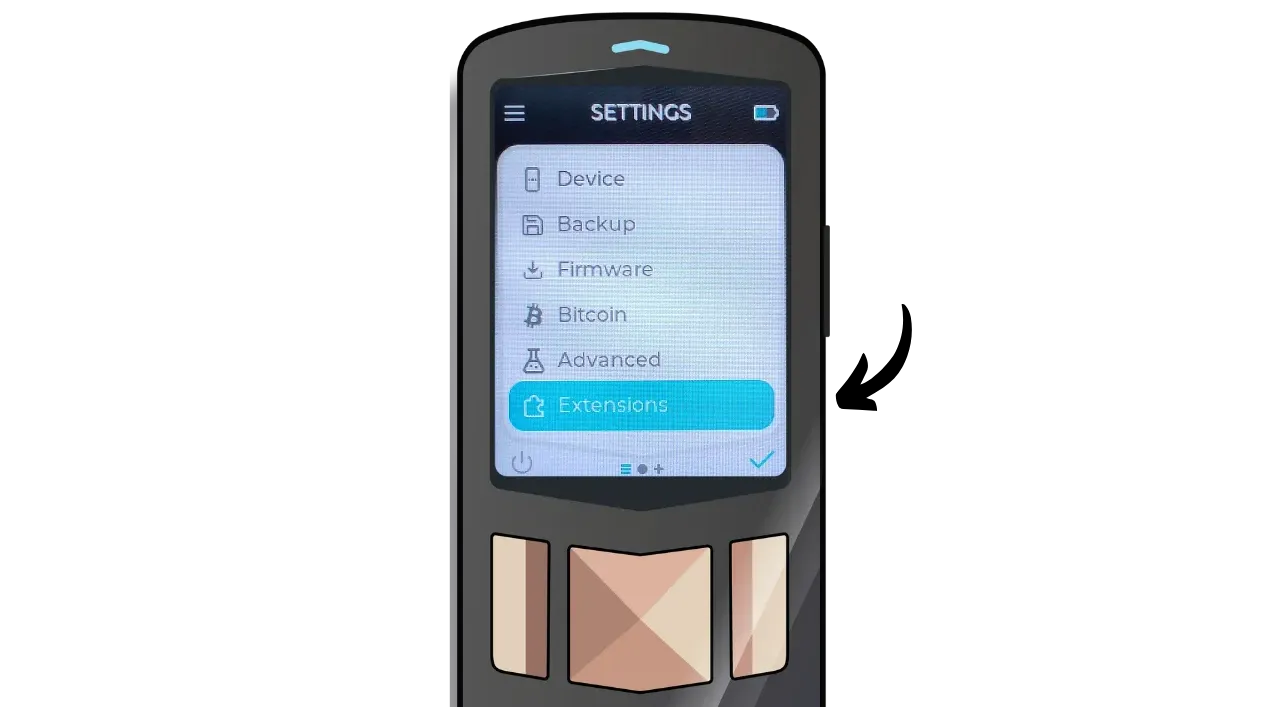
Settings” menu
In the “Settings” menu, you’ll find all your wallet and device settings.

The “Device” submenu gives you options for customizing screen brightness, setting the delay before auto-lock, changing the PIN code, or renaming the device.

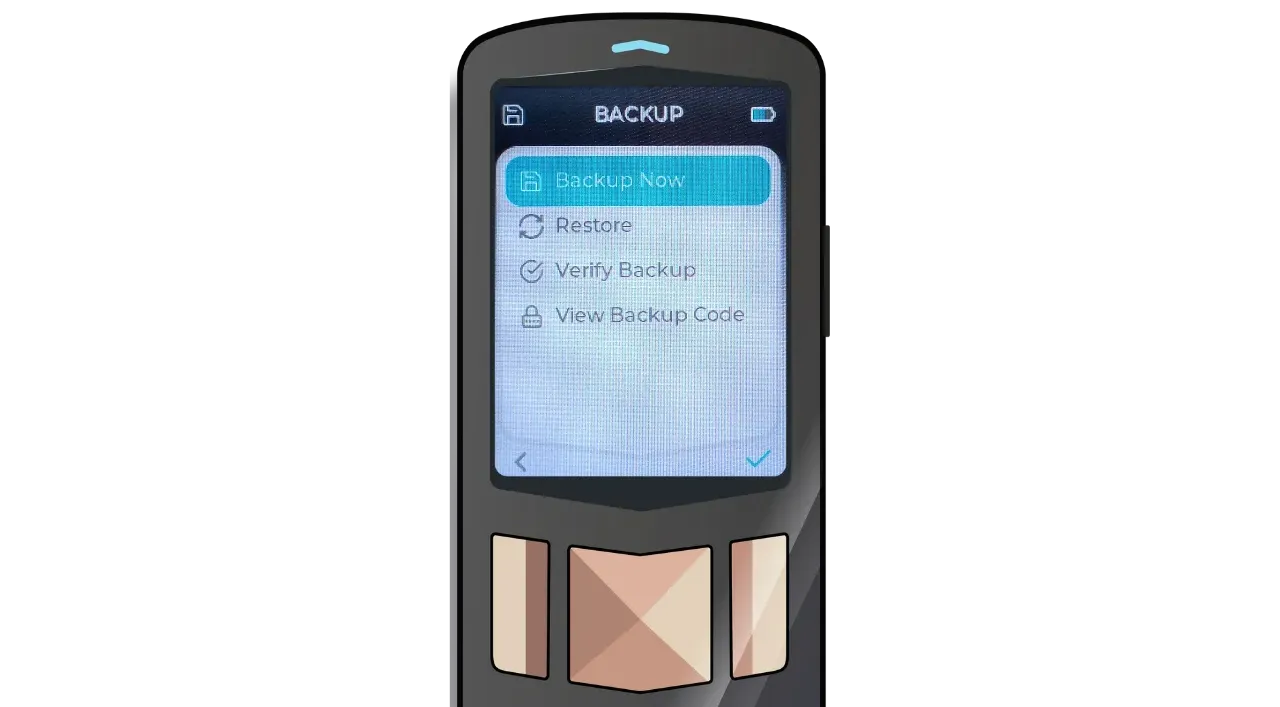
The “Backup” submenu lets you export your encrypted wallet backup, check the validity of an existing backup, or look up your “Backup Code” again.
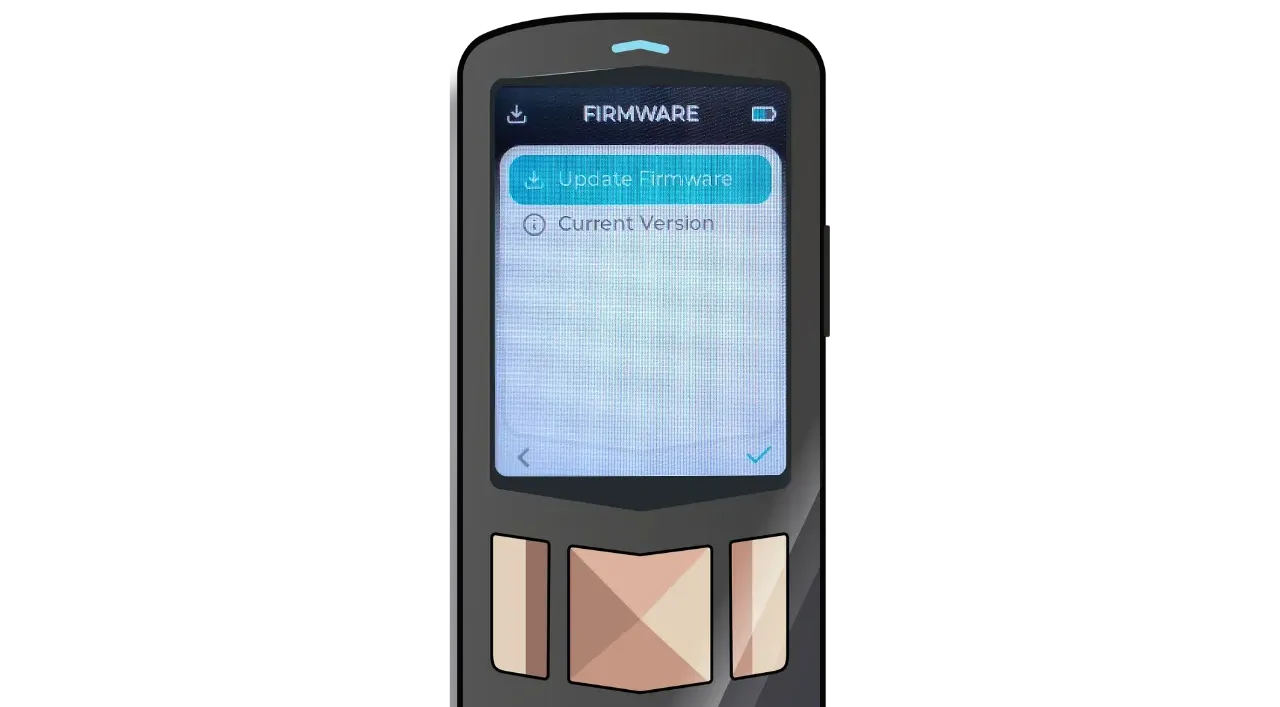
The “Firmware” sub-menu is for updating your Passport’s firmware. We recommend that you perform these updates regularly to benefit from the latest fixes and features.
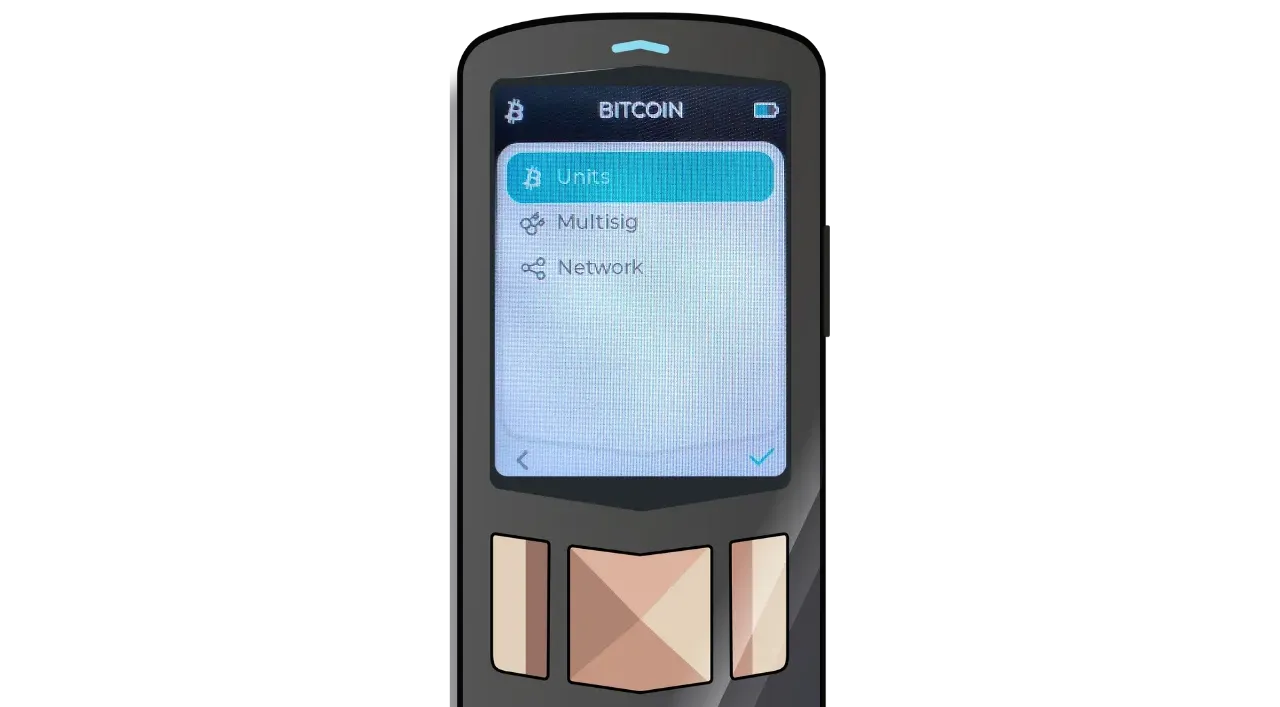
The “Bitcoin” sub-menu lets you change the unit displayed (BTC or satoshis), manage a possible Multisig wallet, or switch to “Testnet” mode.
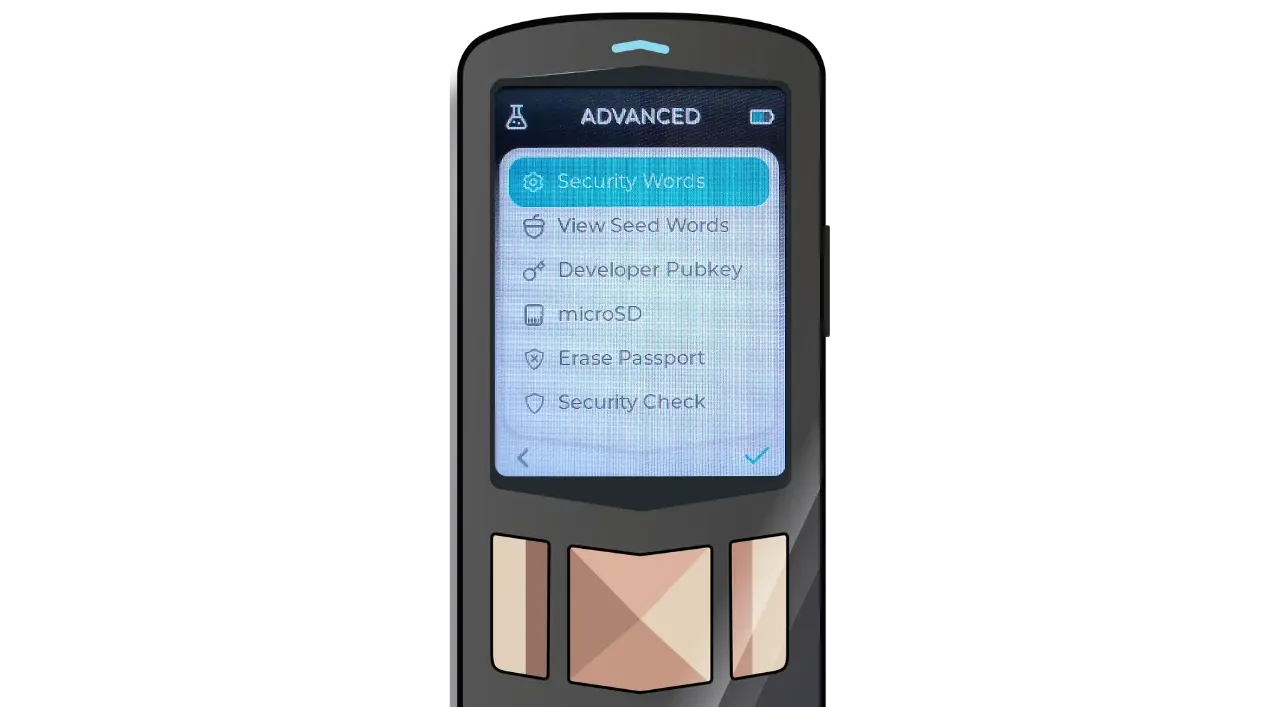
In “Advanced”, you can view the words of your mnemonic phrase, perform actions on the inserted MicroSD, reset your Passport to factory settings, or perform an authenticity check, as performed previously.
You can activate “Security Words”, a feature that adds a layer of security by displaying two specific words when unlocking the device after entering the first four digits of the PIN code. These words, to be saved during configuration, ensure that the Passport has not been replaced or tampered with.
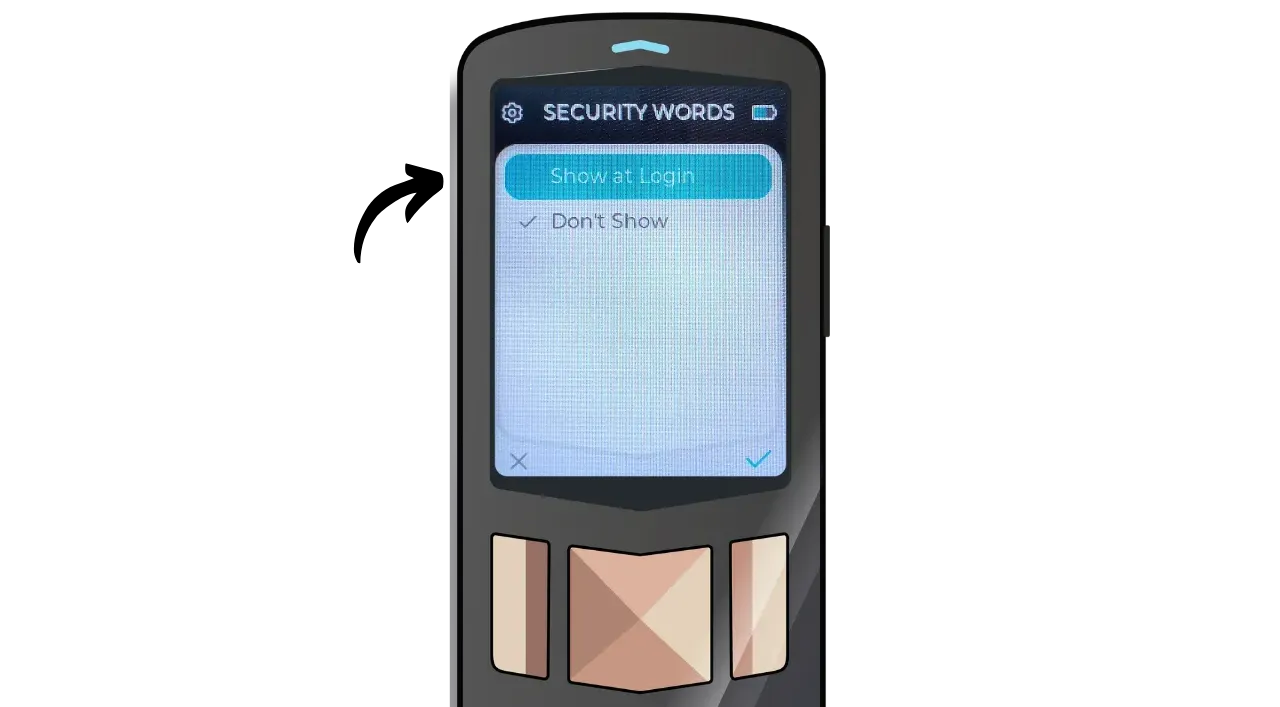
Enable Security Words and verify them on each unlock. If they ever differ from your saved words, stop using the device.
Finally, the “Extensions” sub-menu lets you activate functions specific to certain uses of the appliance, such as the Whirlpool coinjoin protocol.
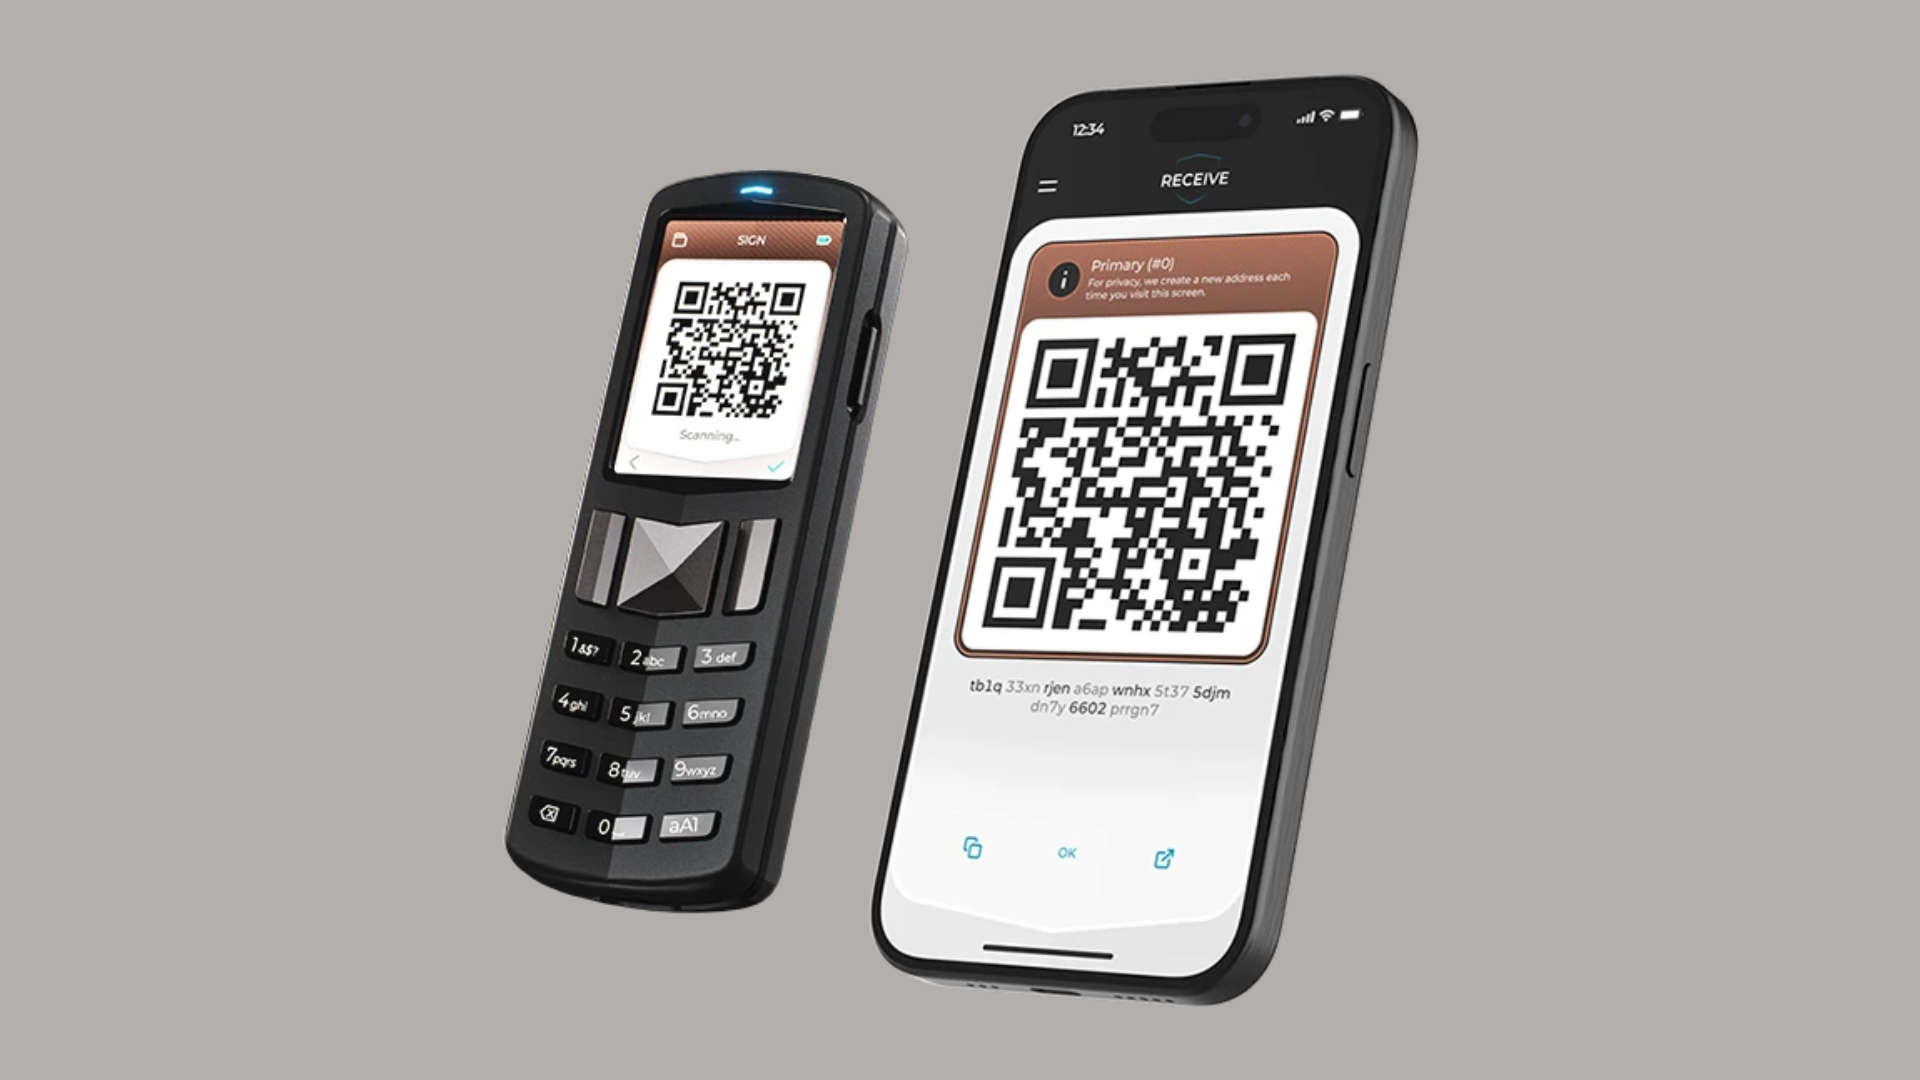
Receive bitcoins
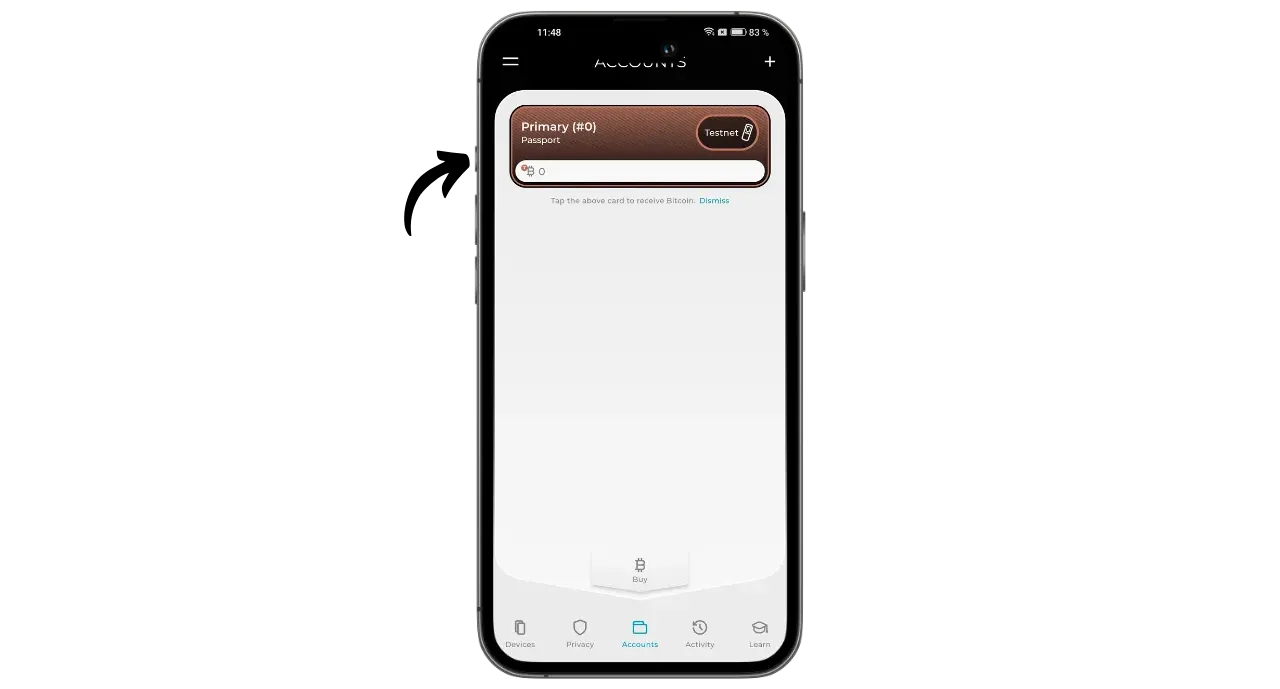
Now that your Passport is set up, you’re ready to receive your first sats on your new Bitcoin wallet. To do so, on Envoy, click on your “Primary 0” account.
Click on the “Receive” button.
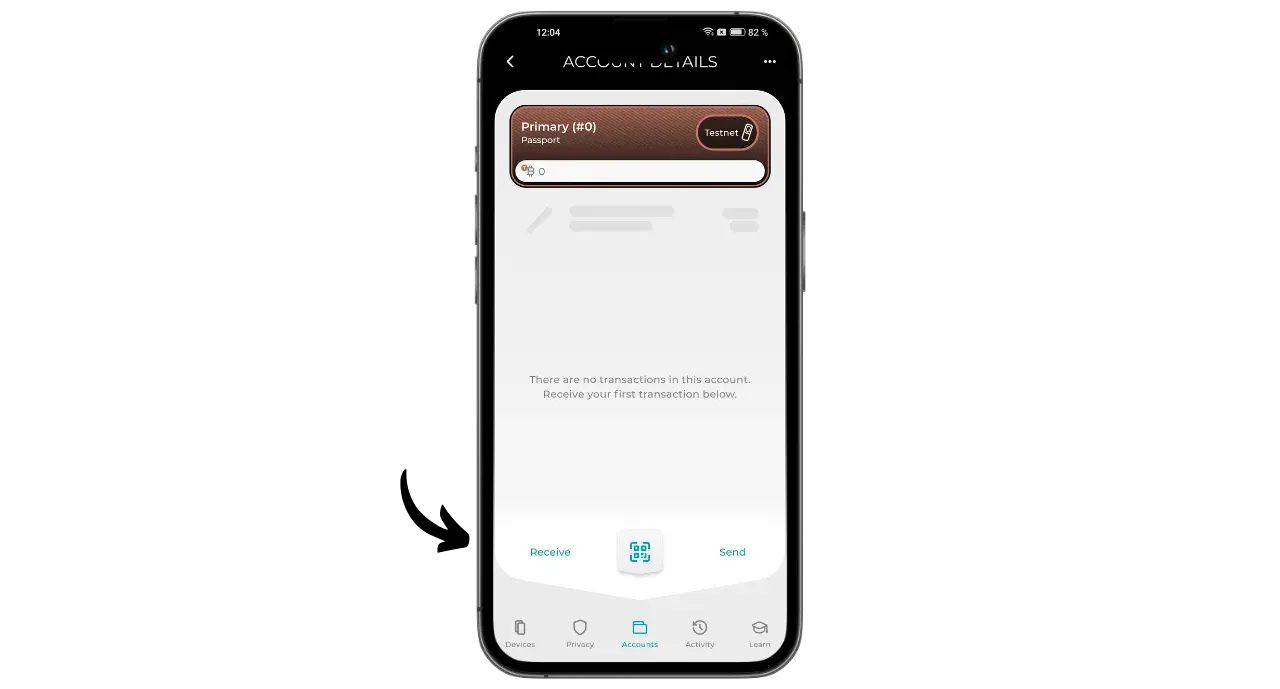
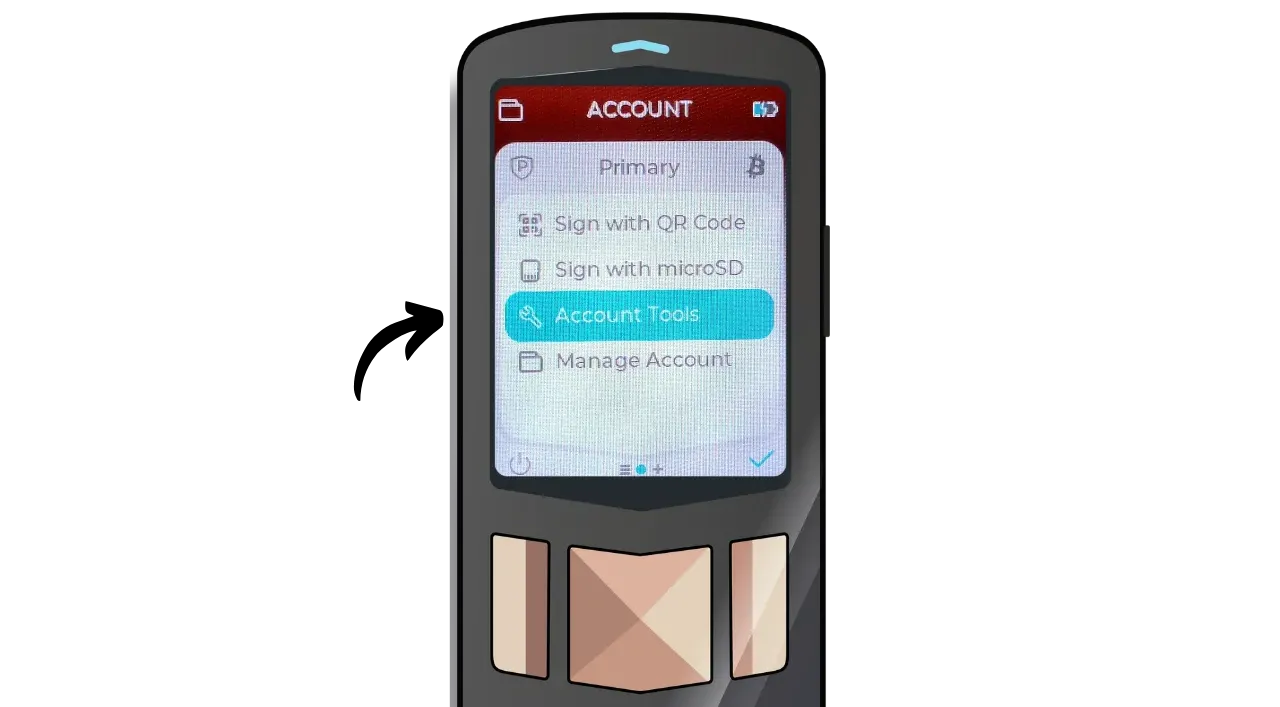
Your Envoy application displays the first available blank address on your wallet. Before using it, let’s check the address on the Passport screen to make sure it really belongs to our Bitcoin wallet. In your Passport’s “Account” menu, select “Account Tools”.
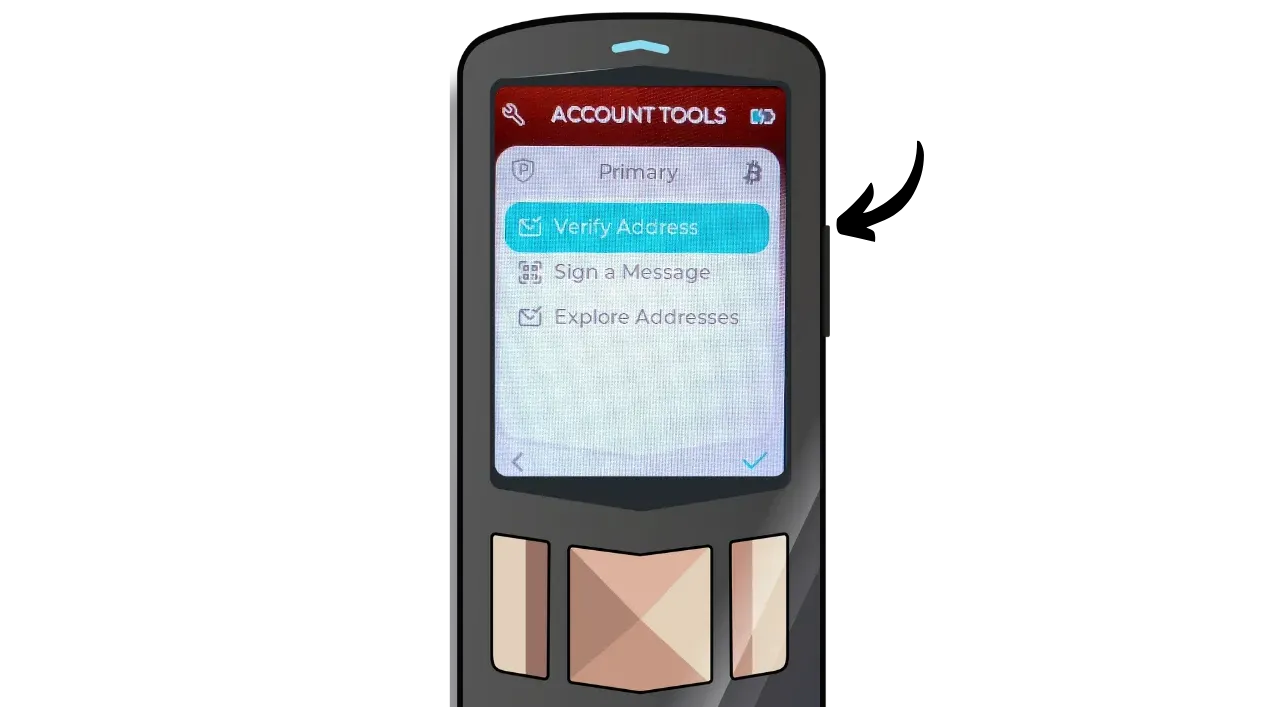
Click on “Verify Address”, then scan the QR code displayed on Envoy.
Make sure that the address displayed on the Passport corresponds exactly to the one shown on Envoy, and that “Verified” appears.

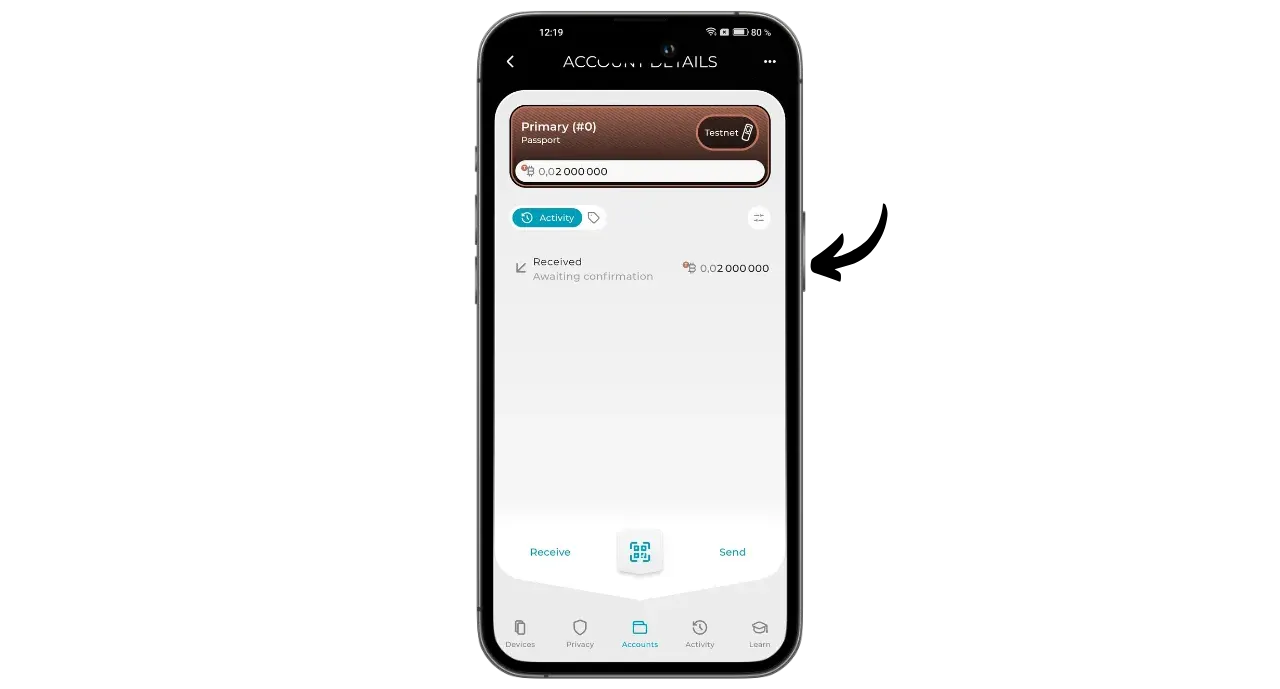
You can now use it to receive bitcoins. When the transaction is broadcast on the network, it will appear on Envoy. Wait until you’ve received enough confirmations to consider the transaction definitive.
Send bitcoins
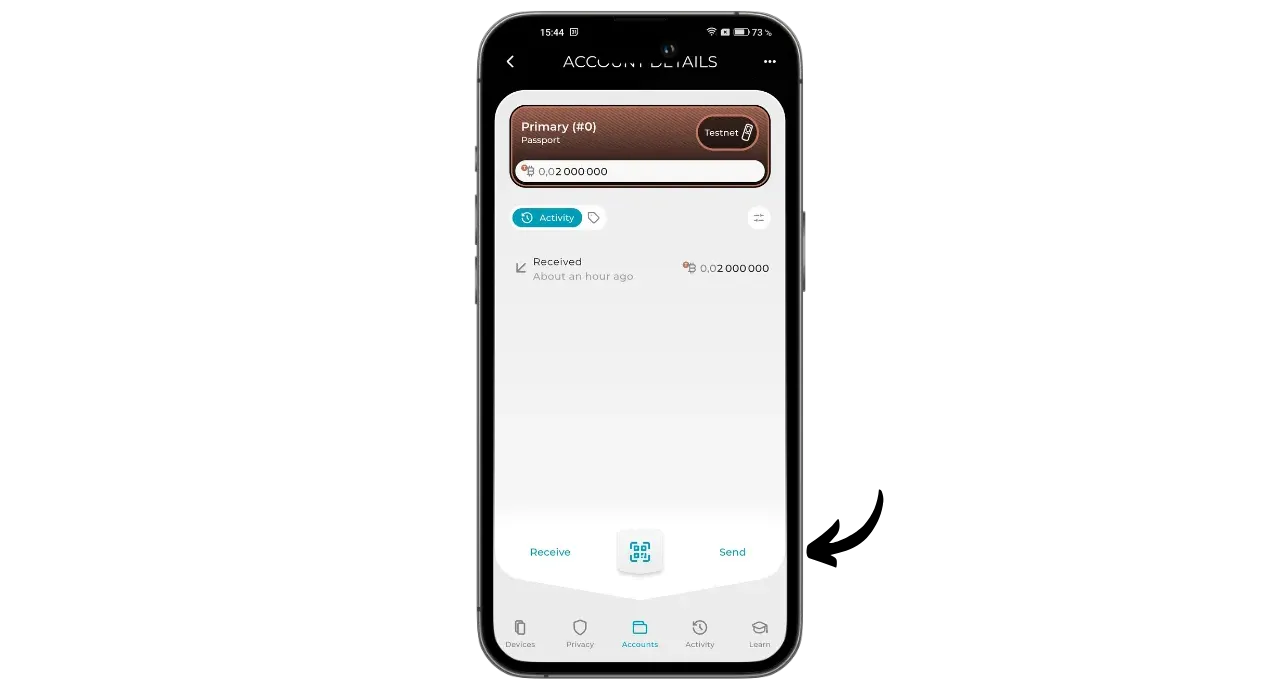
Now that you have a few sats in your wallet, you can also send some. To do so, click on the “Send” button.
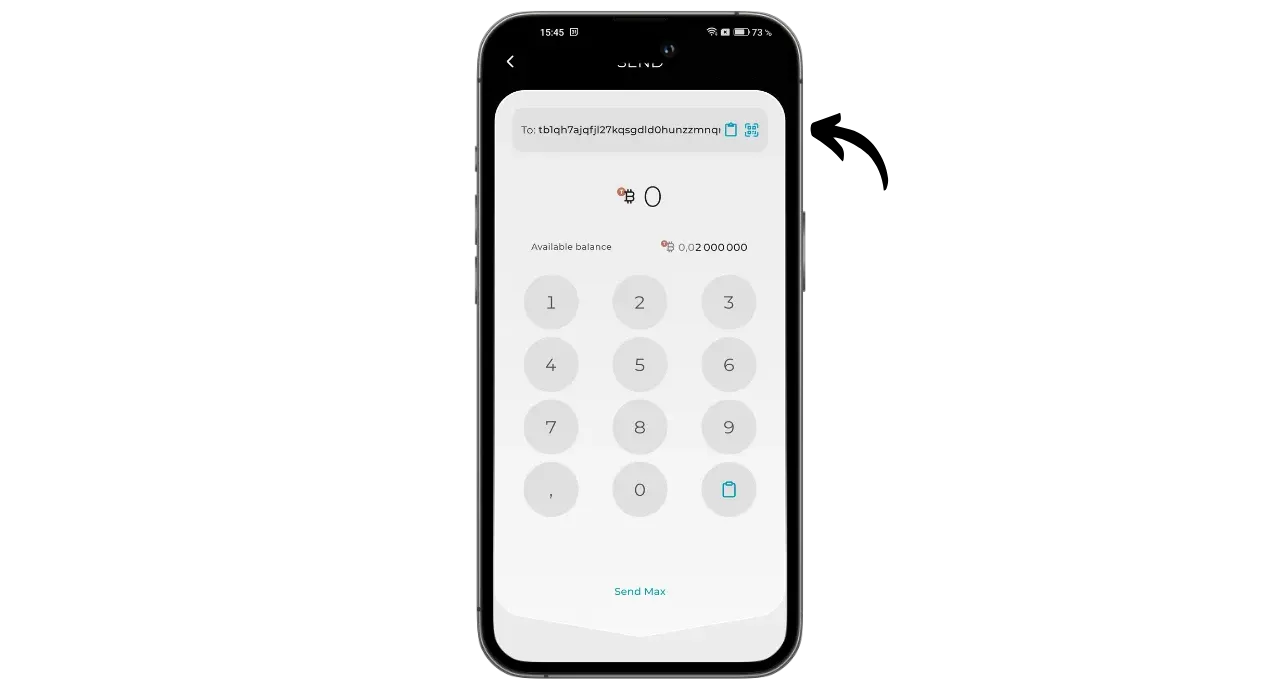
Enter the recipient’s address, either by pasting it in directly, or by scanning the QR code with your smartphone’s camera.
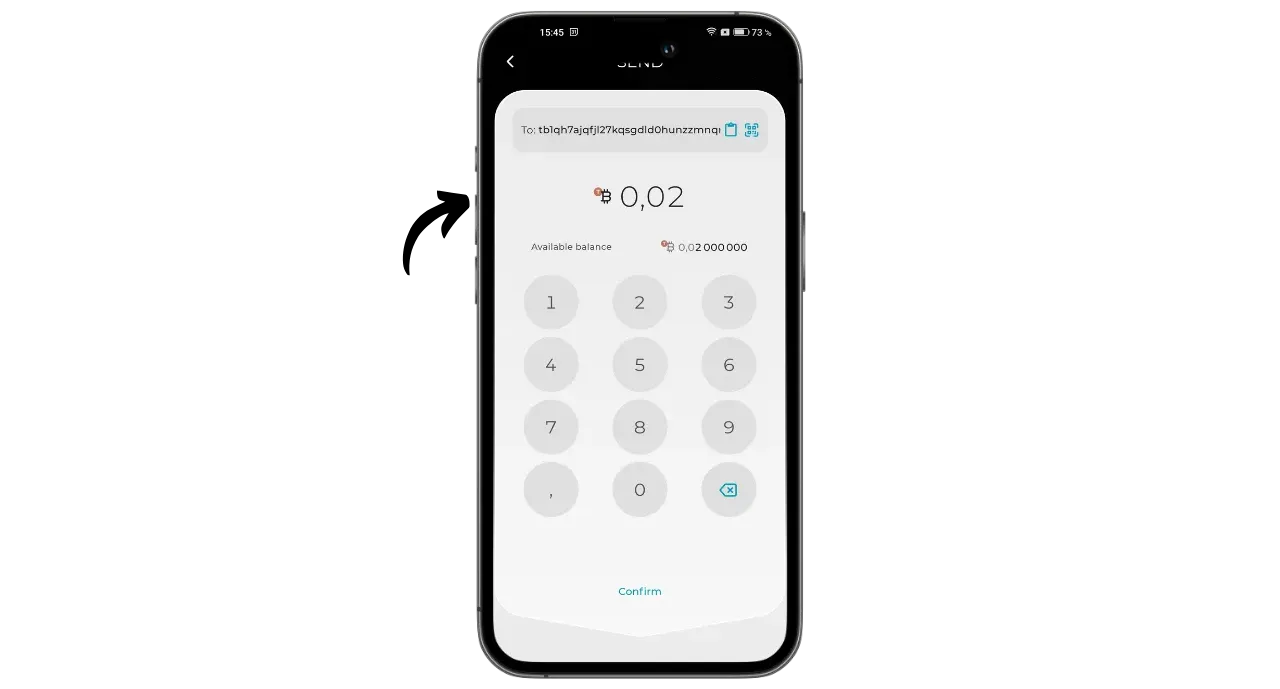
Determine the amount you wish to send, then click on “Confirm”.
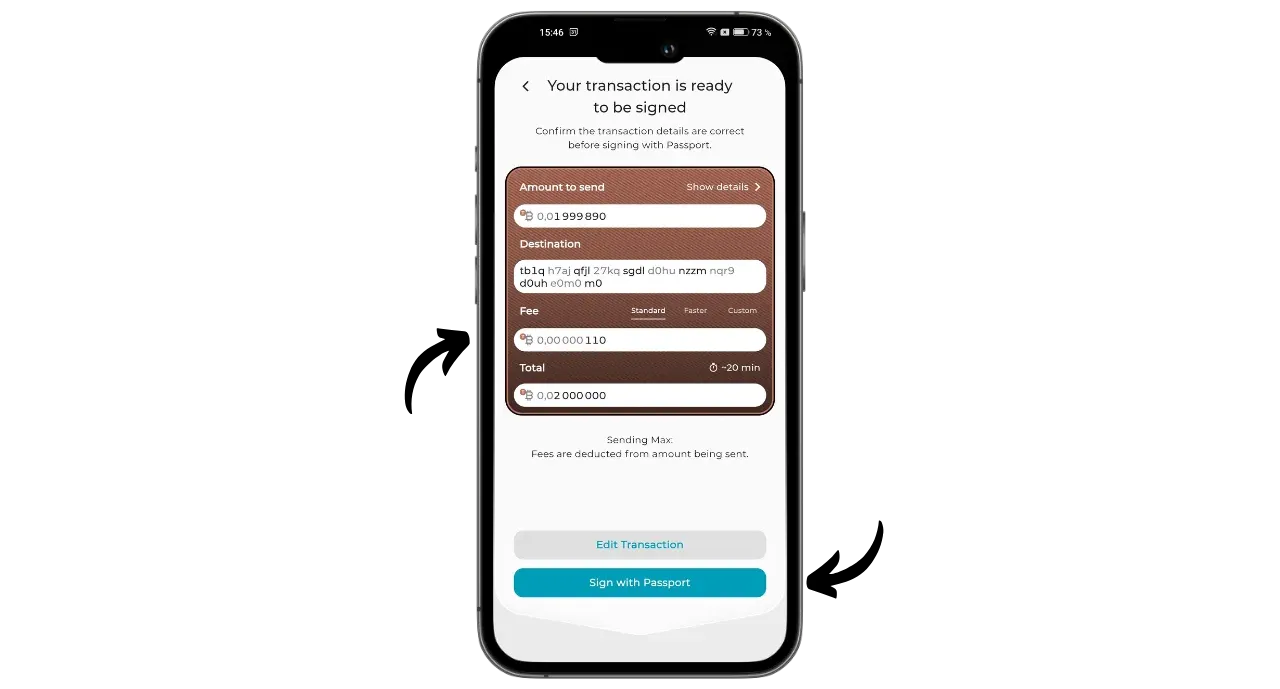
Select the transaction fee according to the current market situation, then check the transaction information. If everything is correct, click on “Sign with Passport”.
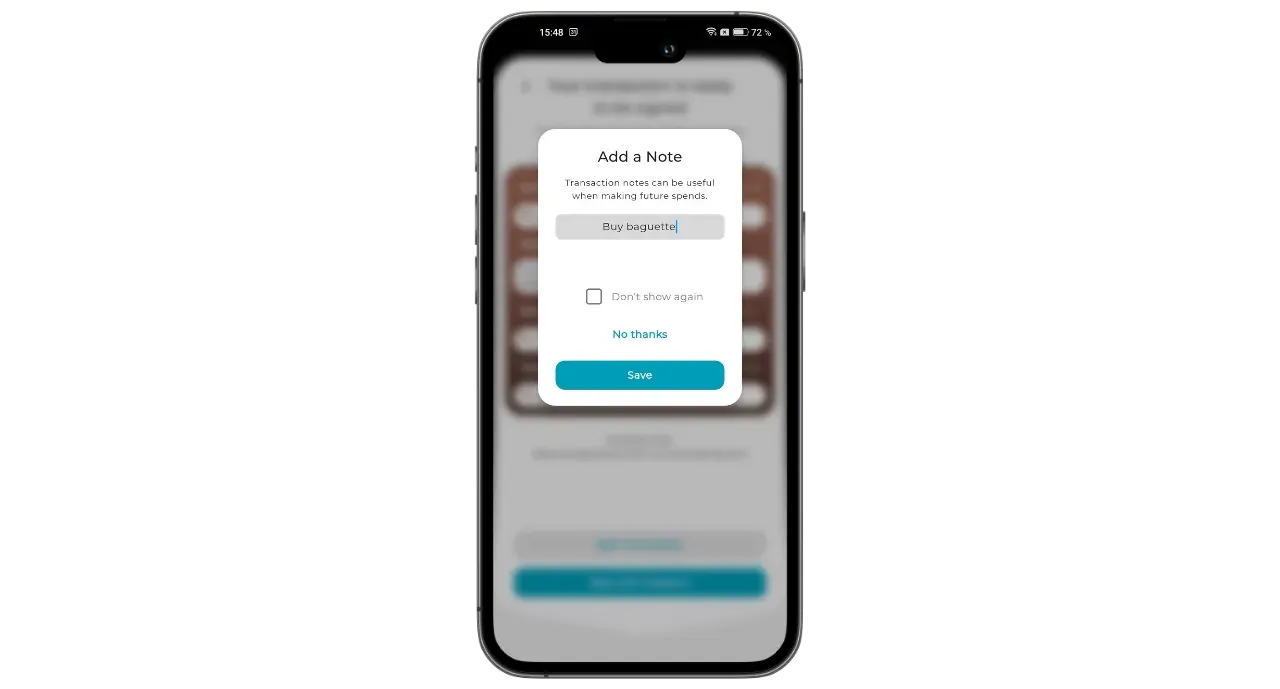
Add a label to your transaction to keep a clear record of its purpose.
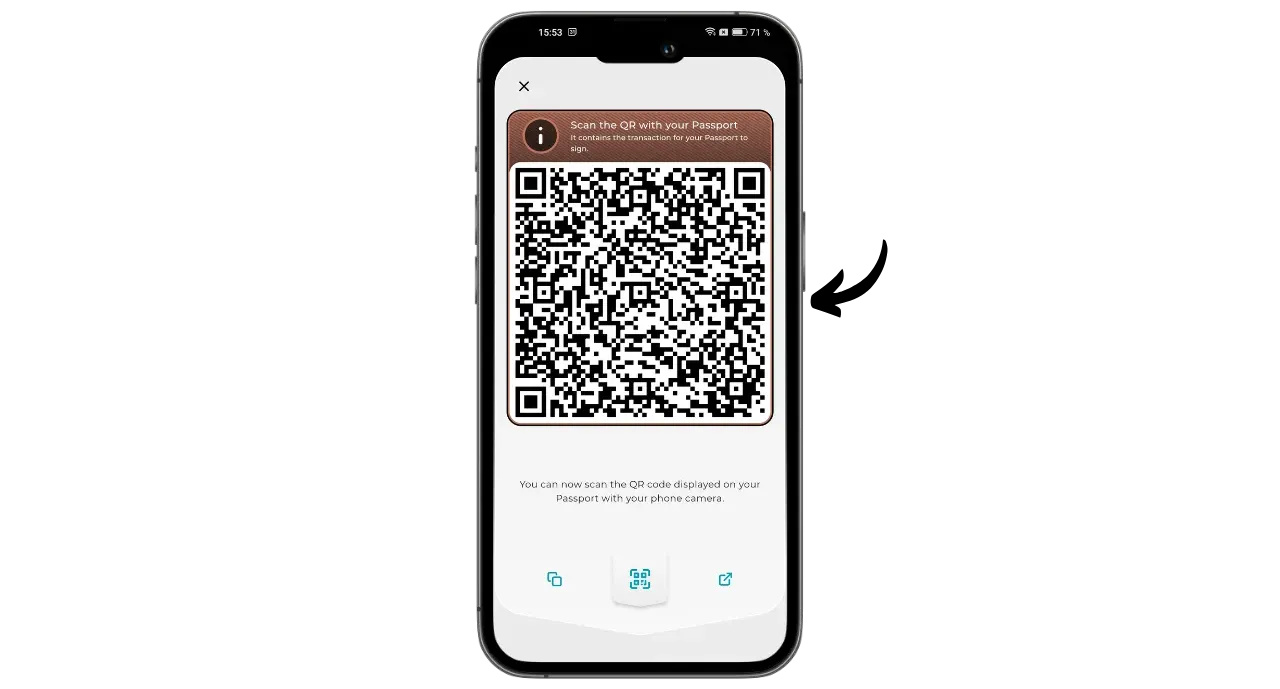
Envoy then displays a PSBT (Partially Signed Bitcoin Transaction). The application has built the transaction, but is still missing the signature(s) to unlock the bitcoins used in the input. These signatures can only be performed by the Passport, which hosts your seed giving access to the private keys needed to sign the transaction.
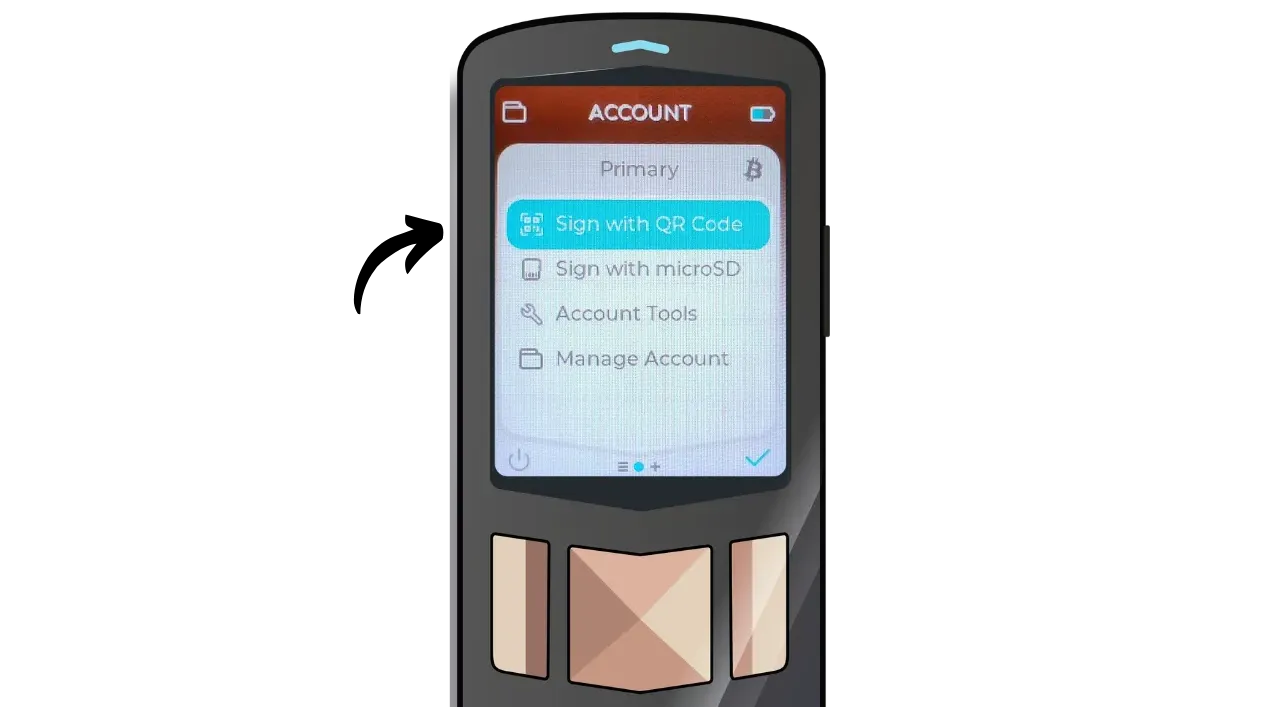
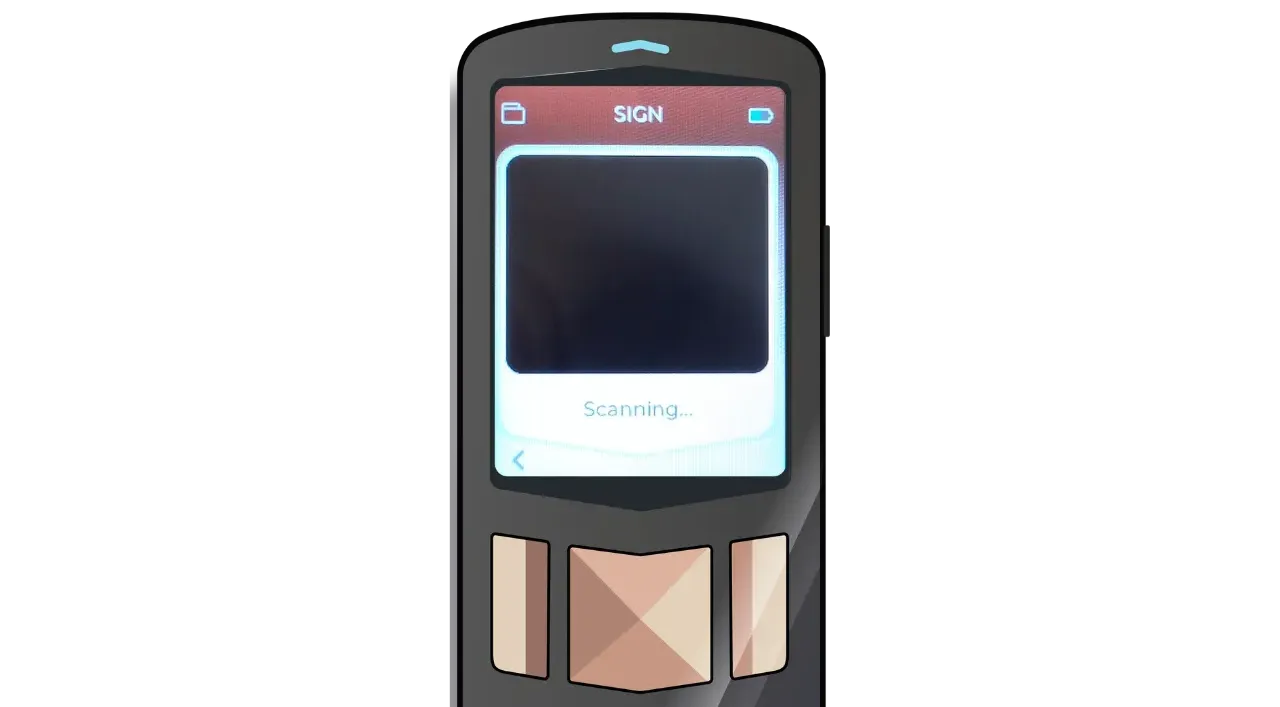
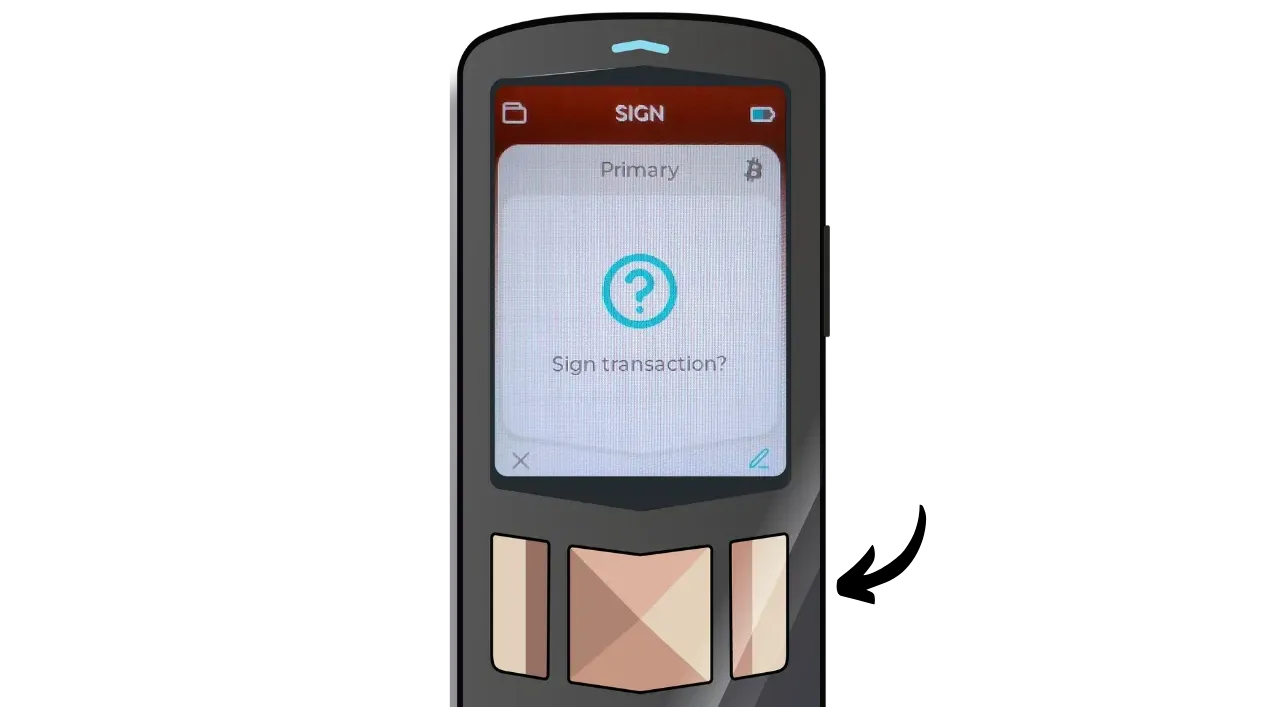
On your Passport, access the “Account” menu and click on “Sign with QR Code”.
Scan the PSBT (Partially Signed Bitcoin Transaction) displayed on Envoy.
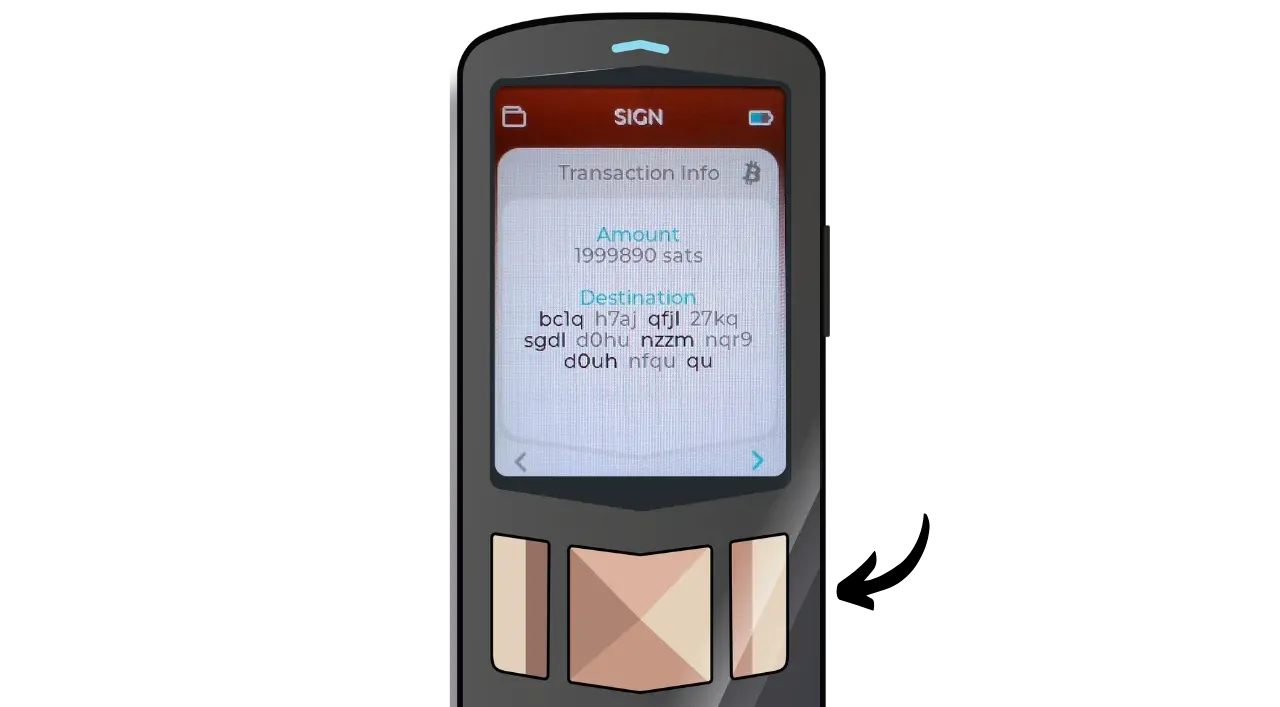
Confirm that the receiving address and the amount sent are correct, then press the confirmation button.
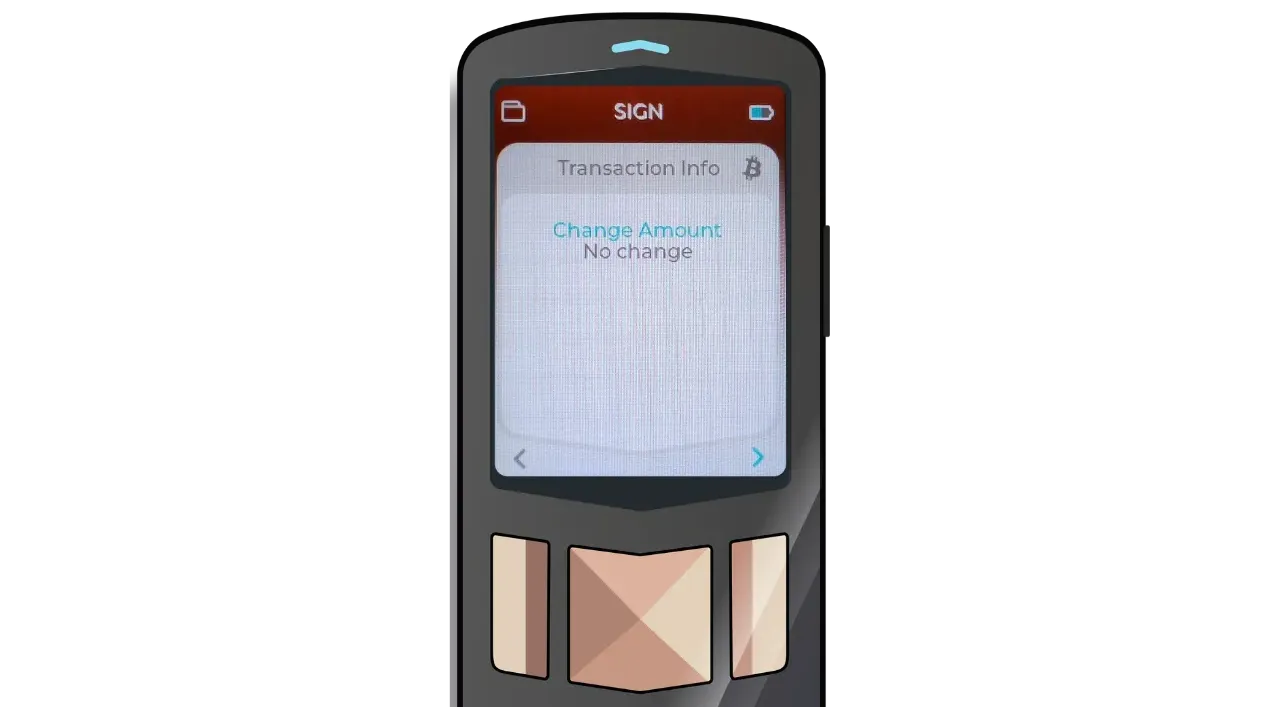
Check the exchange address. In my example, there is none, as the transaction includes a single output.
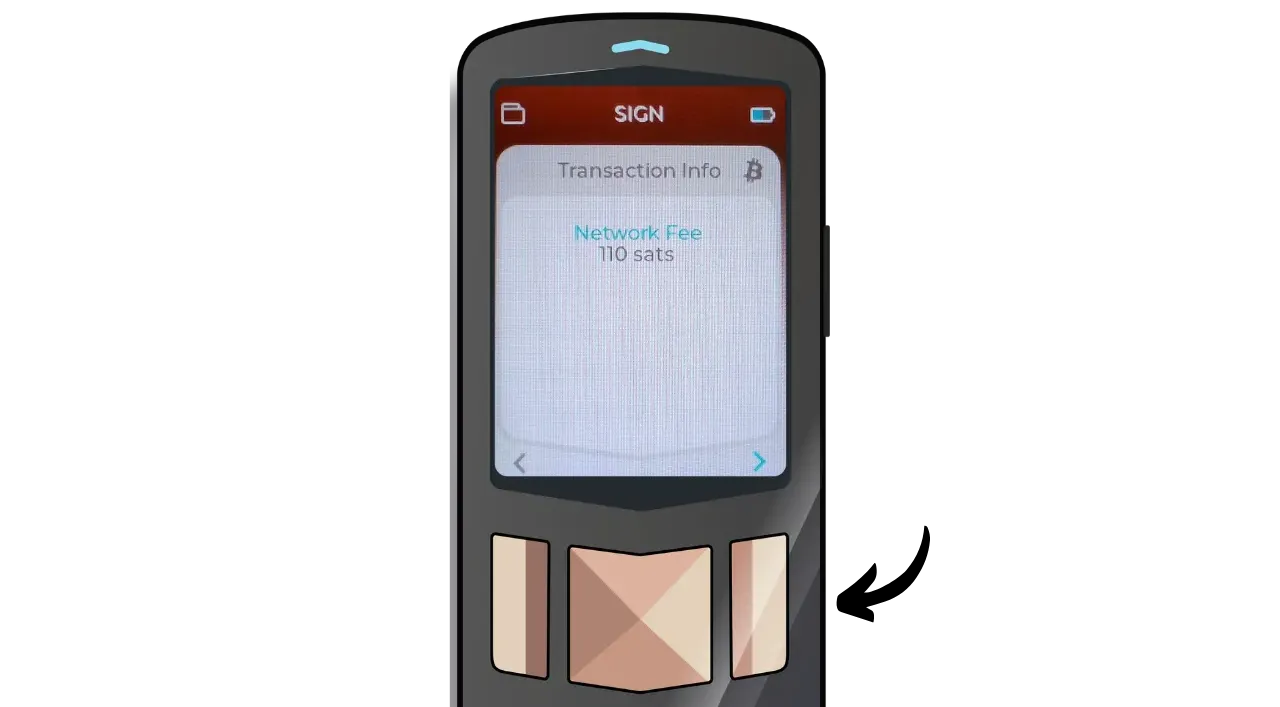
Make sure the fee is the one you have chosen.
Before signing, verify on Passport the destination address, change address (if present), amount, and fee. A wrong output cannot be reversed.
If all the information is correct, click on the confirmation button to sign the transaction.
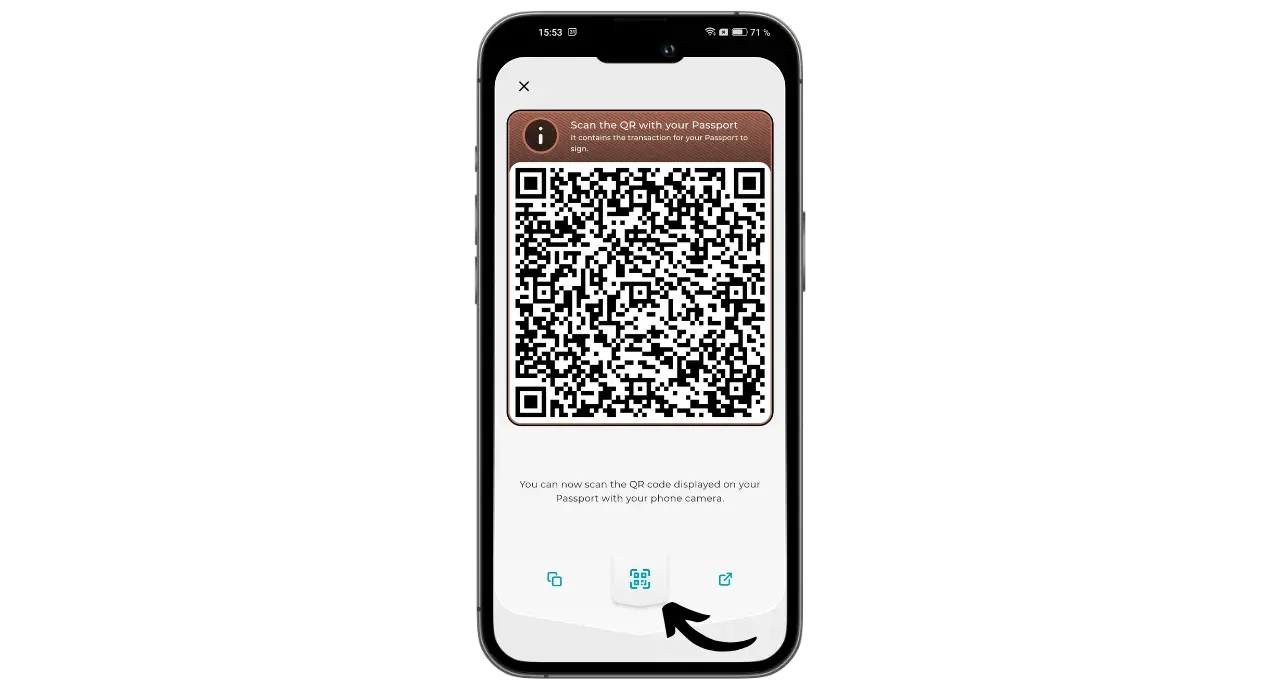
Your Passport shows you your signed transaction in the form of a QR code.
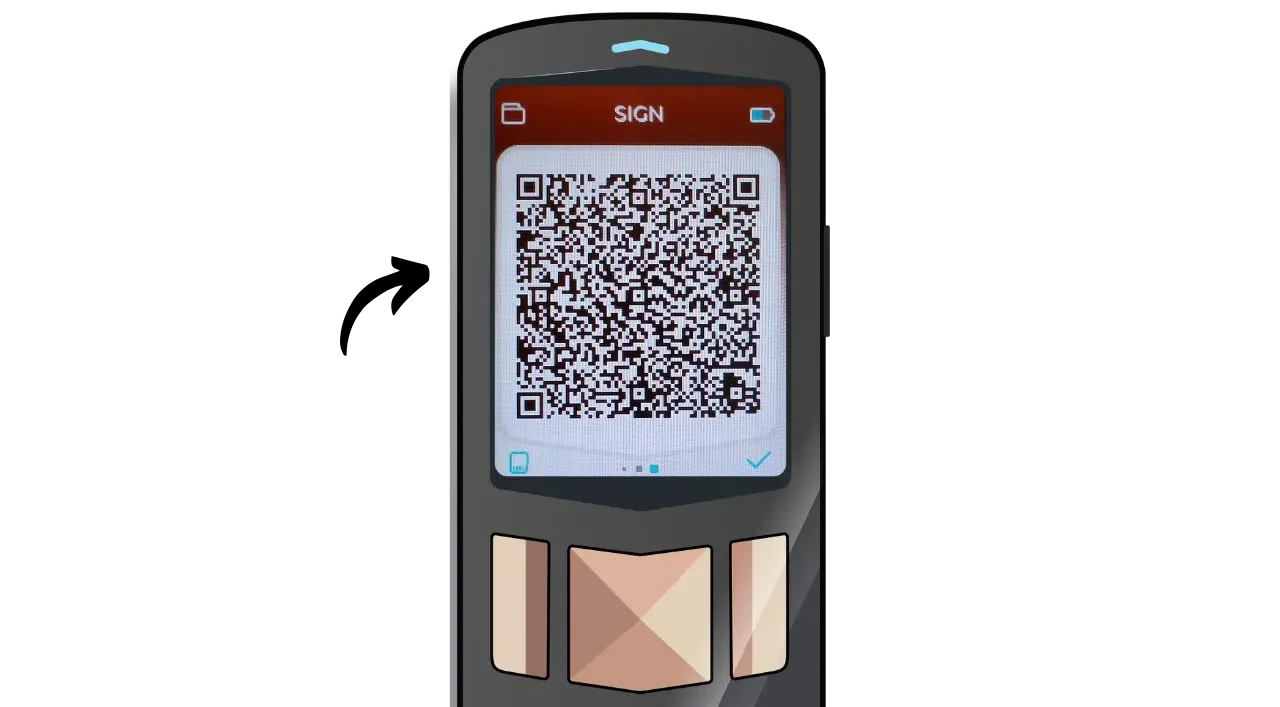
On the Envoy application, click on the QR code icon, then scan the PSBT displayed on your Passport screen.
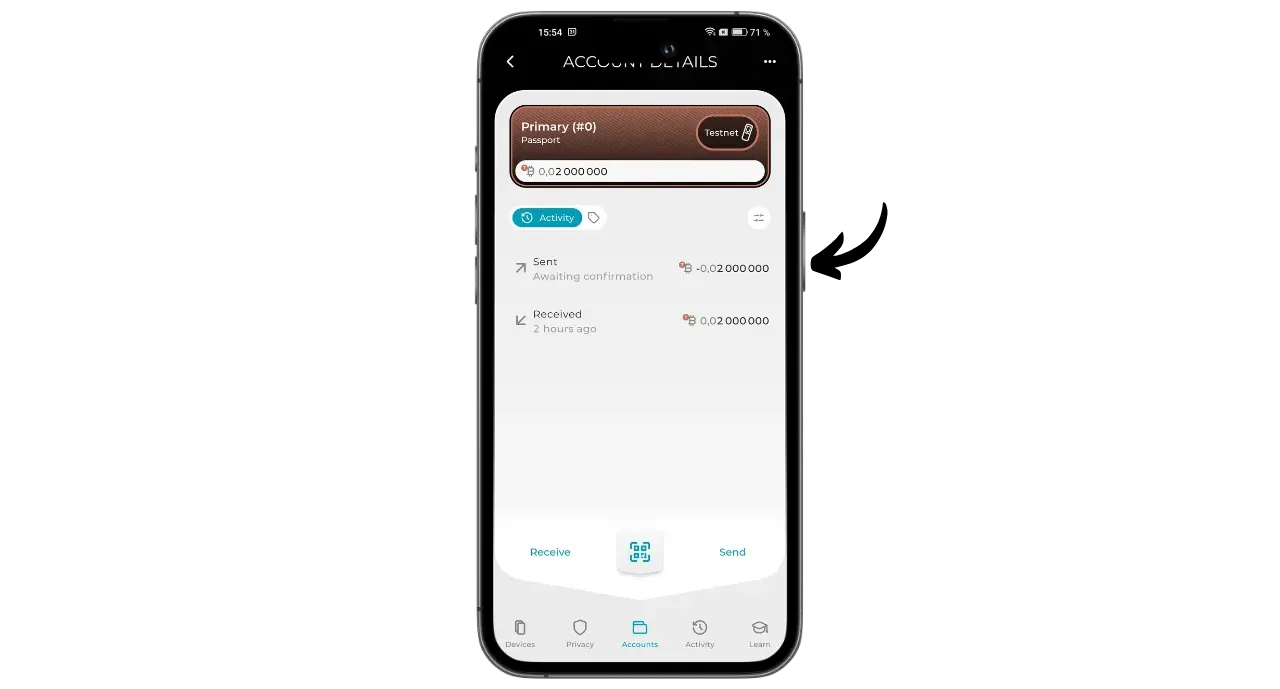
Check your transaction details one last time. If everything is correct, press “Send Transaction” to broadcast it on the Bitcoin network.

Your transaction is now awaiting confirmation. You can follow its status directly from your account.
Congratulations, you now know how to set up and use the Passport with the Envoy application.